Whether you ride motocross weekly or just love the look of a killer dirt bike, dirt bike graphics are one of the most impactful upgrades you can make to your bike. Not only do they elevate your style, they also protect your plastics and give you a pro level finish every time you are out there hitting the track. In this guide, we’ll break down everything you need to know about motocross graphics – from material quality and customization options to installation and choosing between pre-made designs or fully custom kits.
Why mx graphics matter
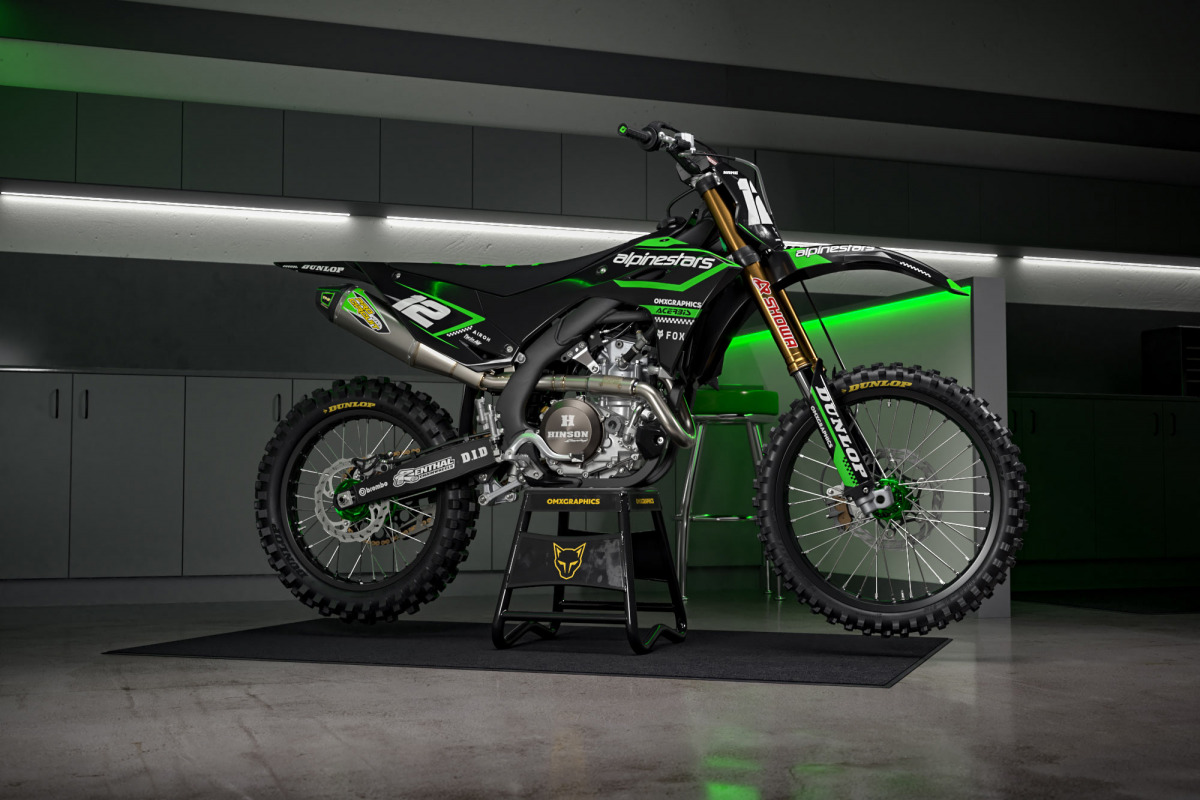
MX graphics aren’t just stickers – they serve a dual purpose. First, they give your bike a bold, personalized look that reflects your personality and style. Second, quality graphics protect your plastics from scratches, dirt, UV exposure and boot scuffs, helping your bike stay fresh longer. Choosing the right graphics kit means balancing style, durability, and fit.
The foundation of great graphics is material quality
Not all motocross graphics are created equal. The material and print base you choose determine how long they last, how well they adhere to plastics, and how striking they look on the bike.
Premium print bases
At top quality providers like OMXGraphics, you’ll typically find three main print base options:
– White Gloss: Bright, vibrant base material with ultra-aggressive adhesion – perfect for standout colors and smooth finishes;
– Silver Chrome: Transforms printed colors with a reflective metallic chrome look that catches light and attention;
– Holographic Chrome: A chameleon style print base that changes hues in the sun – ideal if you want to steal the show every time you ride.
Over-laminate options
Beyond the base material, you can also choose over-laminate finishes such as:
– Galactic Laminate: Adds a metal flake sparkle for a premium, head turning effect;
– Matte Laminate: A flat finish that reduces glare and gives a stealthy look while maintaining durability;
– Gloss Laminate: Is the classic finish for MX graphics – a shiny clear layer that makes colours pop while protecting your graphics from dirt, scratches, and UV fade with a bold, high gloss look.
For riders chasing next level style, the upcoming Ultracurve 1500 Spectrum Holographic Super Cosmic brings dazzling holographic colour shift and reflective depth that makes your graphics change and shimmer with every angle – coming soon.
And even more exciting, the Ultracurve 1500 Spectrum Holographic Fracture finish will soon be available, offering a unique holographic effect with dynamic light play and fractured texture for a truly standout look on your bike. Stay tuned.
Customization possibilities – from pre-made to fully custom
MX graphics are all about personal expression, and the good news is you have several ways to achieve that.
1. Huge selection of pre made designs
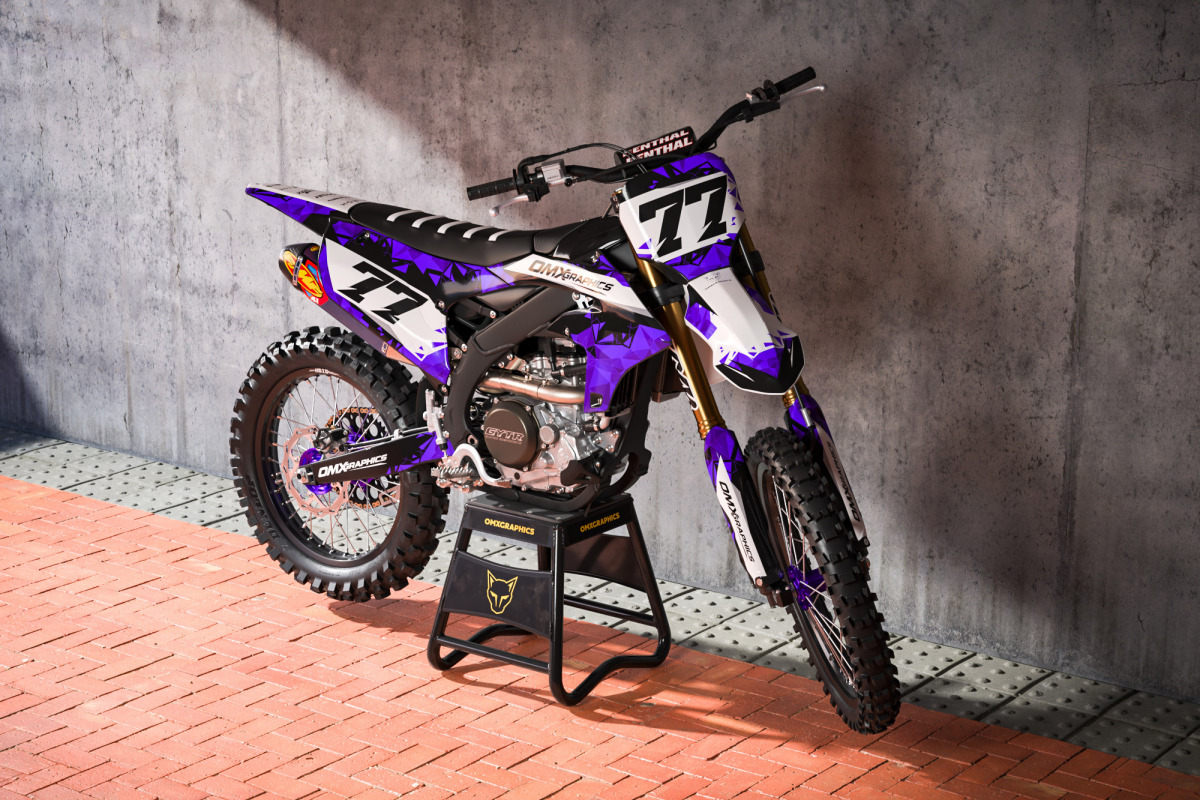
If you want eye catching style without starting from scratch, browsing a wide range of pre-made designs is the way to go. Many graphics shops offer hundreds of designs in various themes – aggressive, retro, factory style, bold colors, or minimal aesthetics. This lets you choose something that fits your vibe and your bike model without the extra design work.
Pre made kits are perfect if you want style fast, with no guesswork. Many designs are engineered to fit specific brands and bike models, making selection painless and ensuring a perfect wrap.


2. Semi custom customization
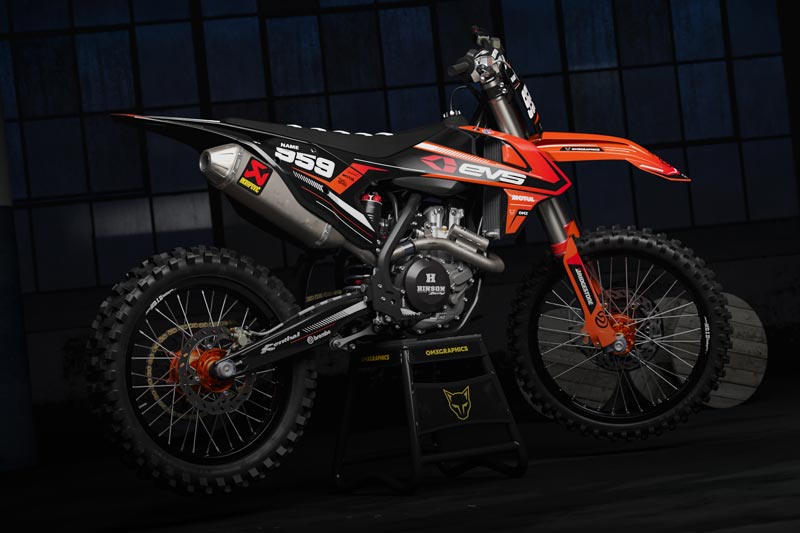
Semi custom options let you pick pre-made design but swap colors, number plates, names, or other elements so the kit feels more yours. This is a great middle ground – eye catching visuals with your personal touch. Customisation is free of charge and all our pre made designs can be customised to your needs.
3. Fully custom graphics
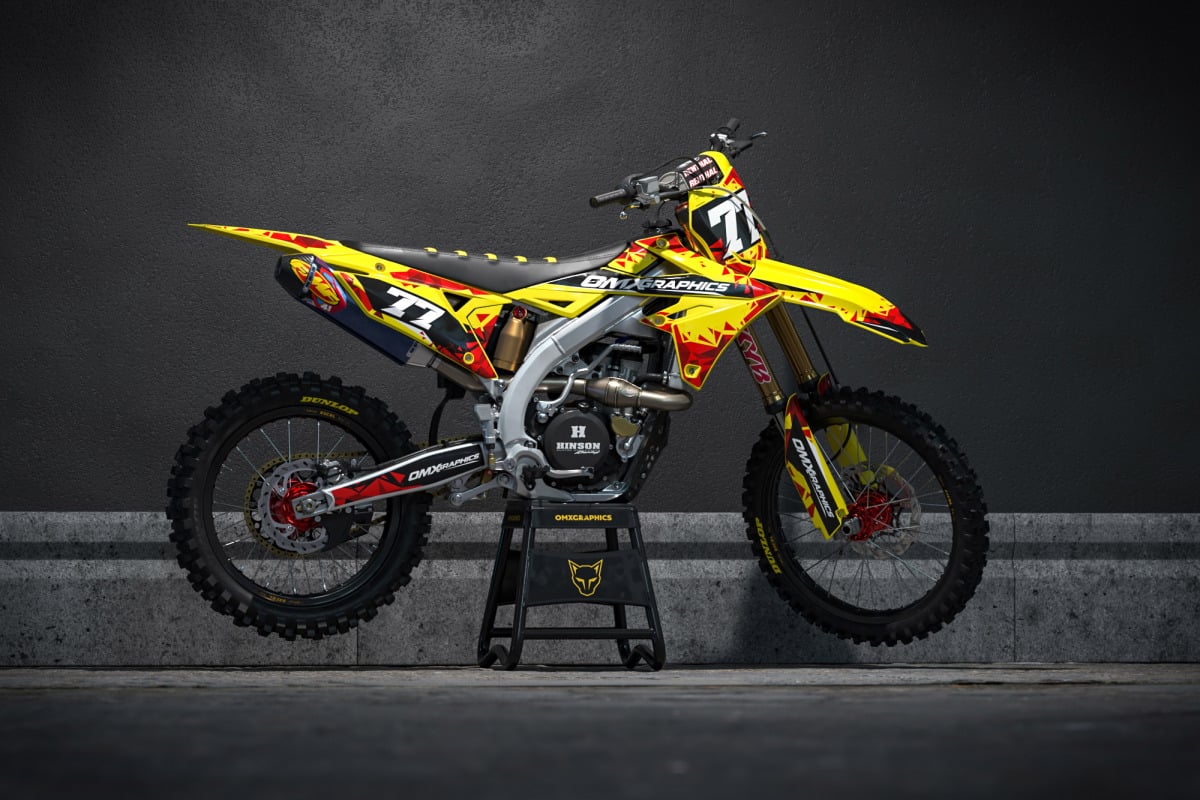
Want something completely unique? A fully custom MX graphics kit gives you total creative control – from bold new patterns to logo placement, colour schemes, and even unique artwork. When you design from scratch, nothing is off limits.
The typical process works like this:
– Select your bike’s make and model;
– Choose print base and laminate options;
– Fill in your customization details, including name, number, colors and logos;
– Submit it and our design team will prepare the design proof;
– Approve it – then get it printed and shipped.
One of the best parts? We allow unlimited revisions, so you don’t have to settle until every detail is dialed in perfectly.
How to apply mx graphics like a pro
Installing motocross graphics may seem intimidating at first, but the process becomes straightforward with the right steps.
Preparation is key
– Remove old graphics using a hair dryer or heat gun to loosen adhesive;
– Clean the surface with a degreasing agent to eliminate dirt, oils and residue;
– Warm the plastics by keeping them in a room above 15°C (60°F) – this helps graphics adhere and conform better to curves.
How to install
– Position the graphics with tape to test alignment;
– Peel back backing paper and apply from the center outward to prevent bubbles;
– Use a squeegee or thumb to flatten and remove air pockets;
– Use gentle heat on sharp curves or tight areas so the vinyl stretches without lifting;
– Wait 24+ hours before riding to allow full adhesion.
With patience and these steps, you’ll have a long lasting, pro-level look that stays tight through dirt, water and riding abuse.
Here is a detailed step-by-step guide on how to install dirt bike graphics with ease.
Mx graphics for style and performance
MX graphics are a must for riders who want to make a statement while protecting their bike. Whether you choose a pre made design to refresh your look or go fully custom to express your personality, the right graphics kit – built with premium materials and applied correctly – can elevate your ride dramatically.
Ready to design yours? Dive into the material options, pick your style and create a kit that’s unmistakably you.