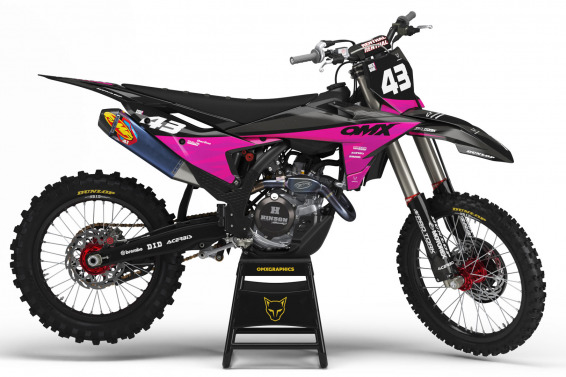
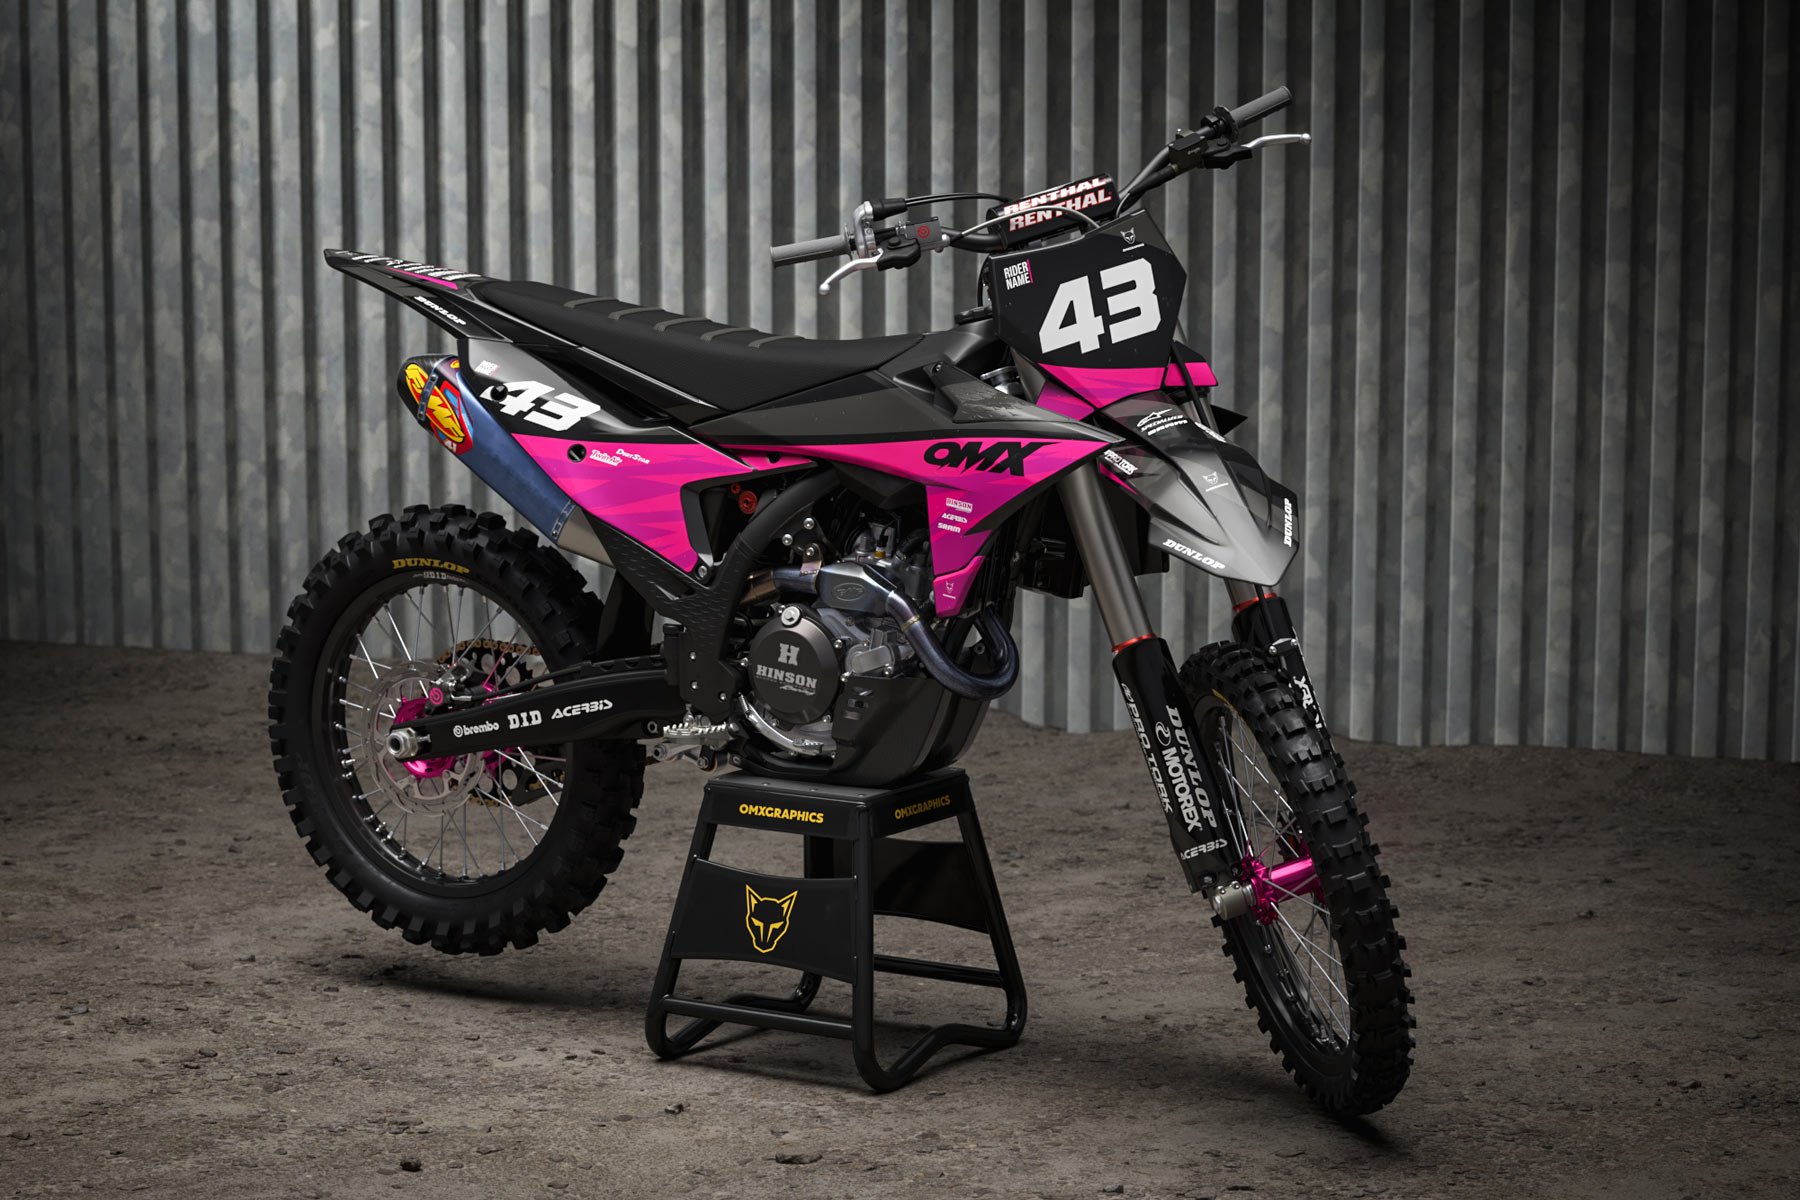
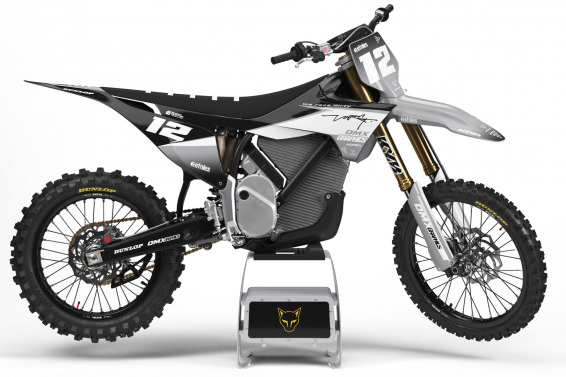
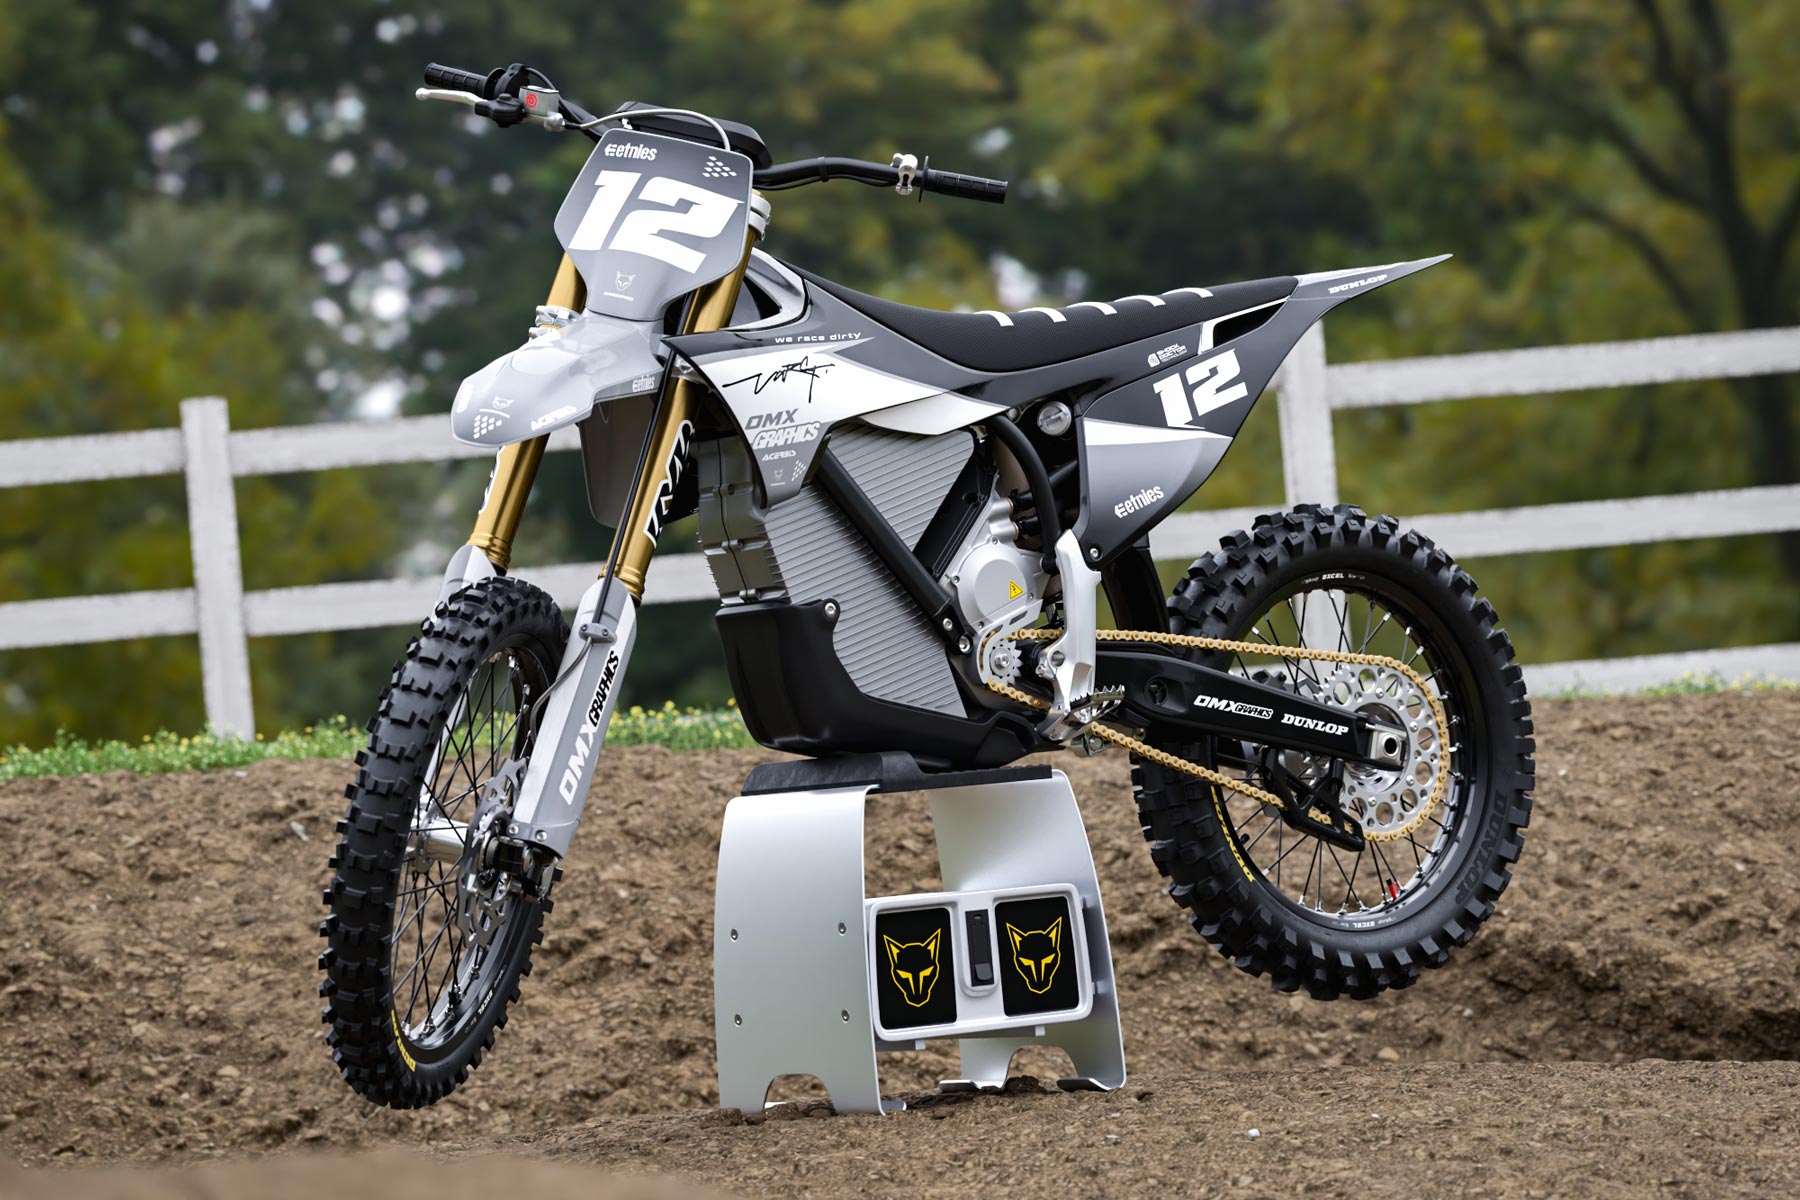
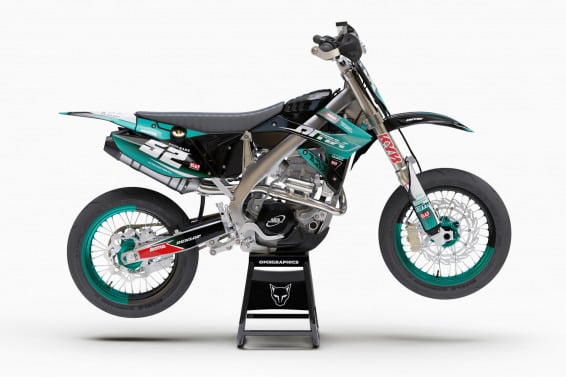
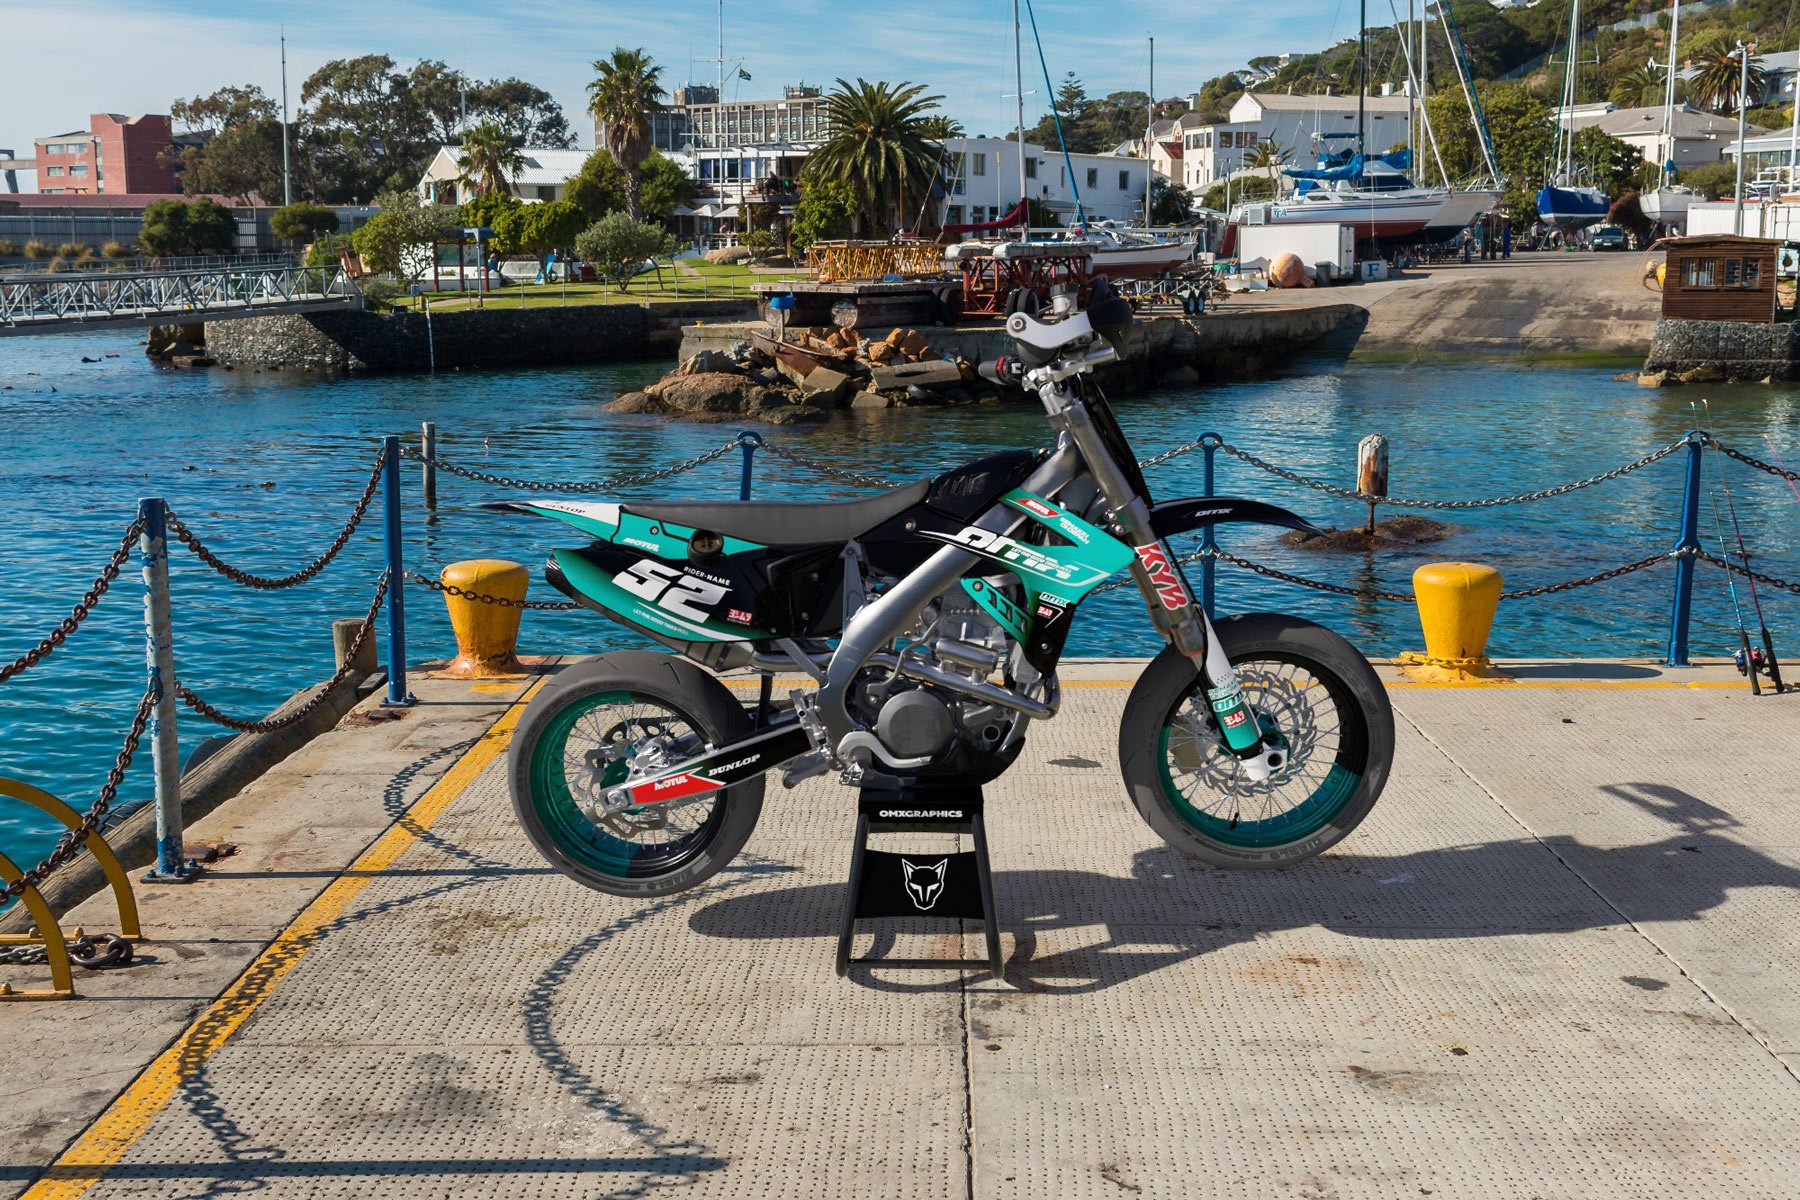
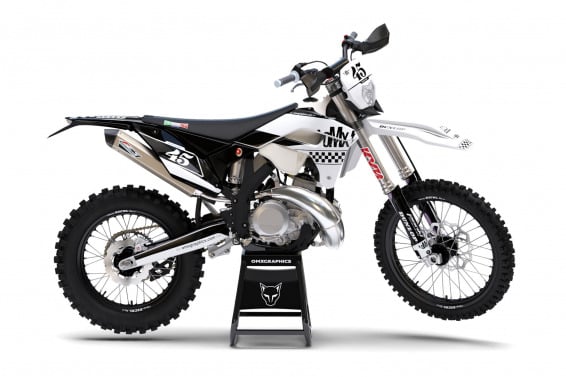
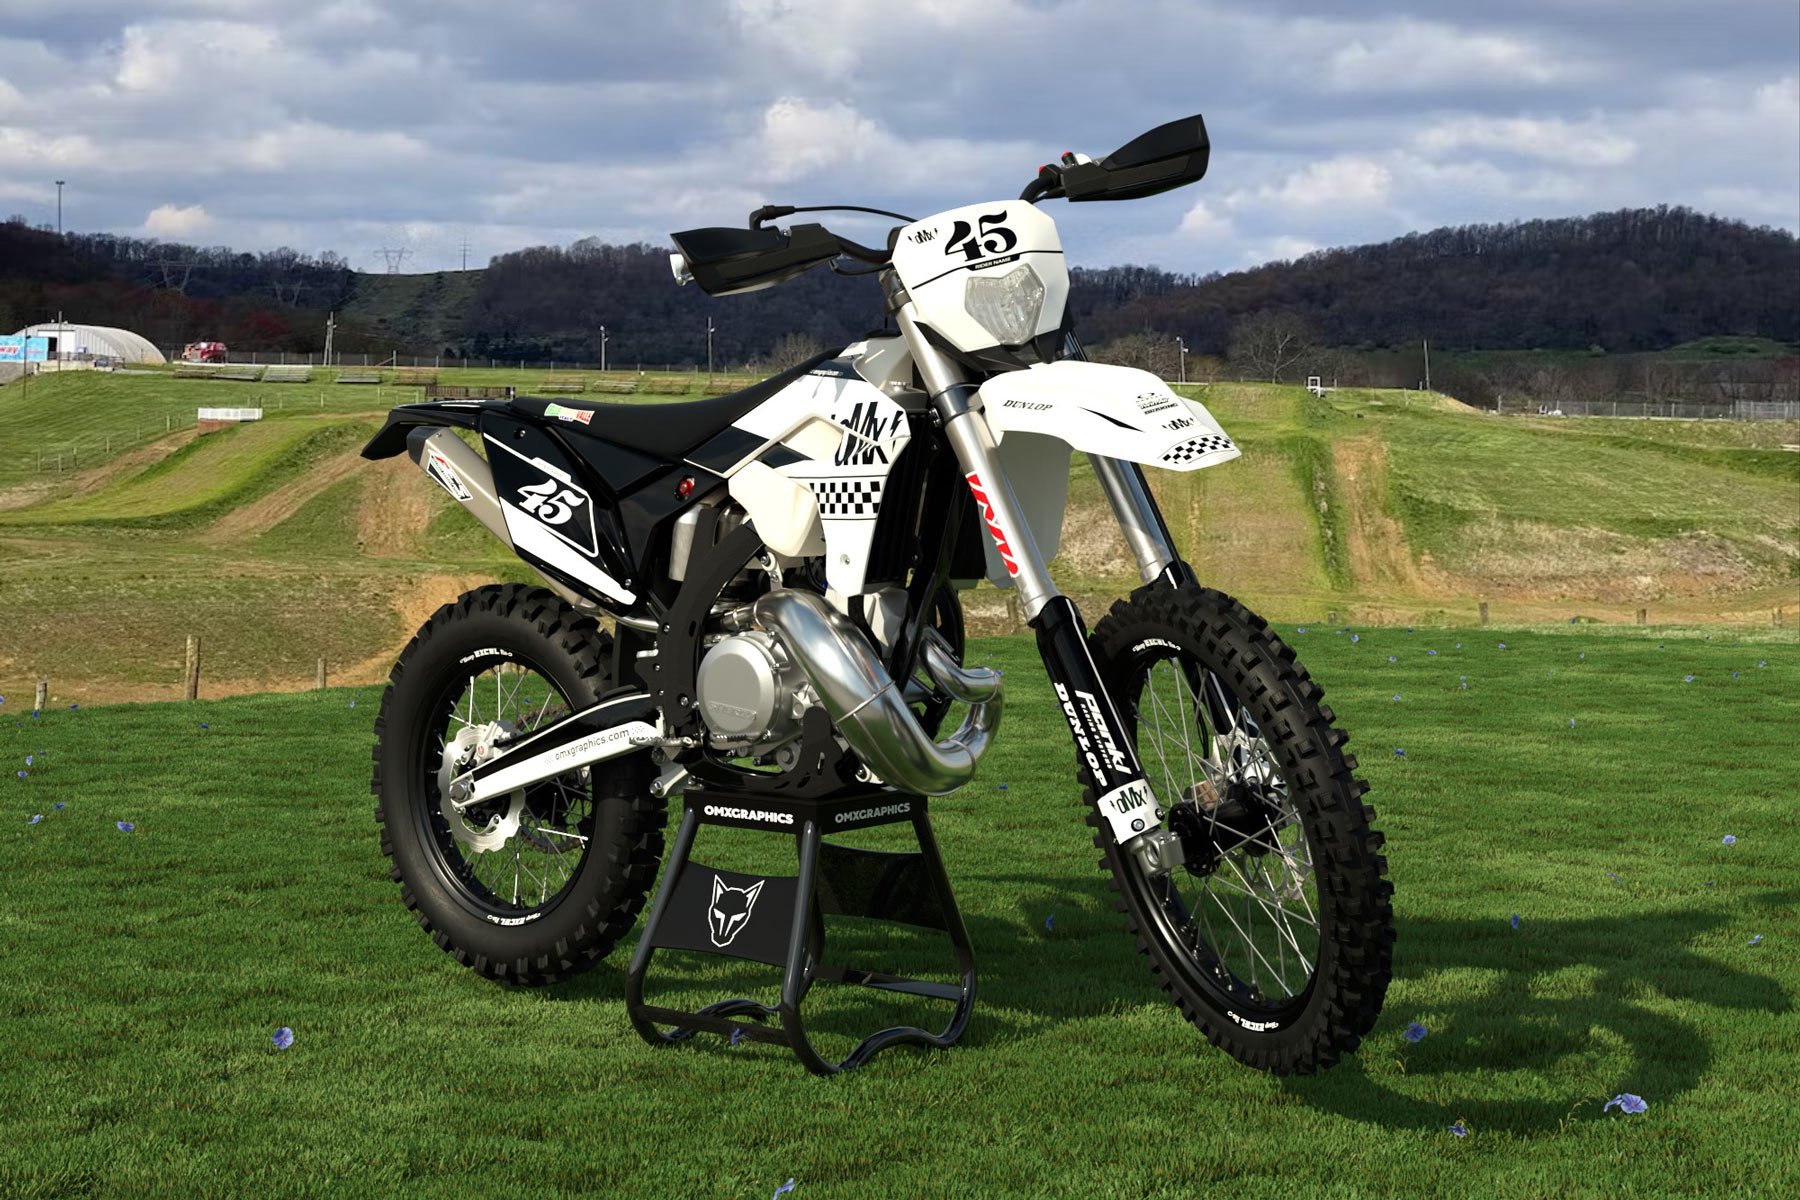
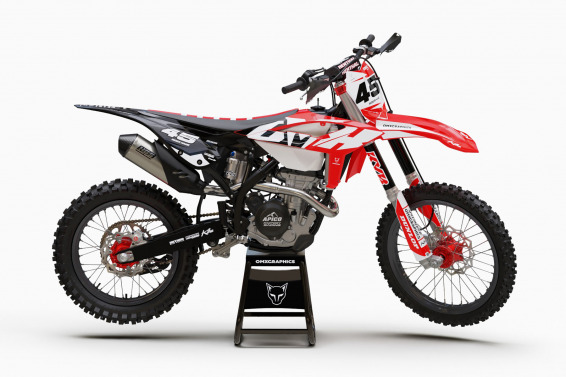
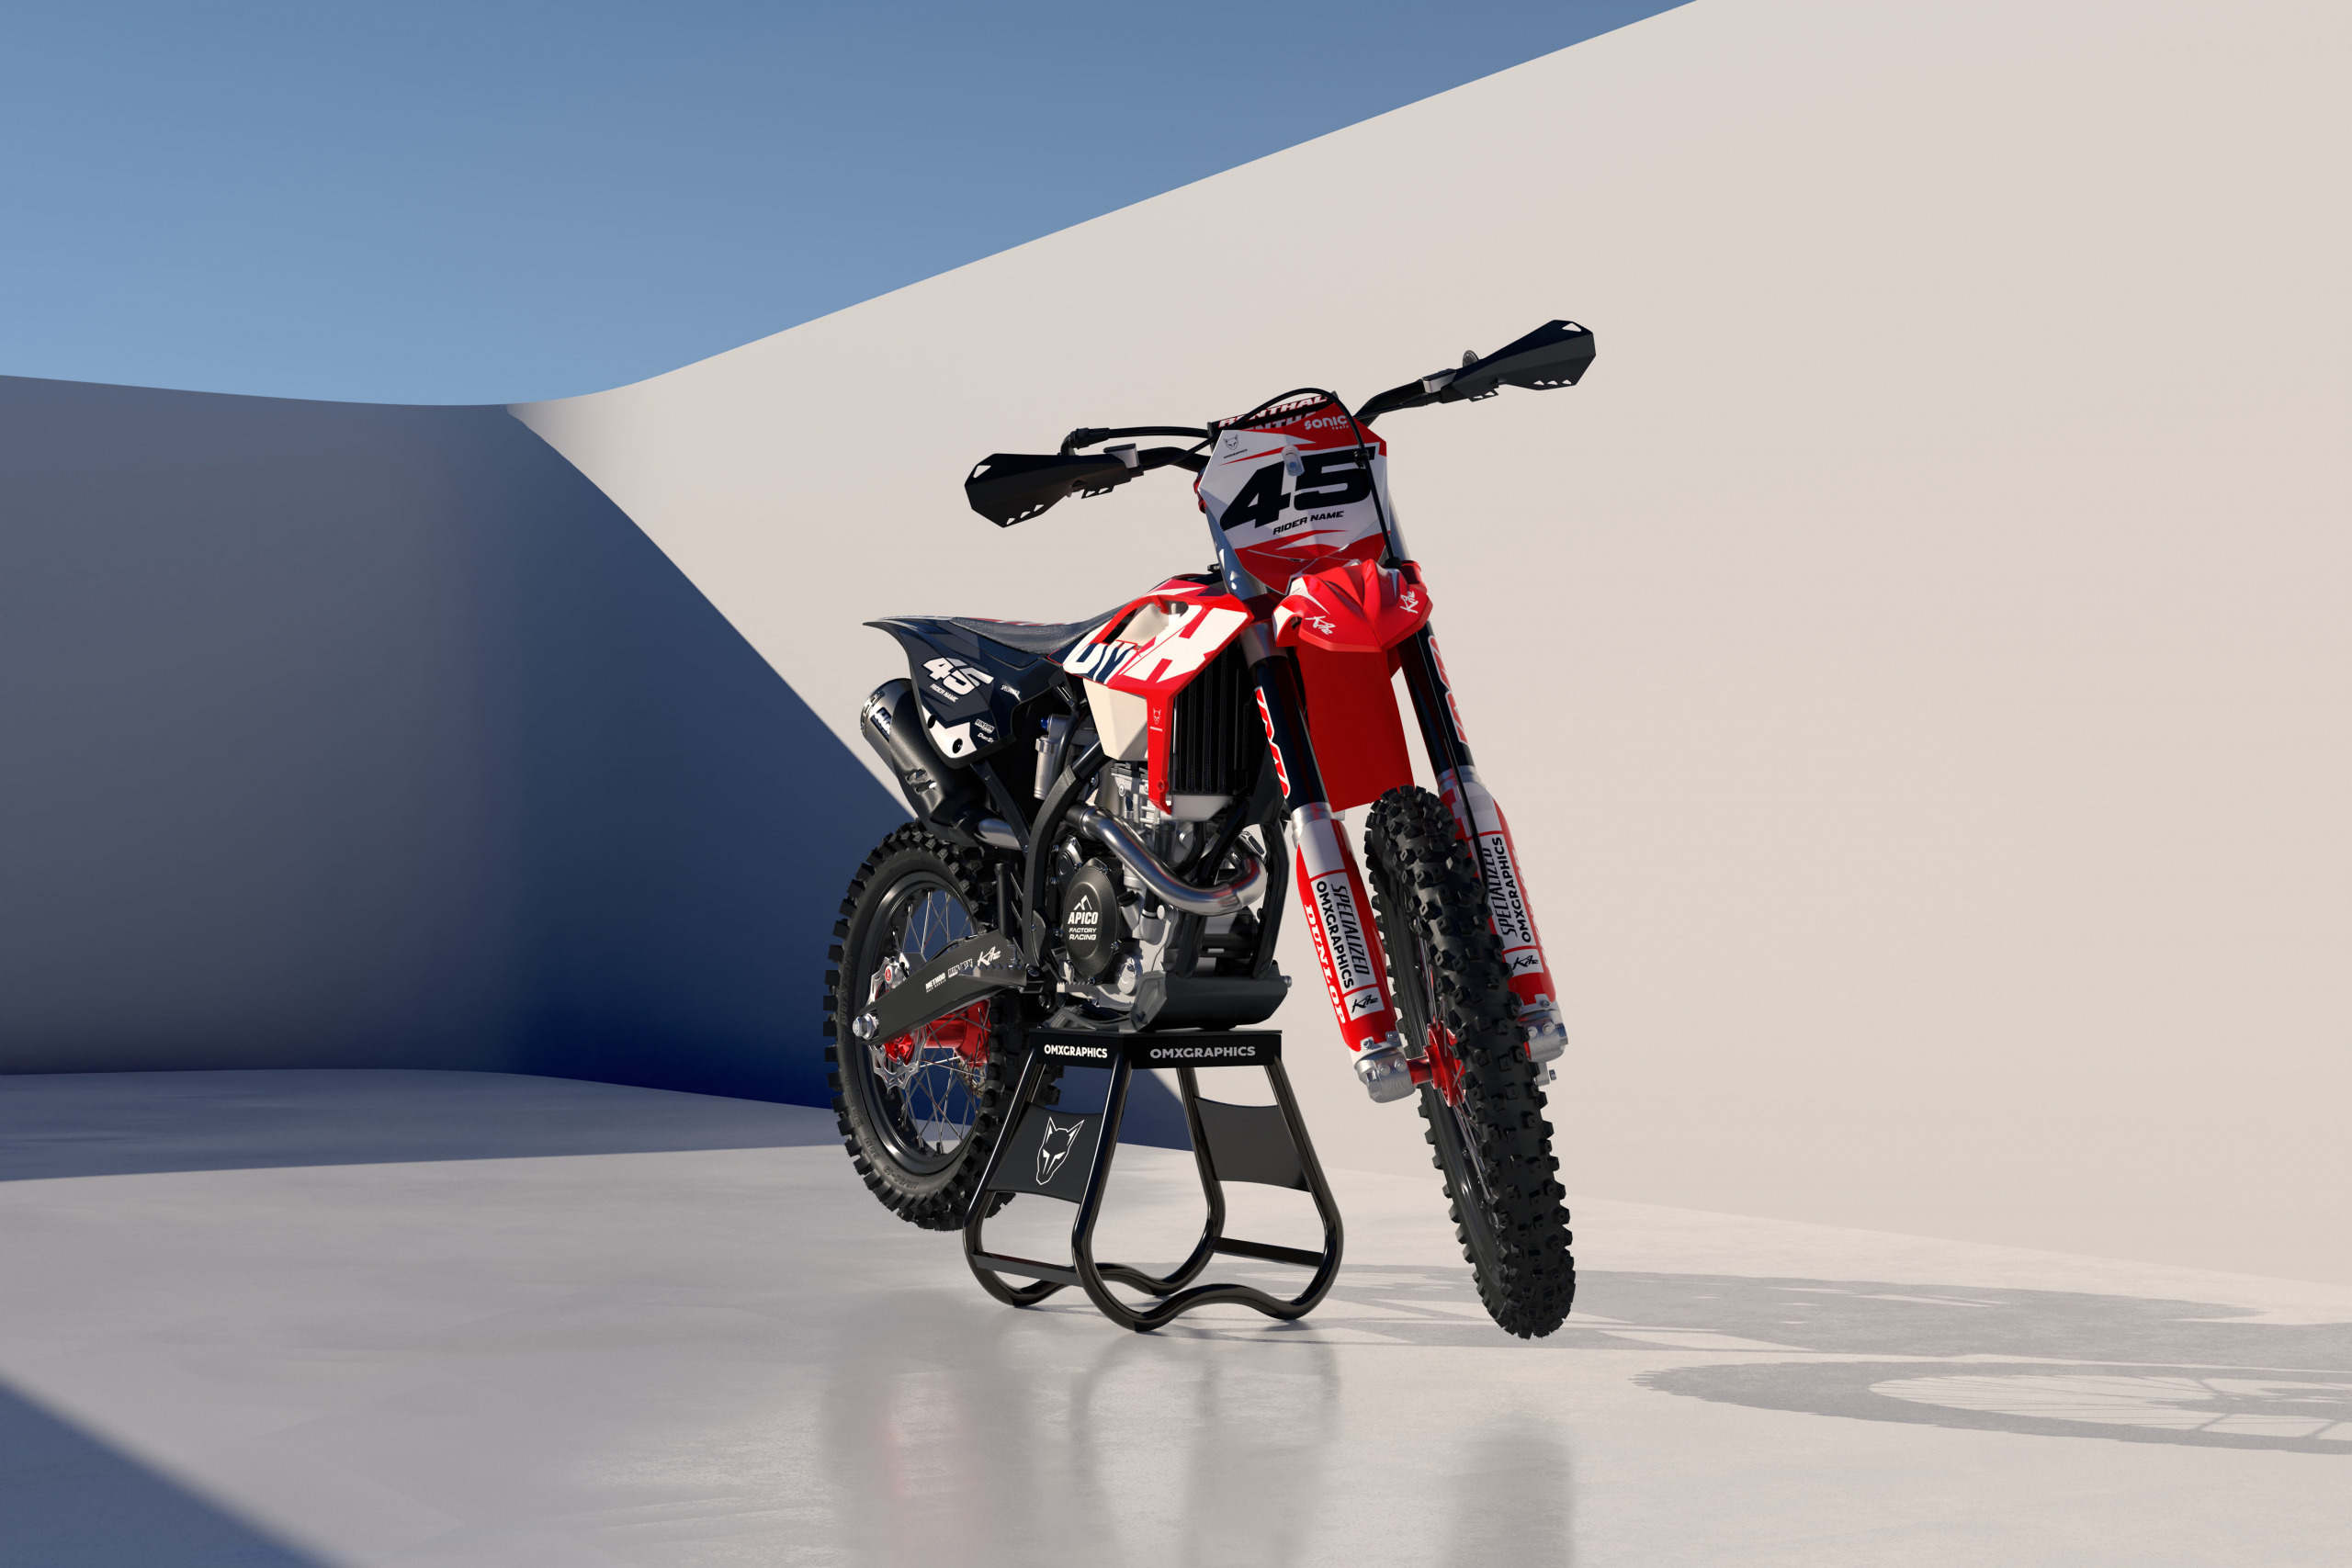
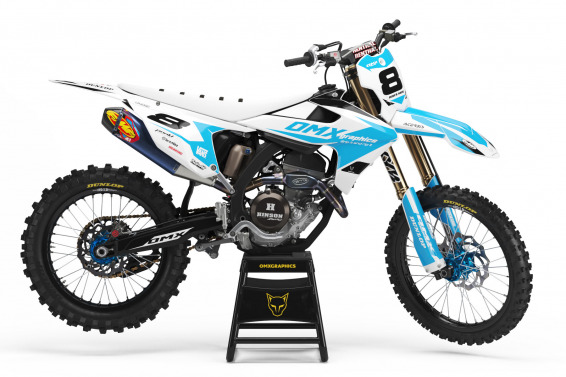
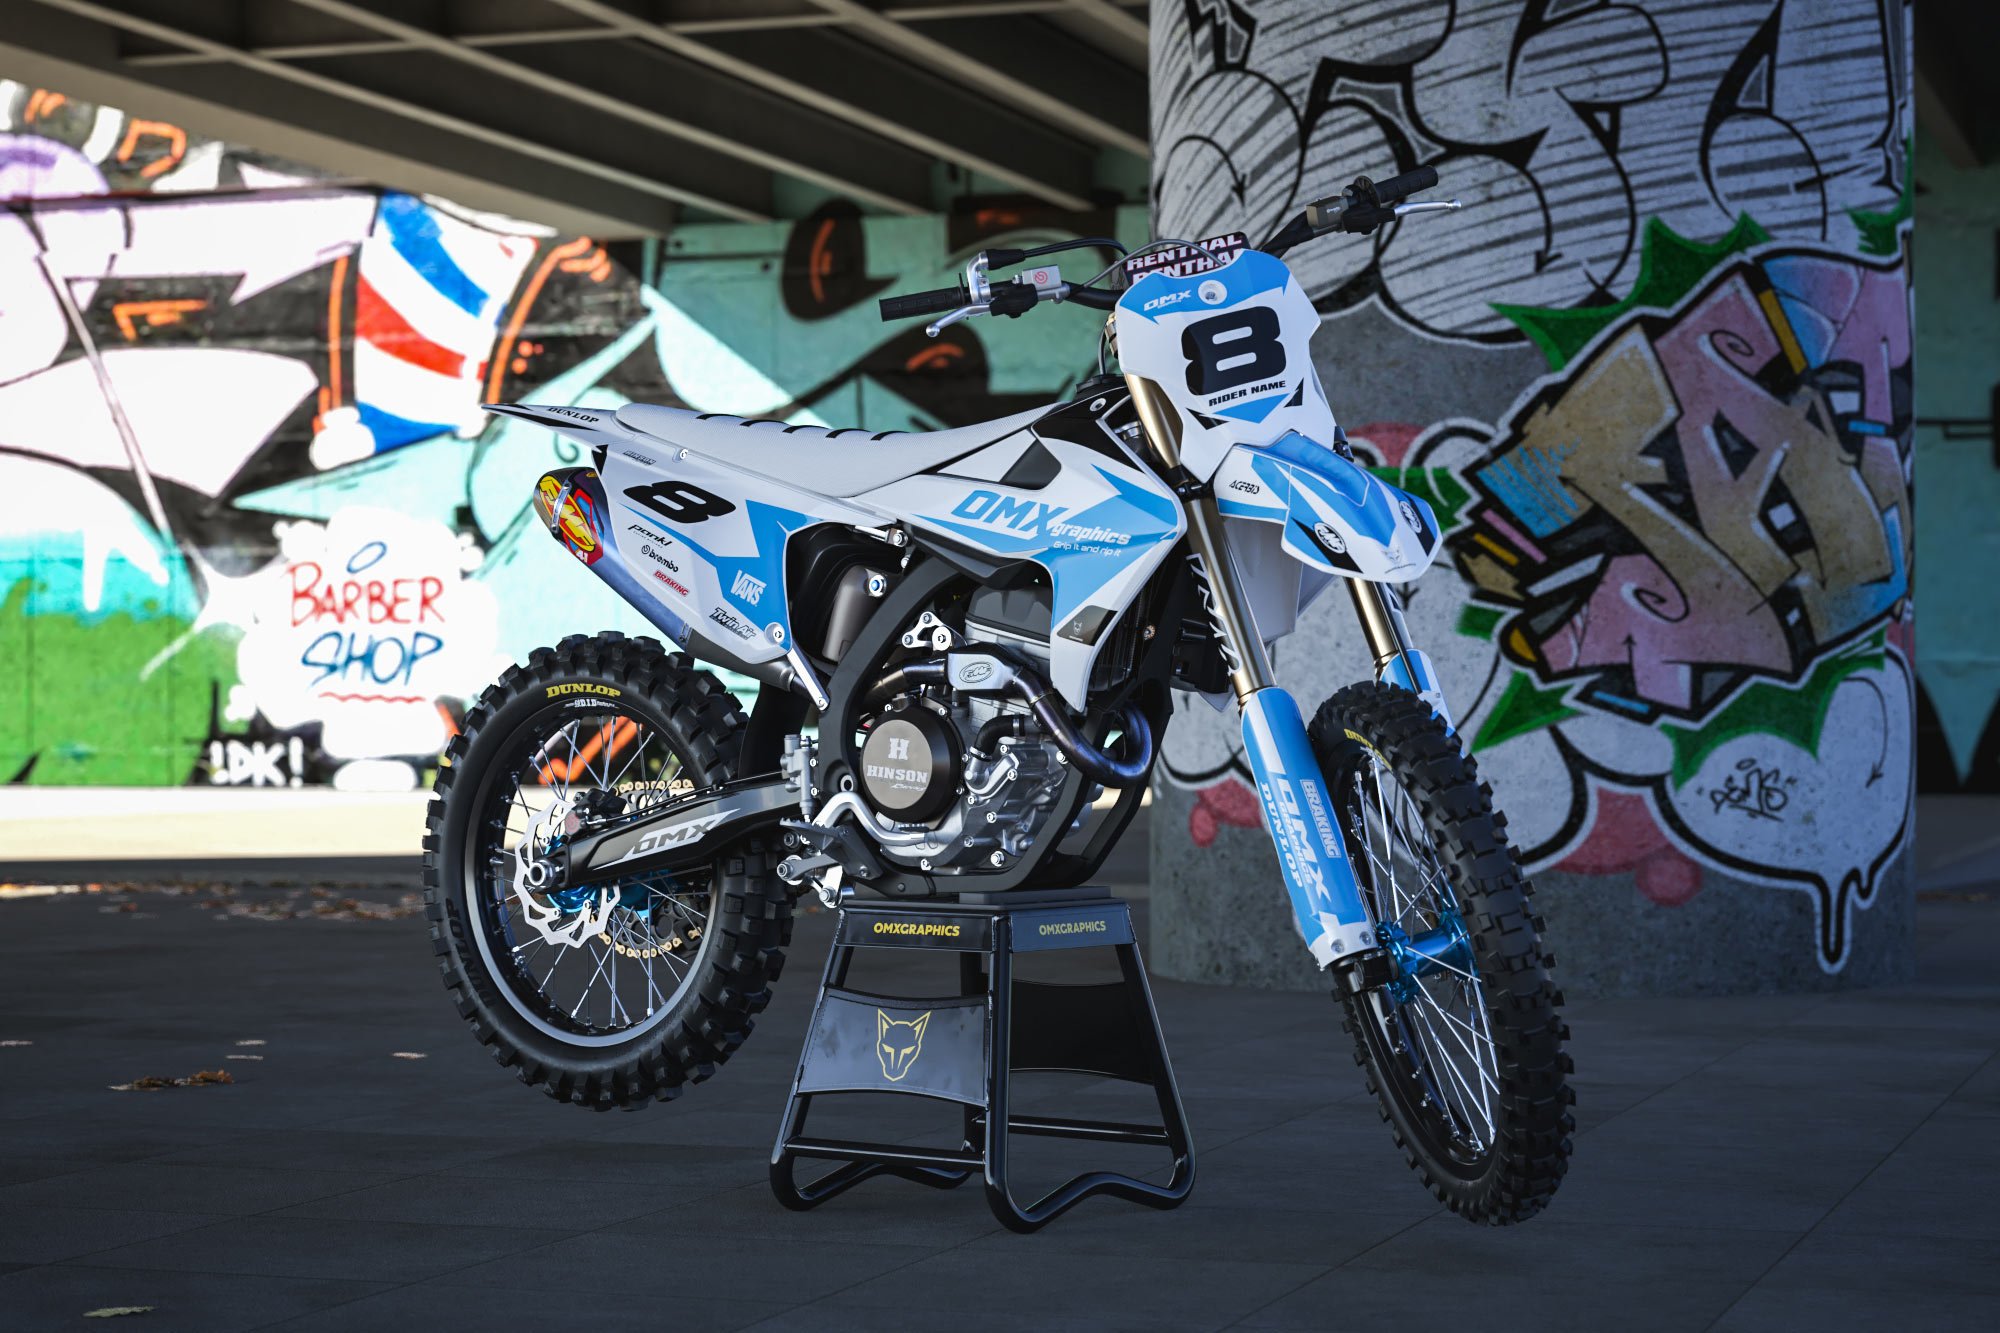
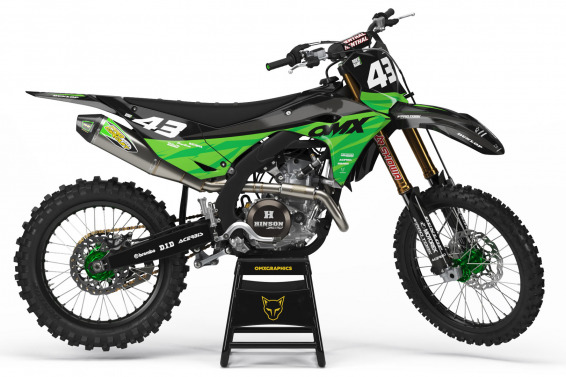
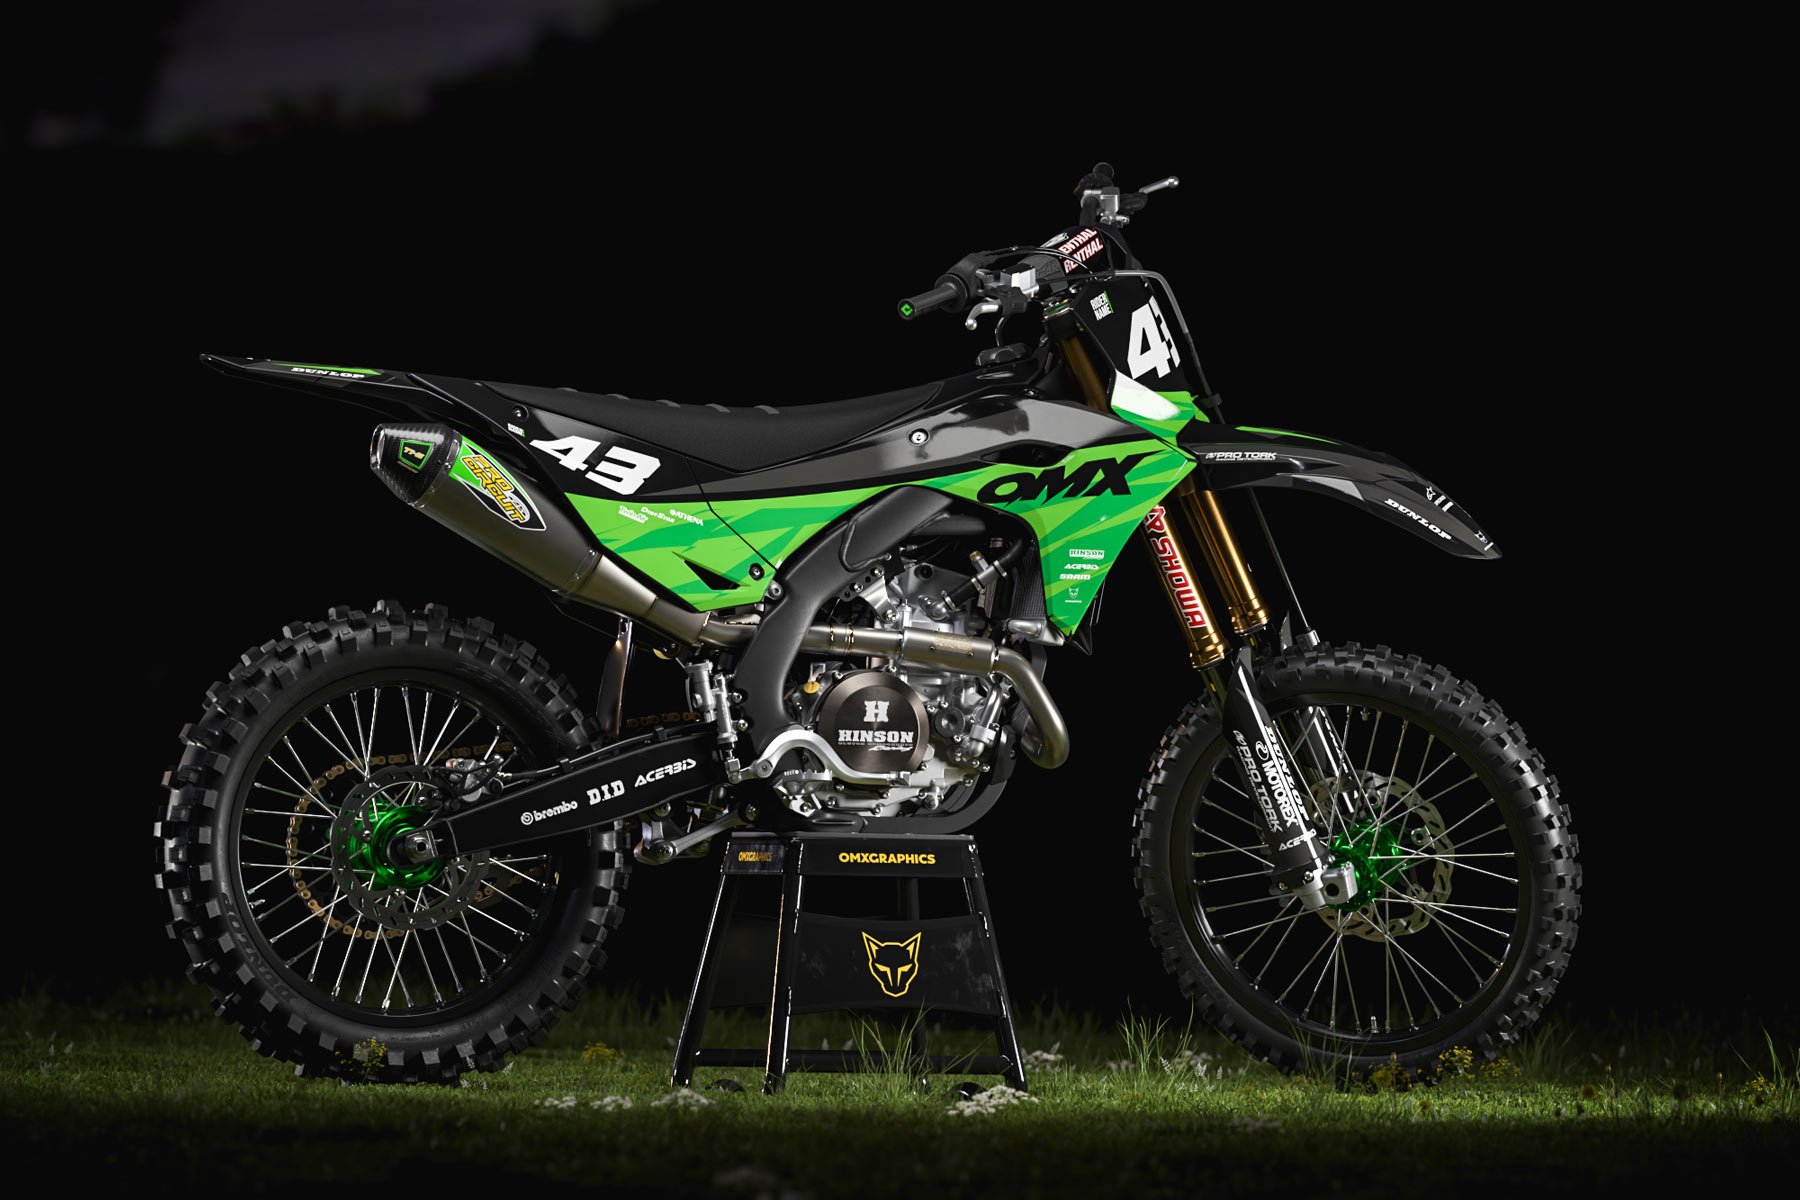
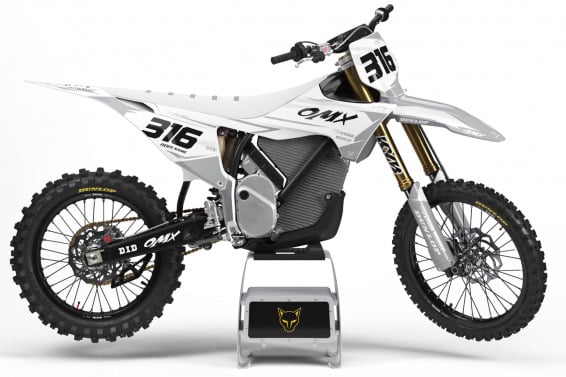
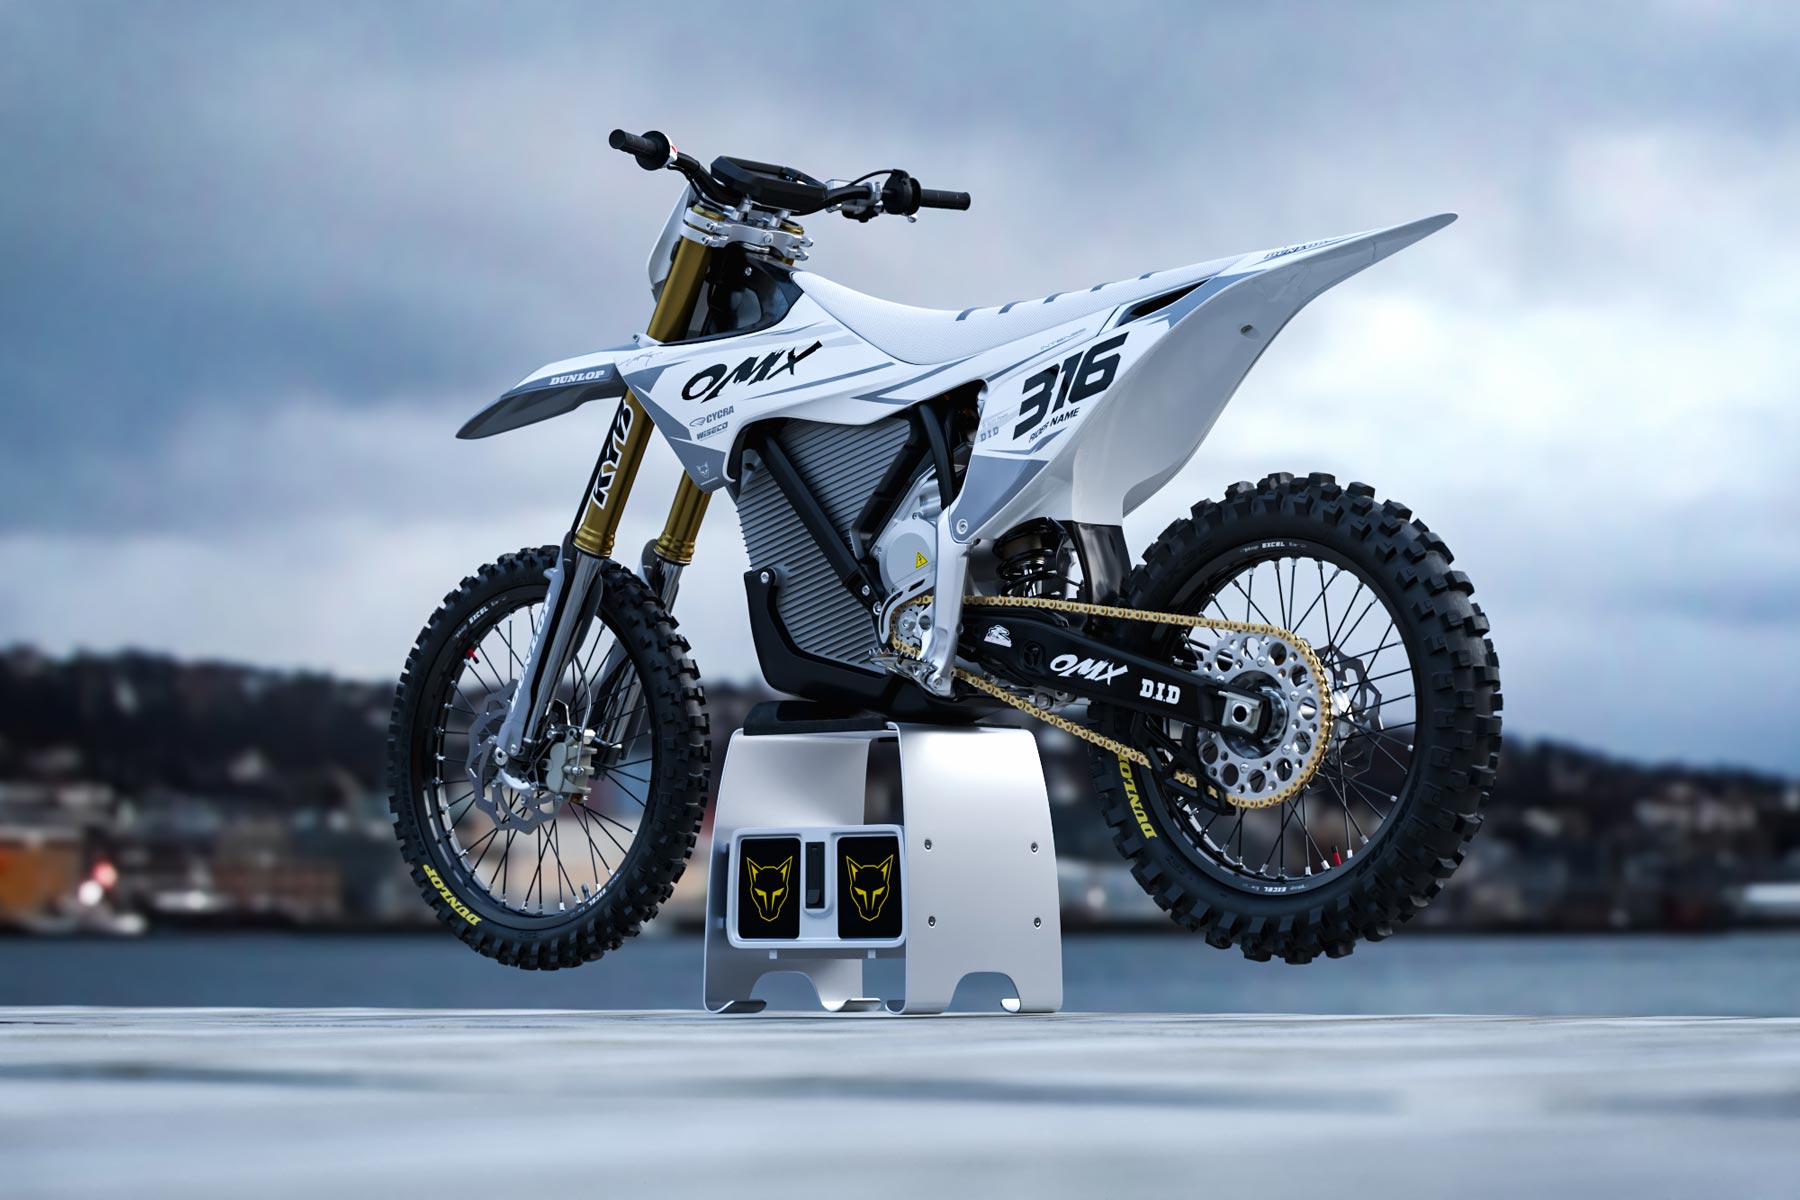
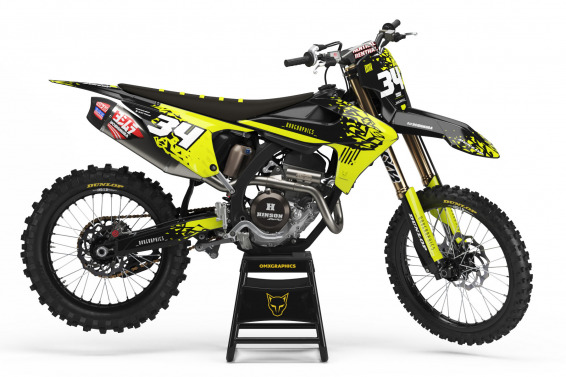
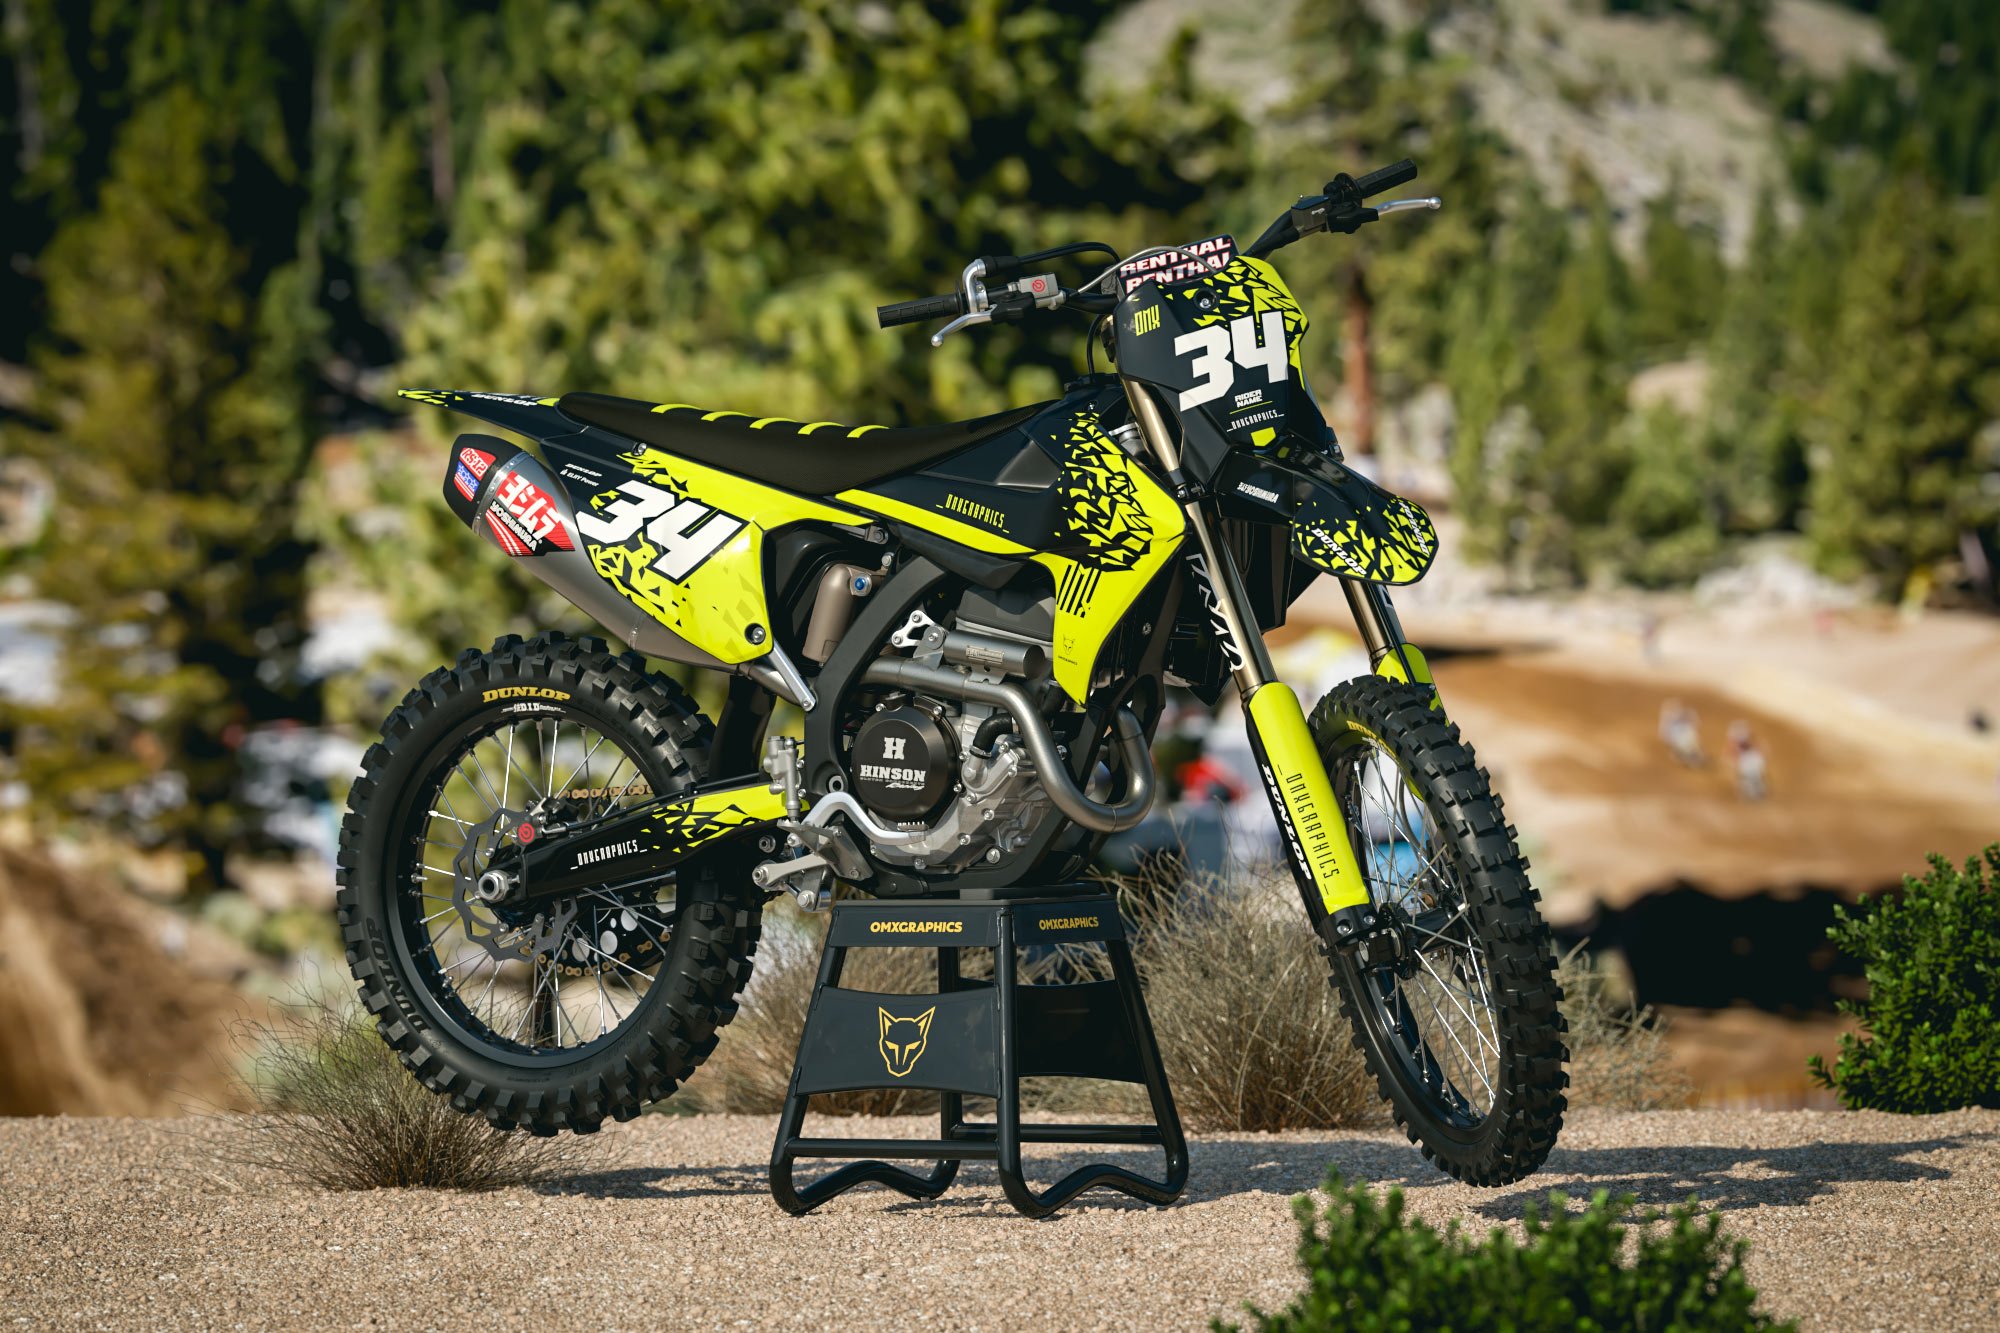
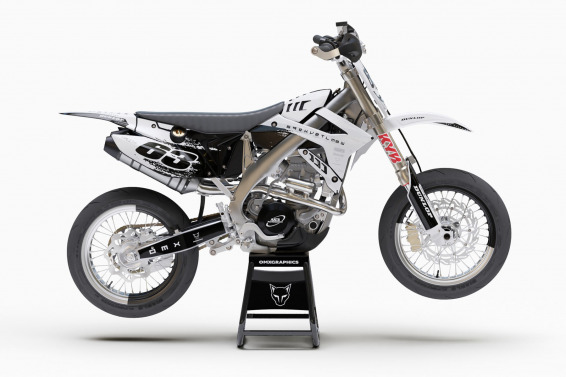
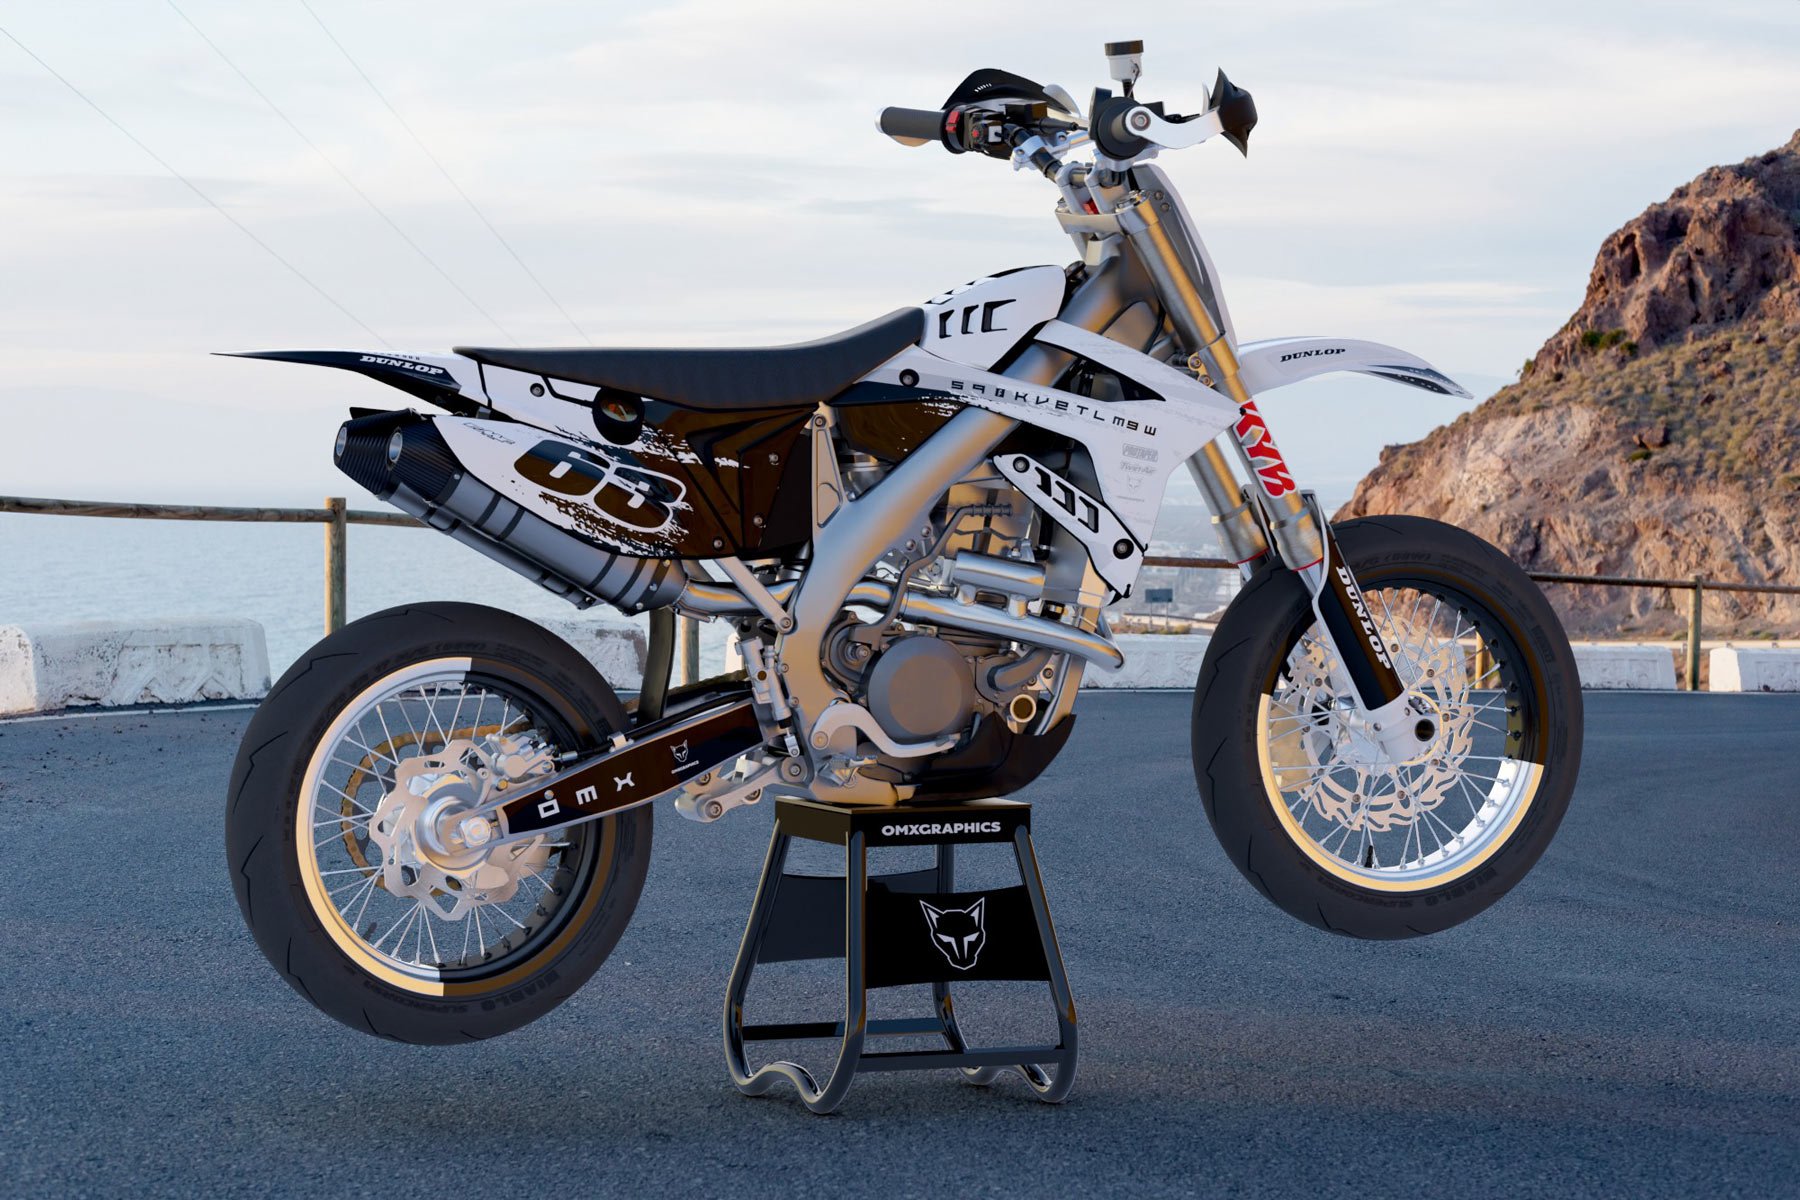
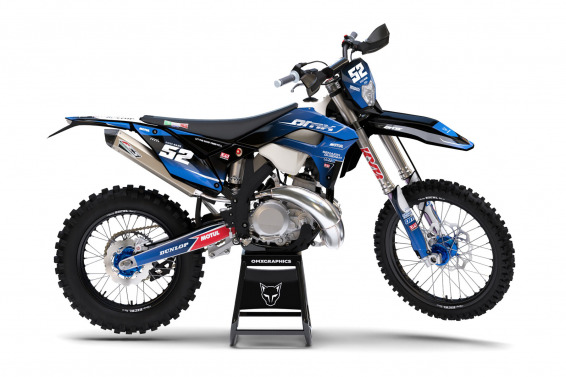
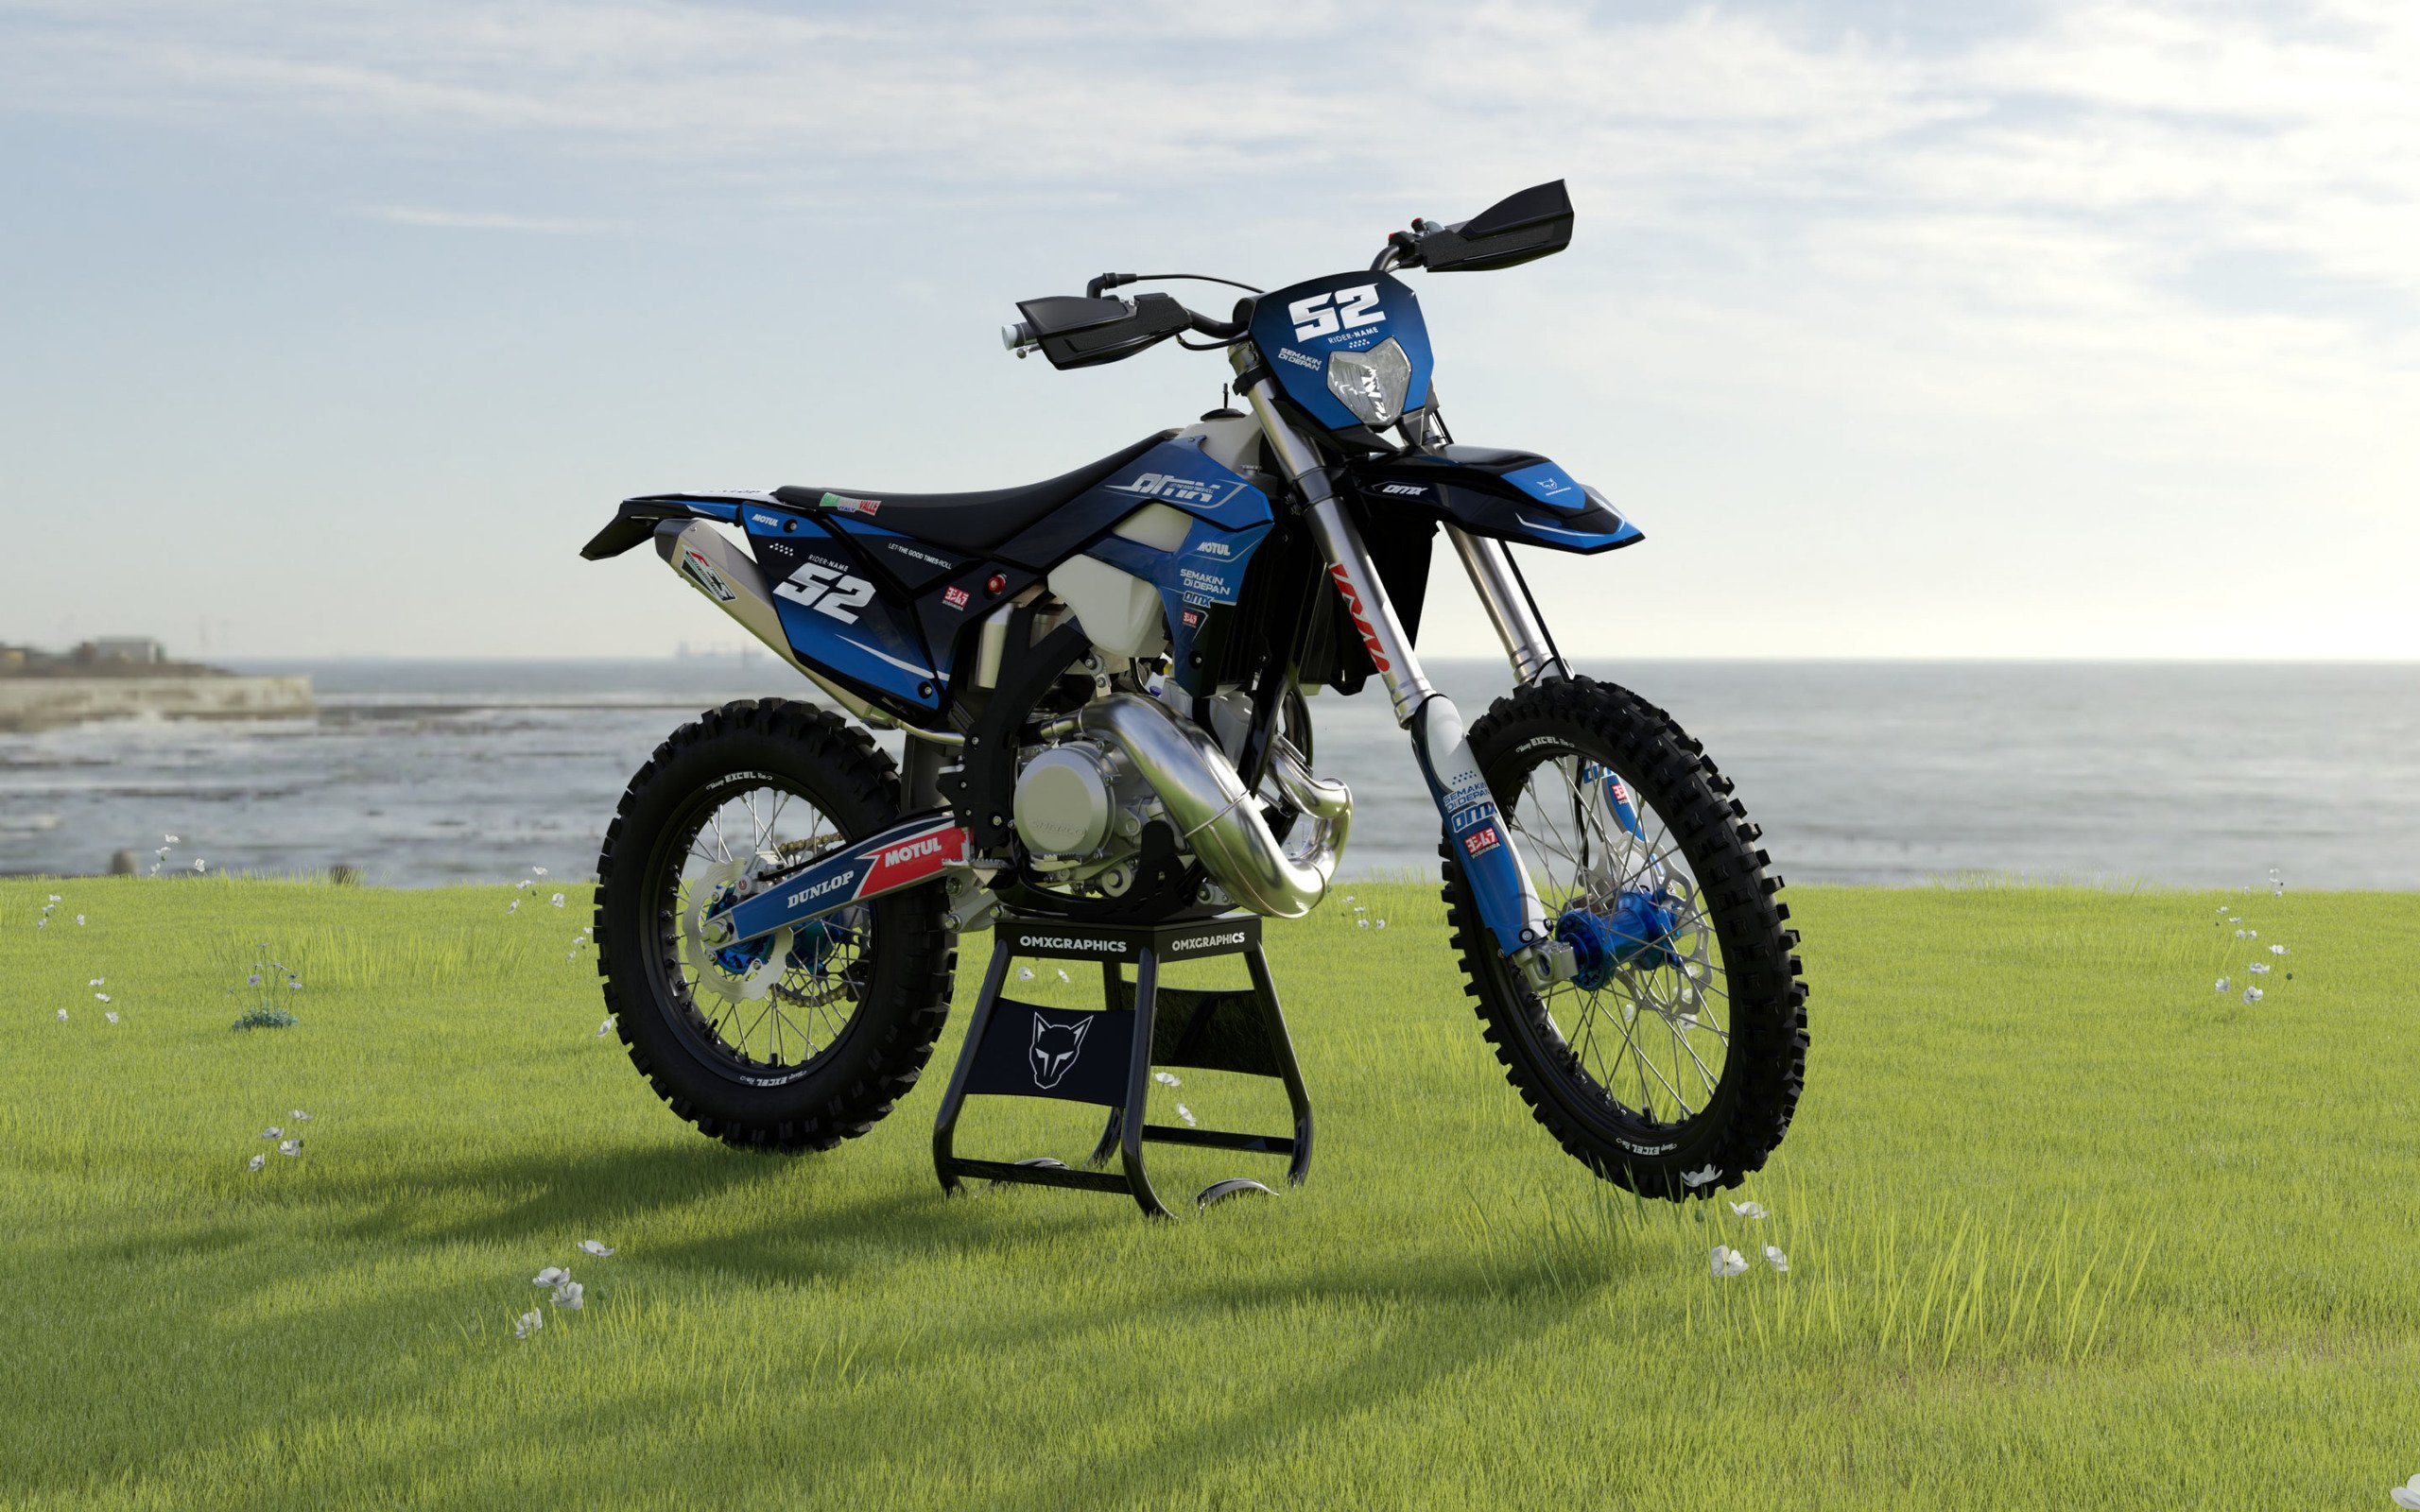
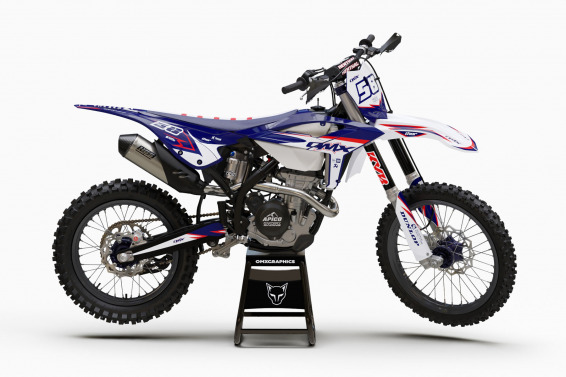
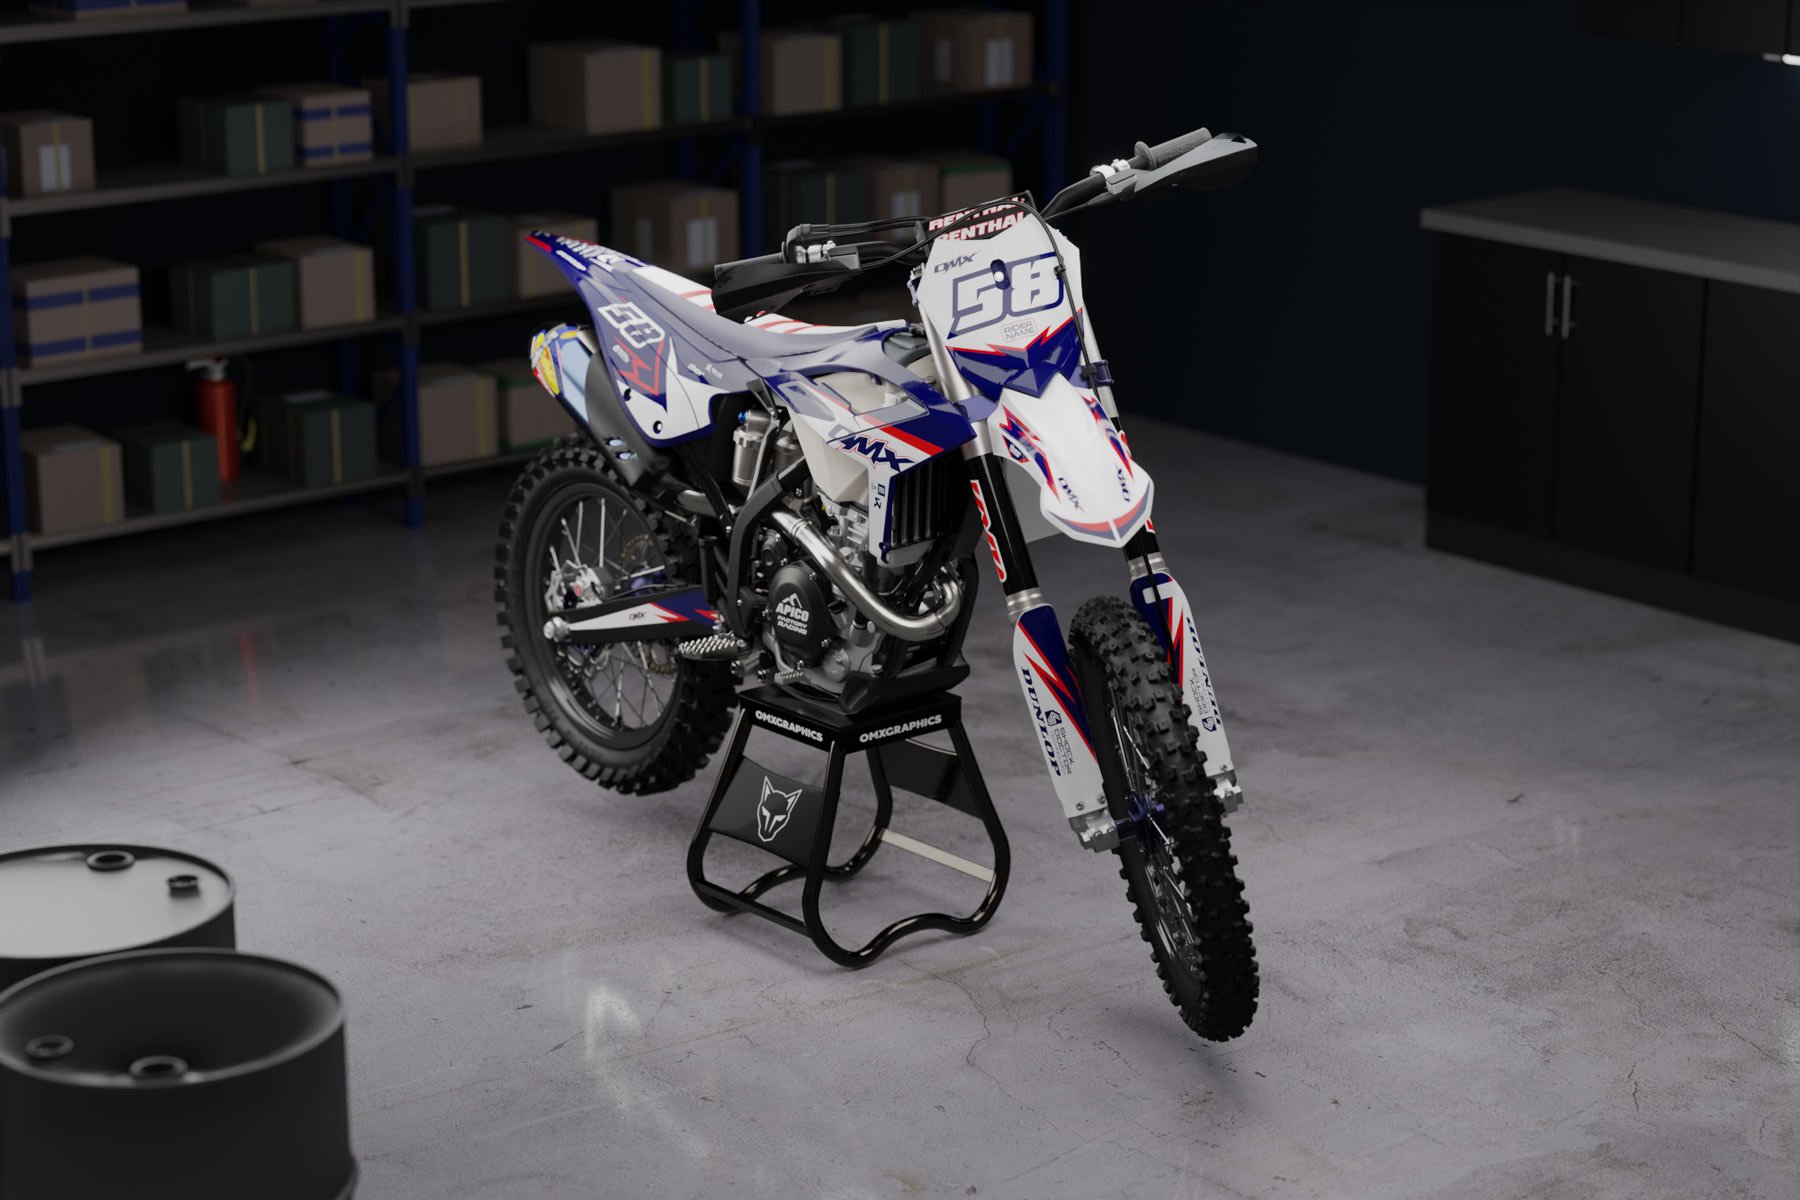
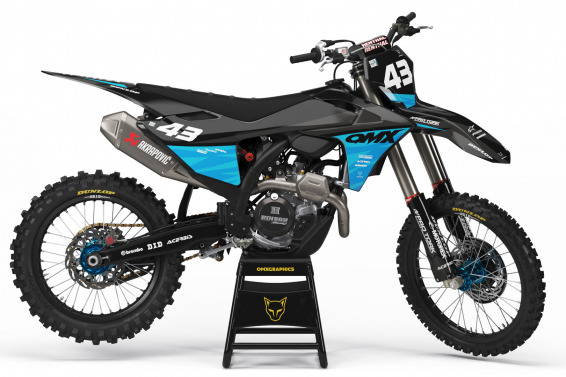
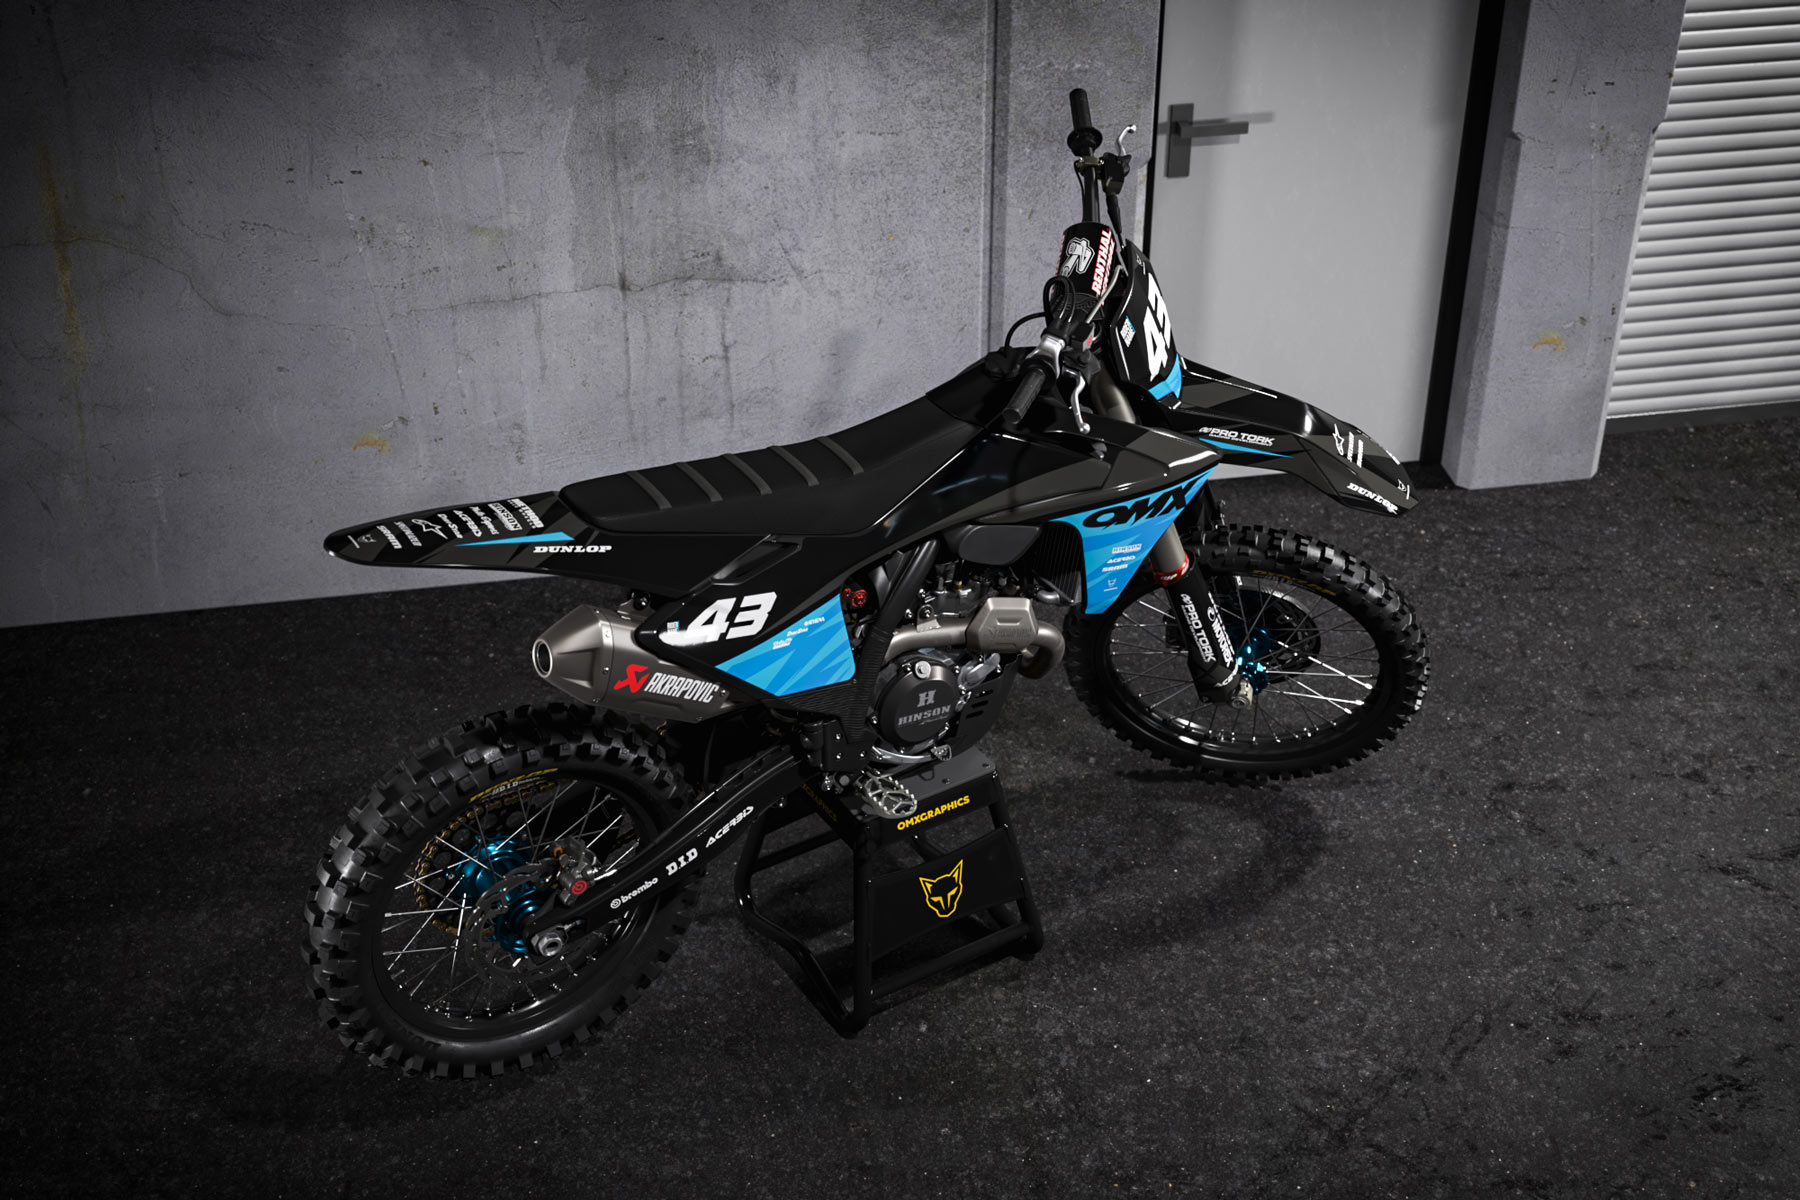
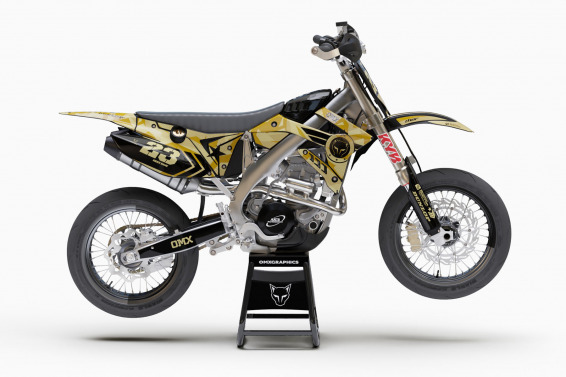
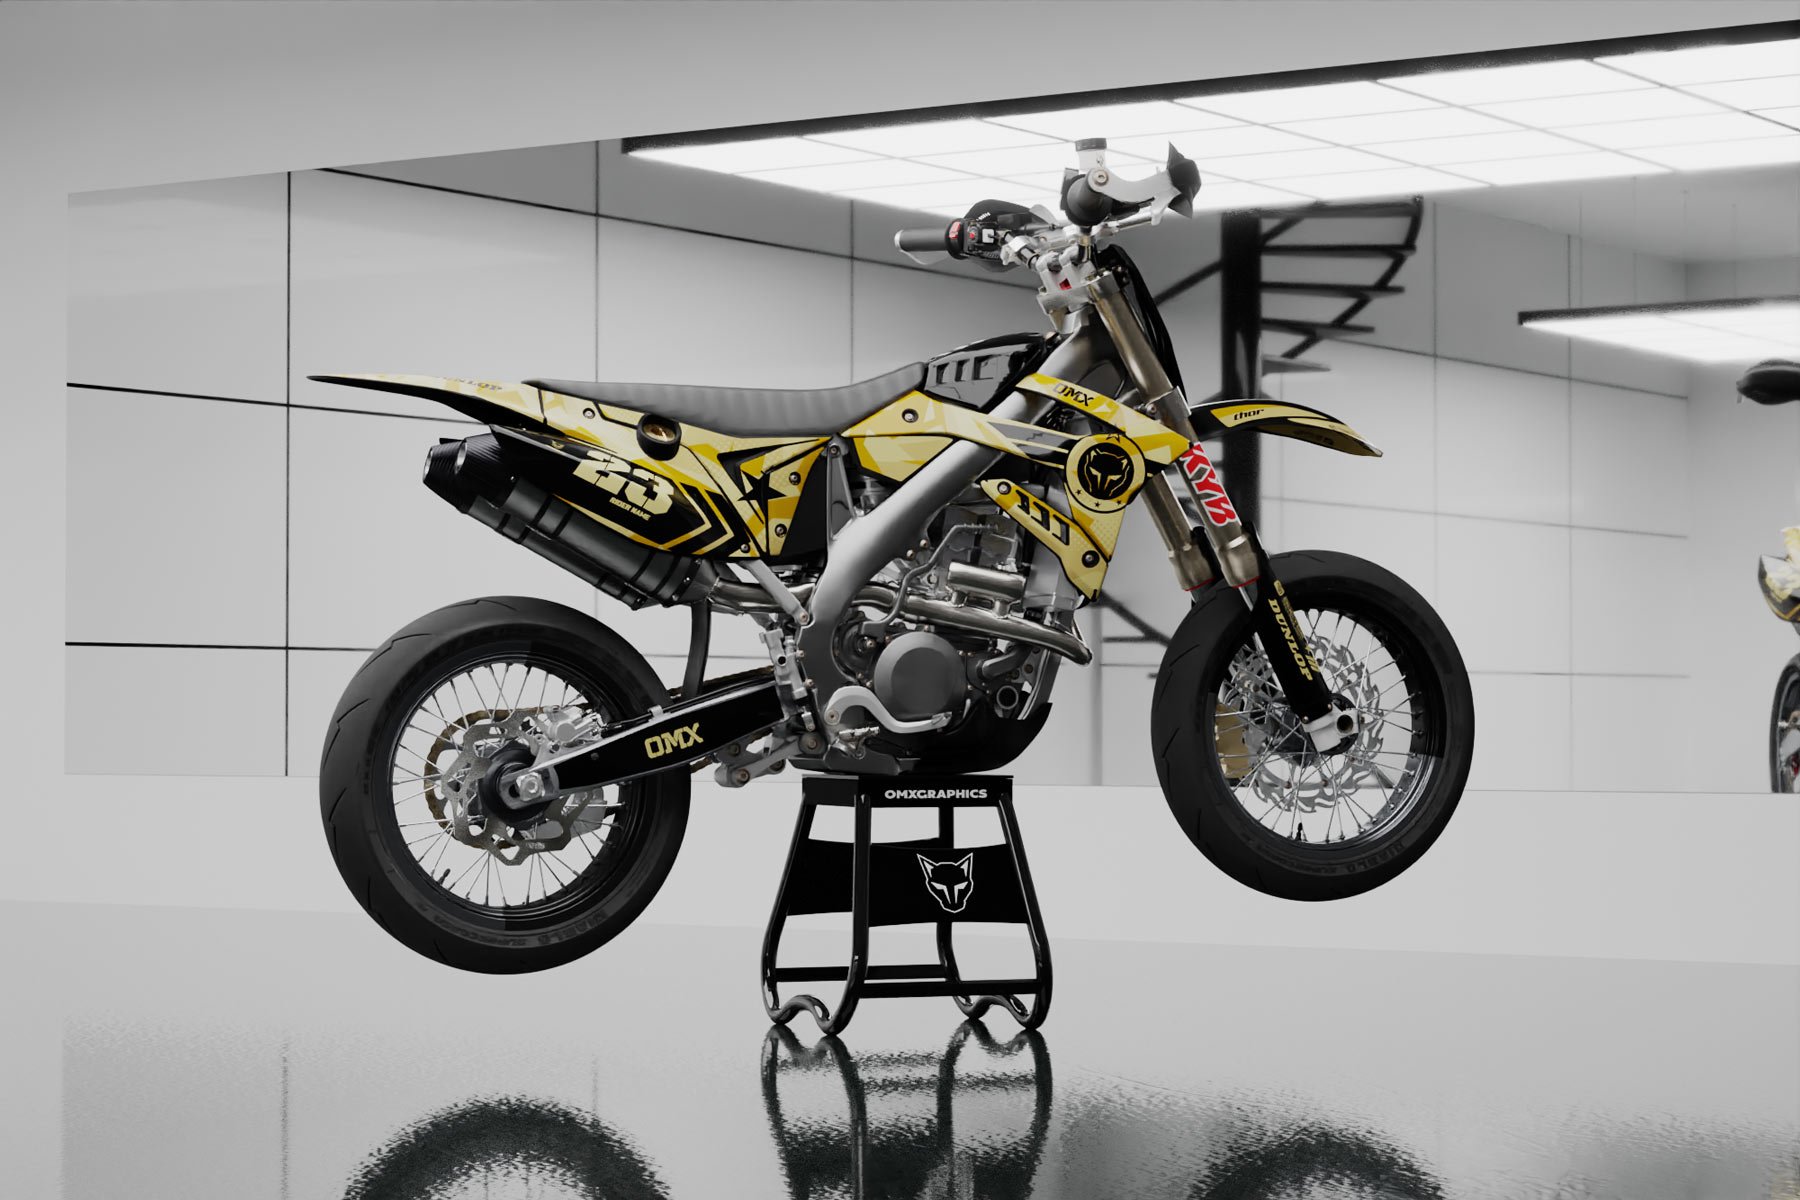
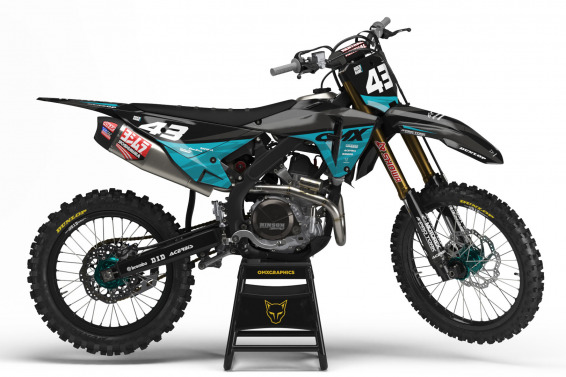
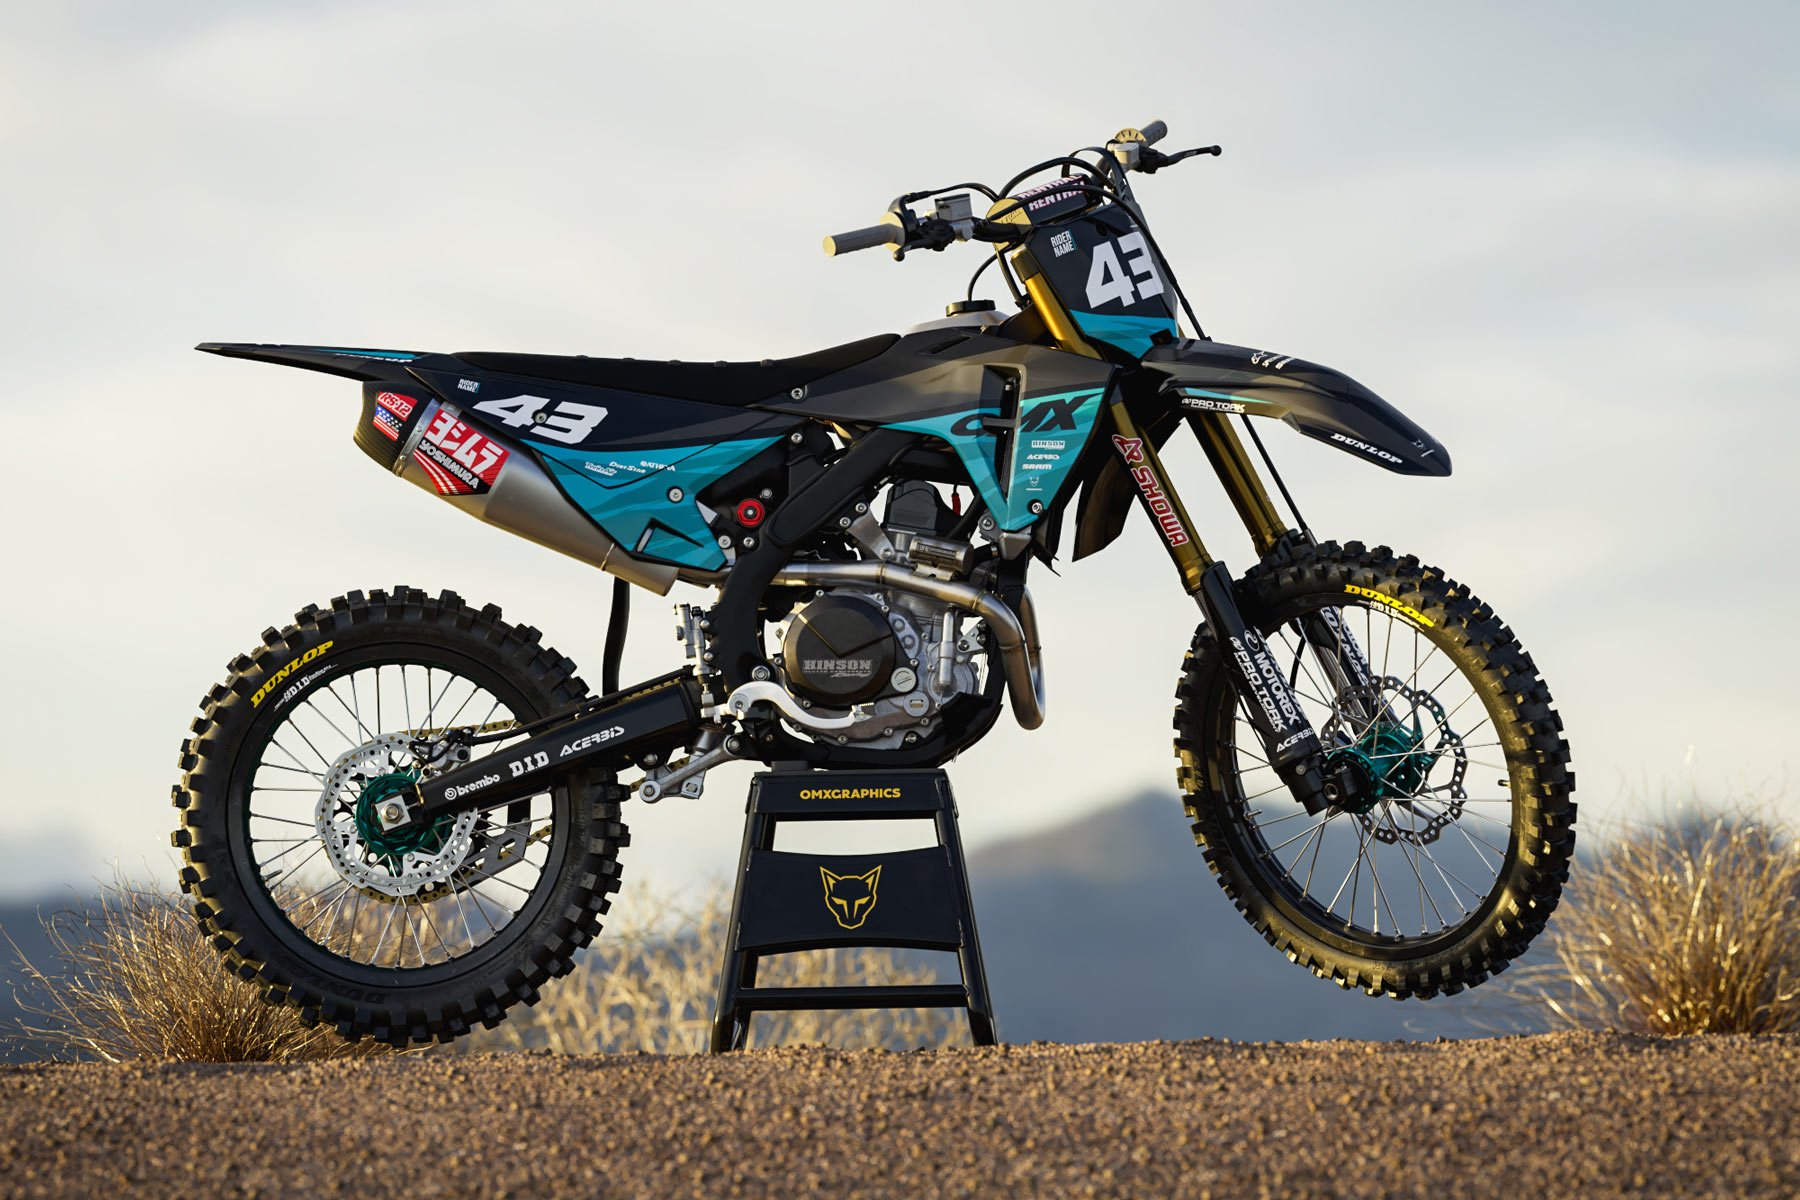
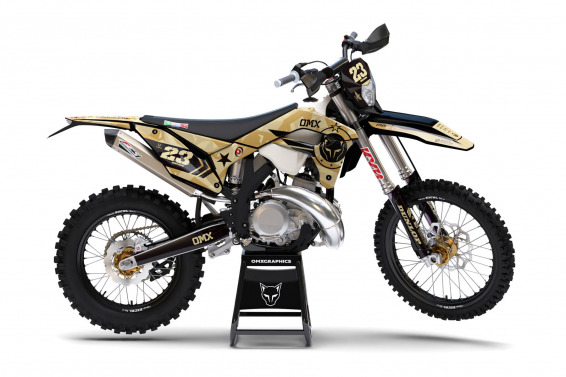
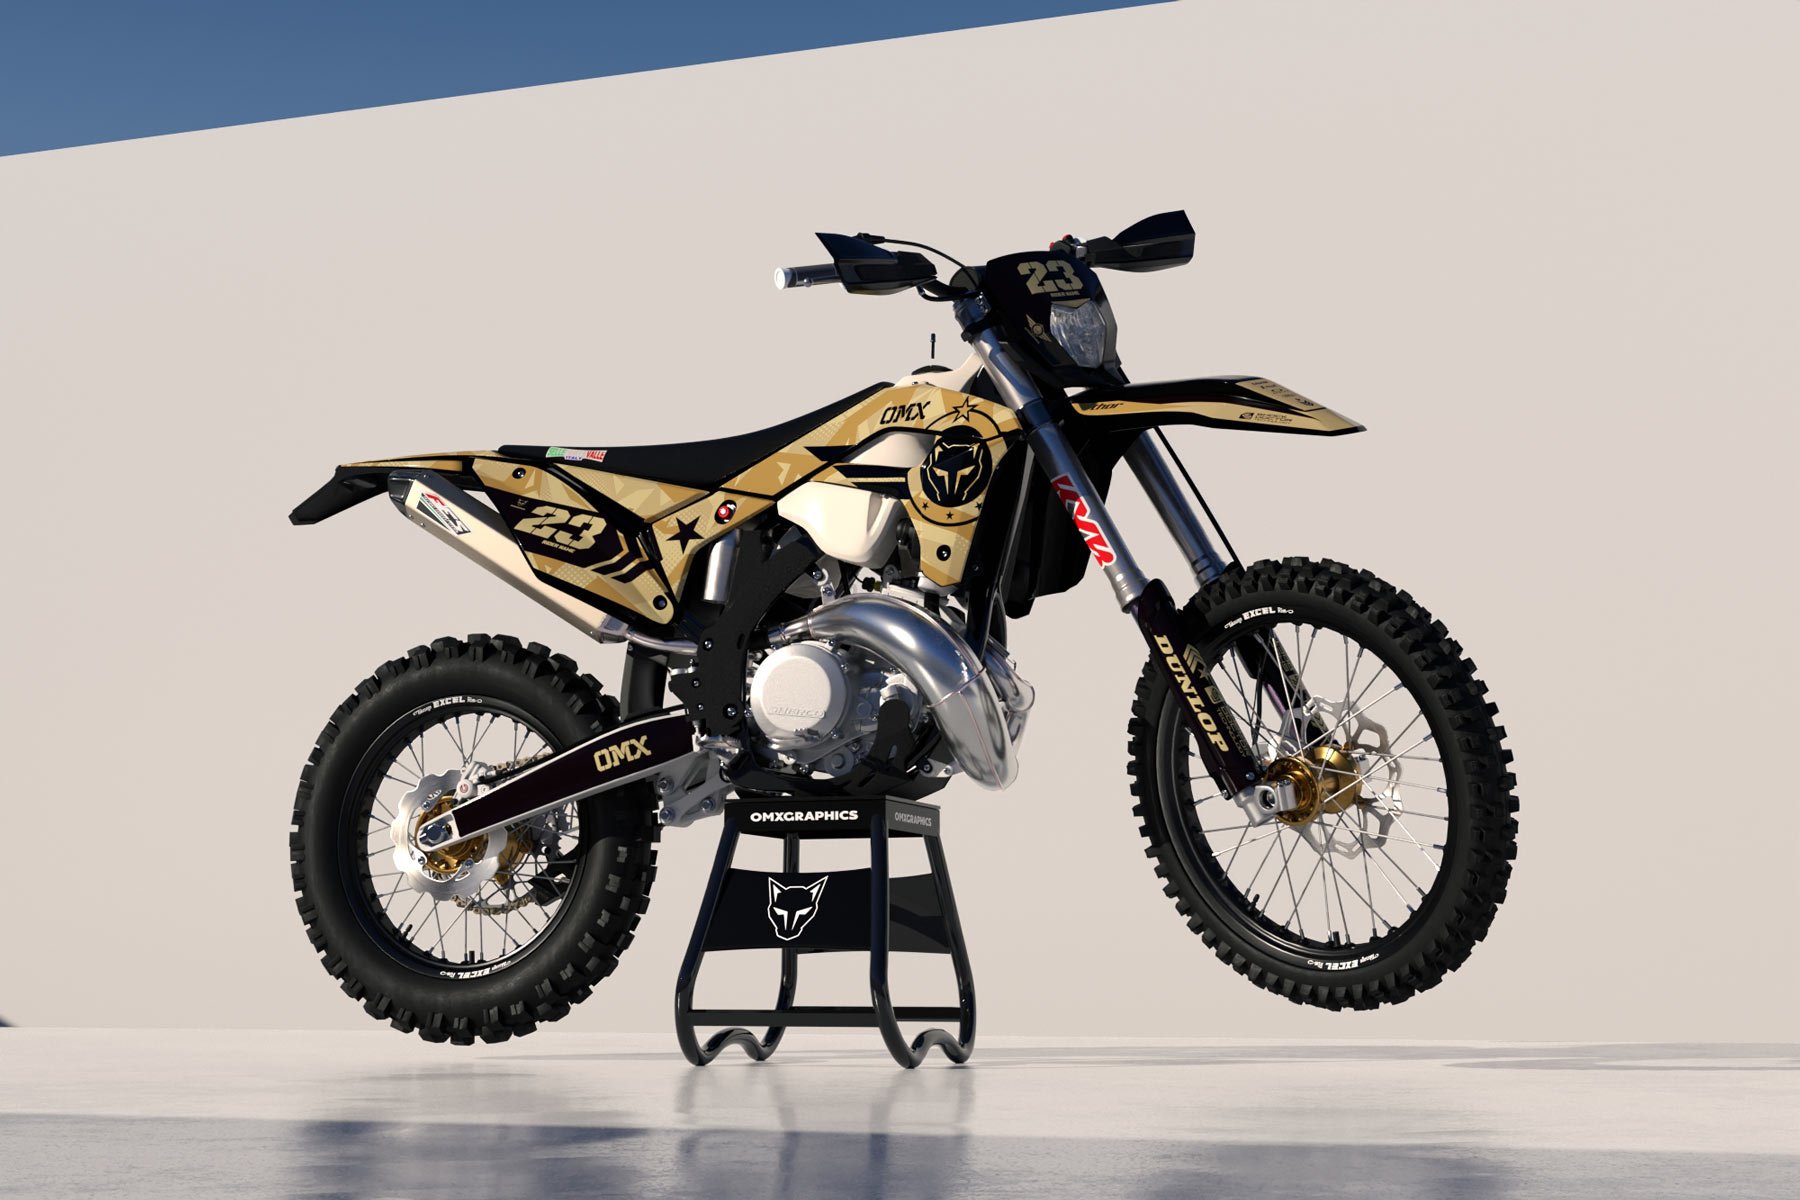
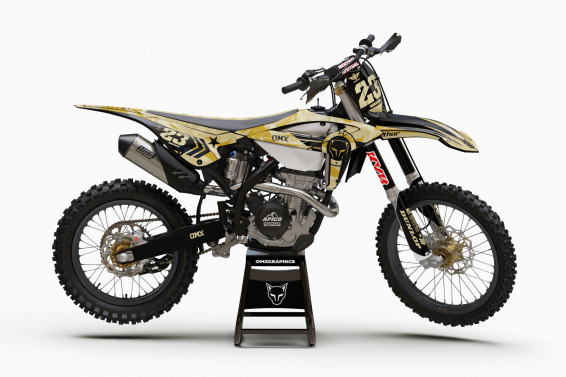
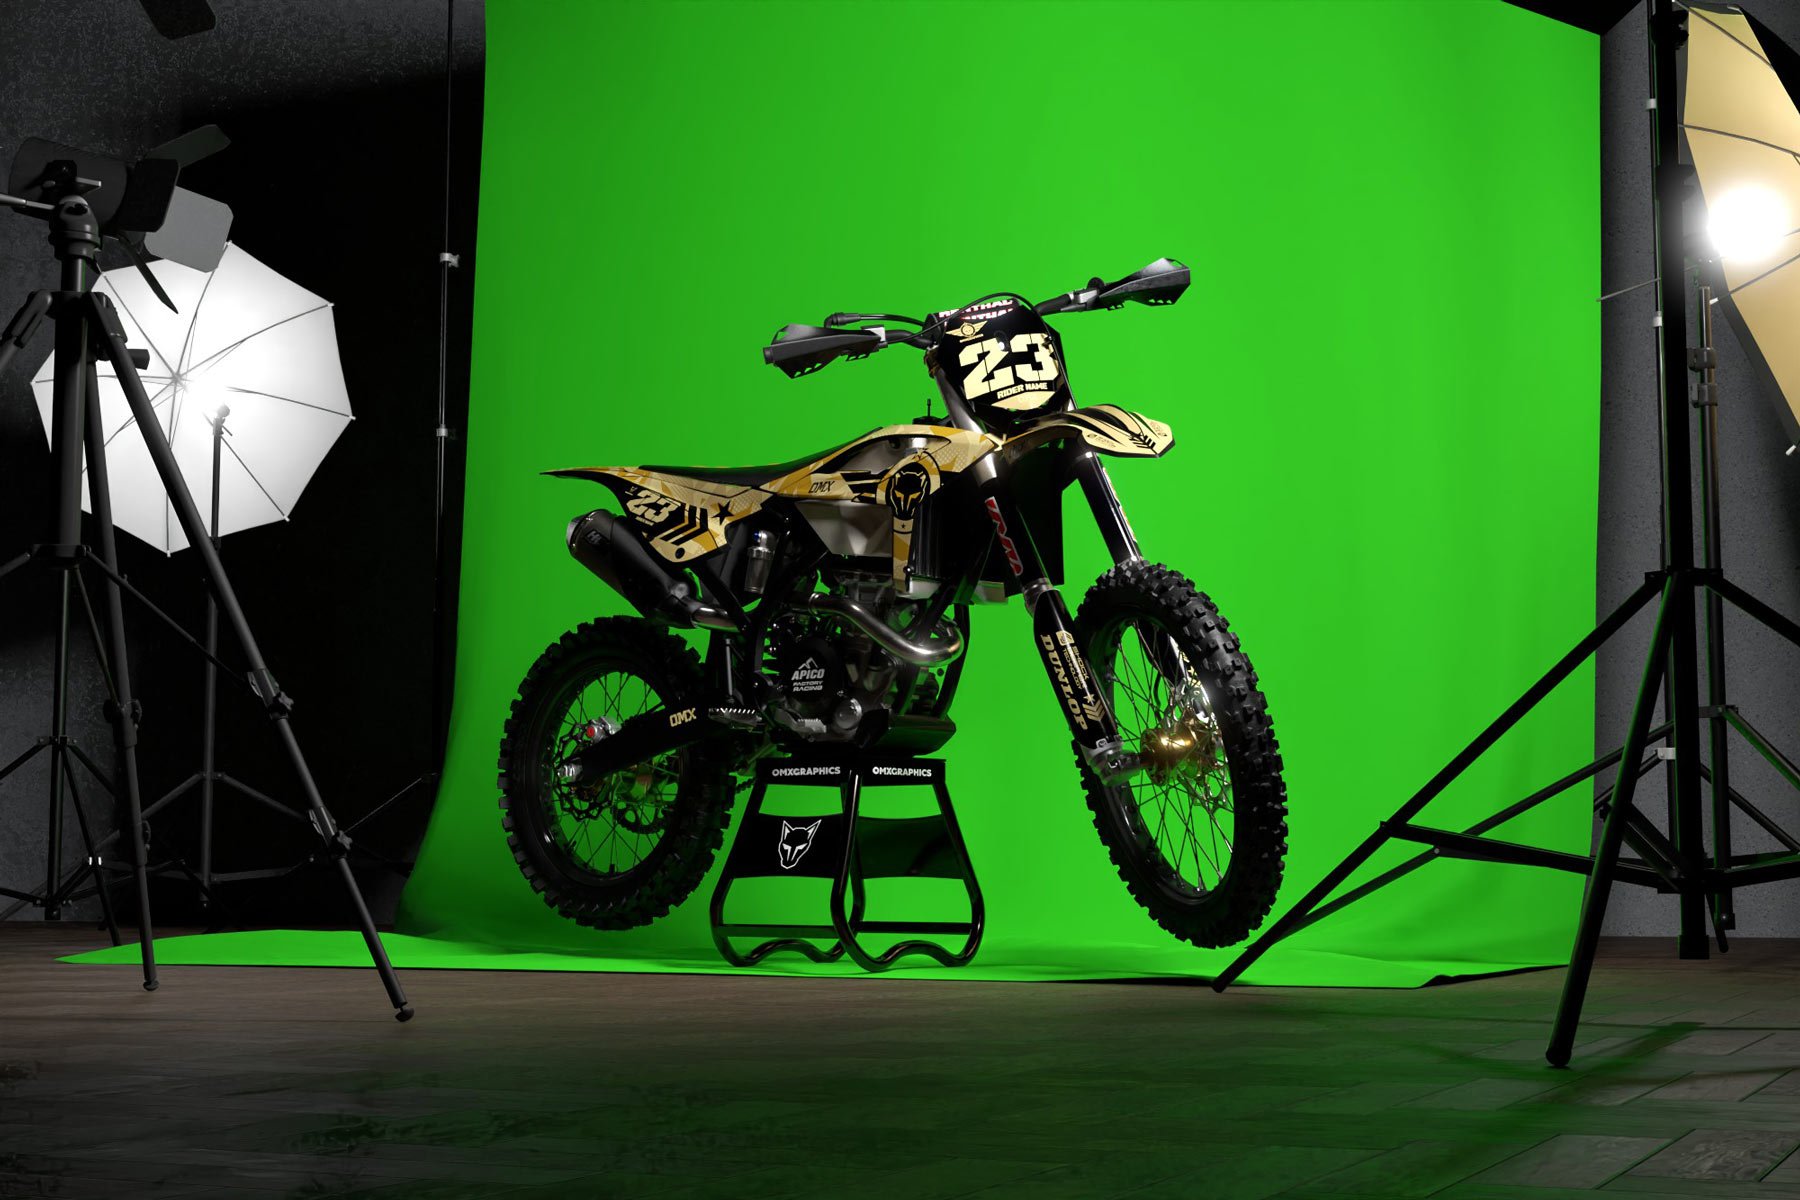
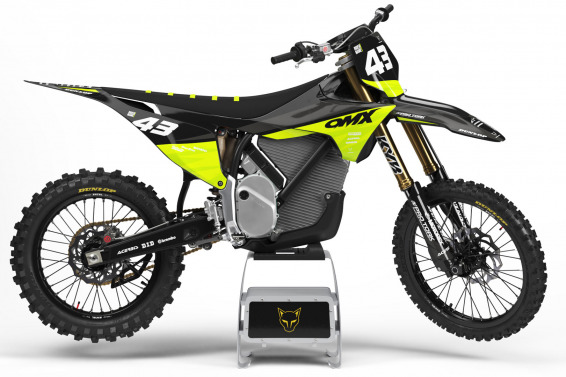
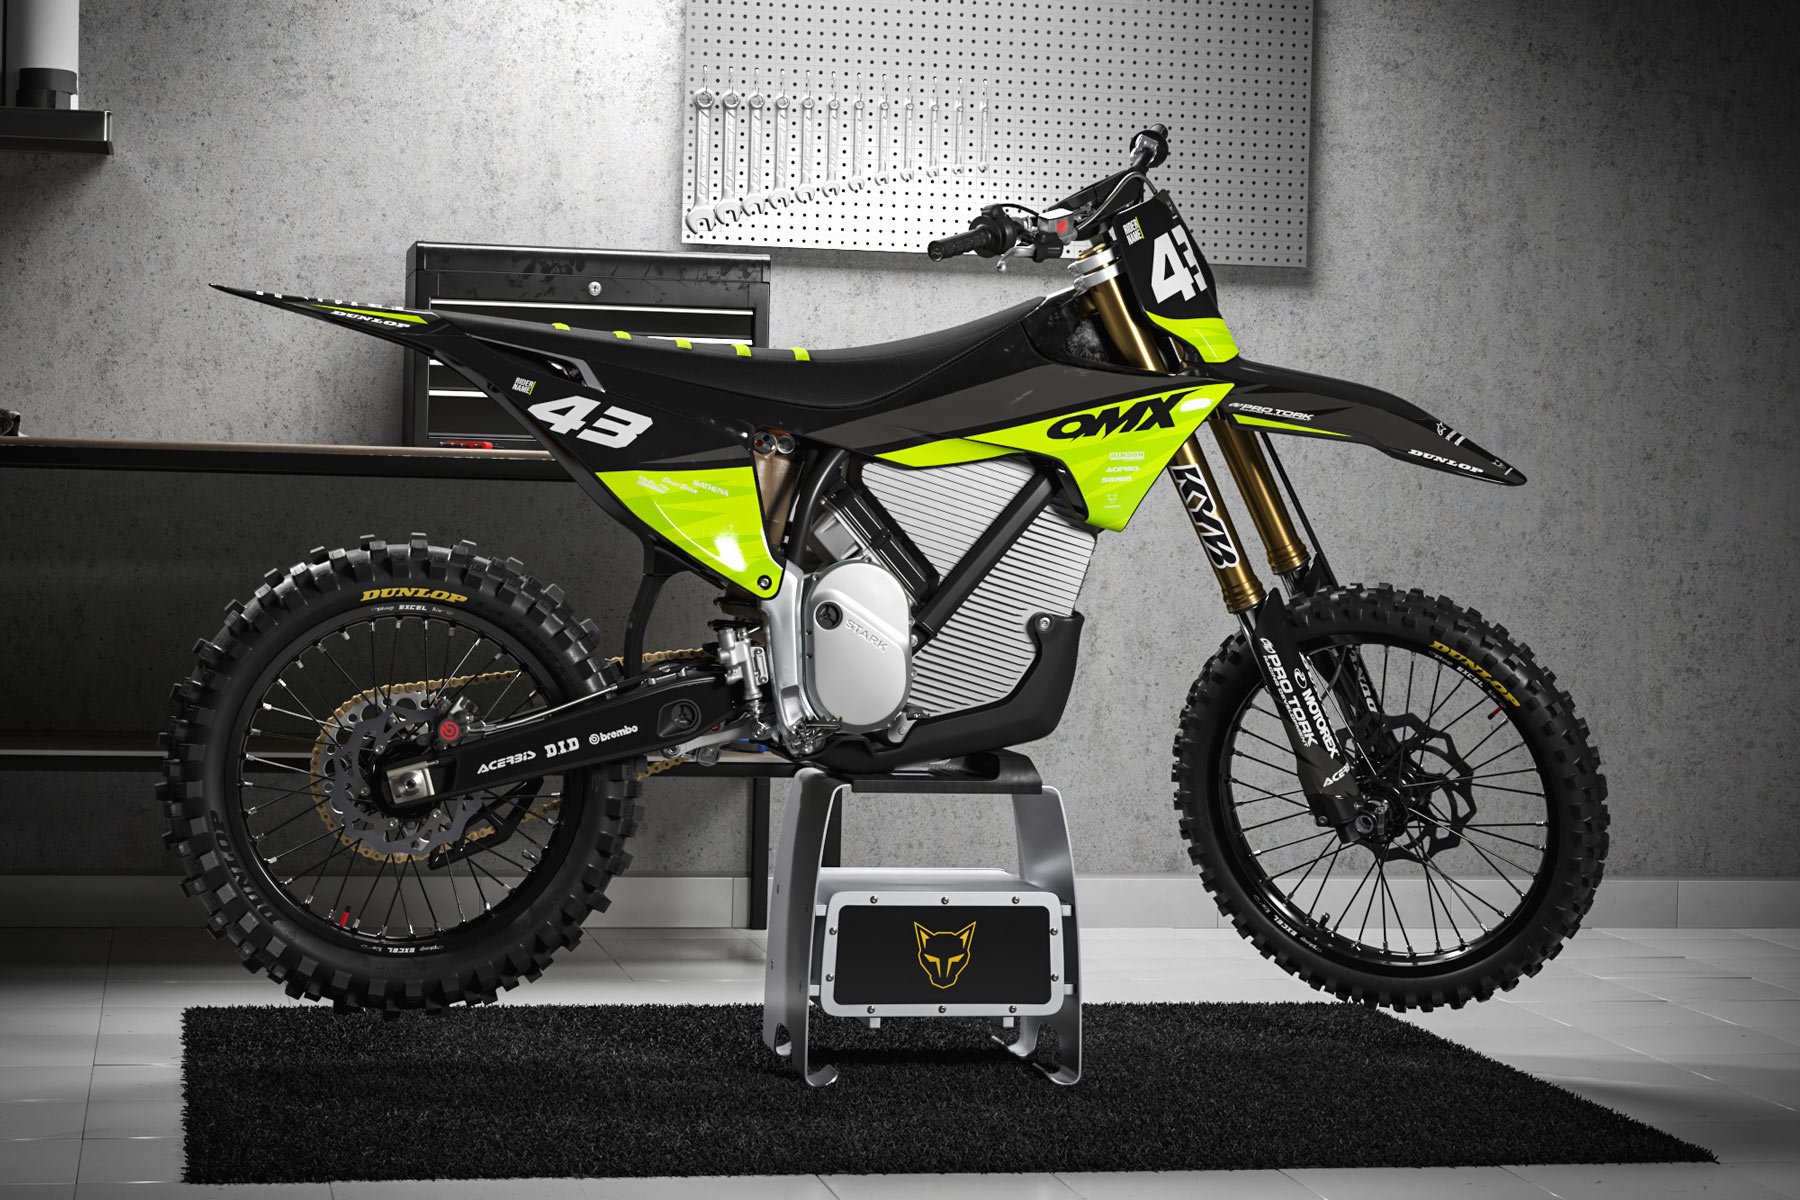
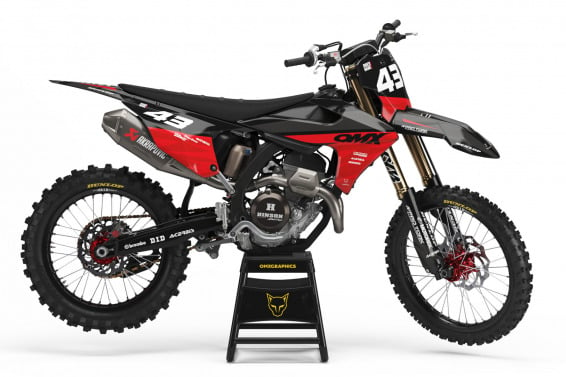
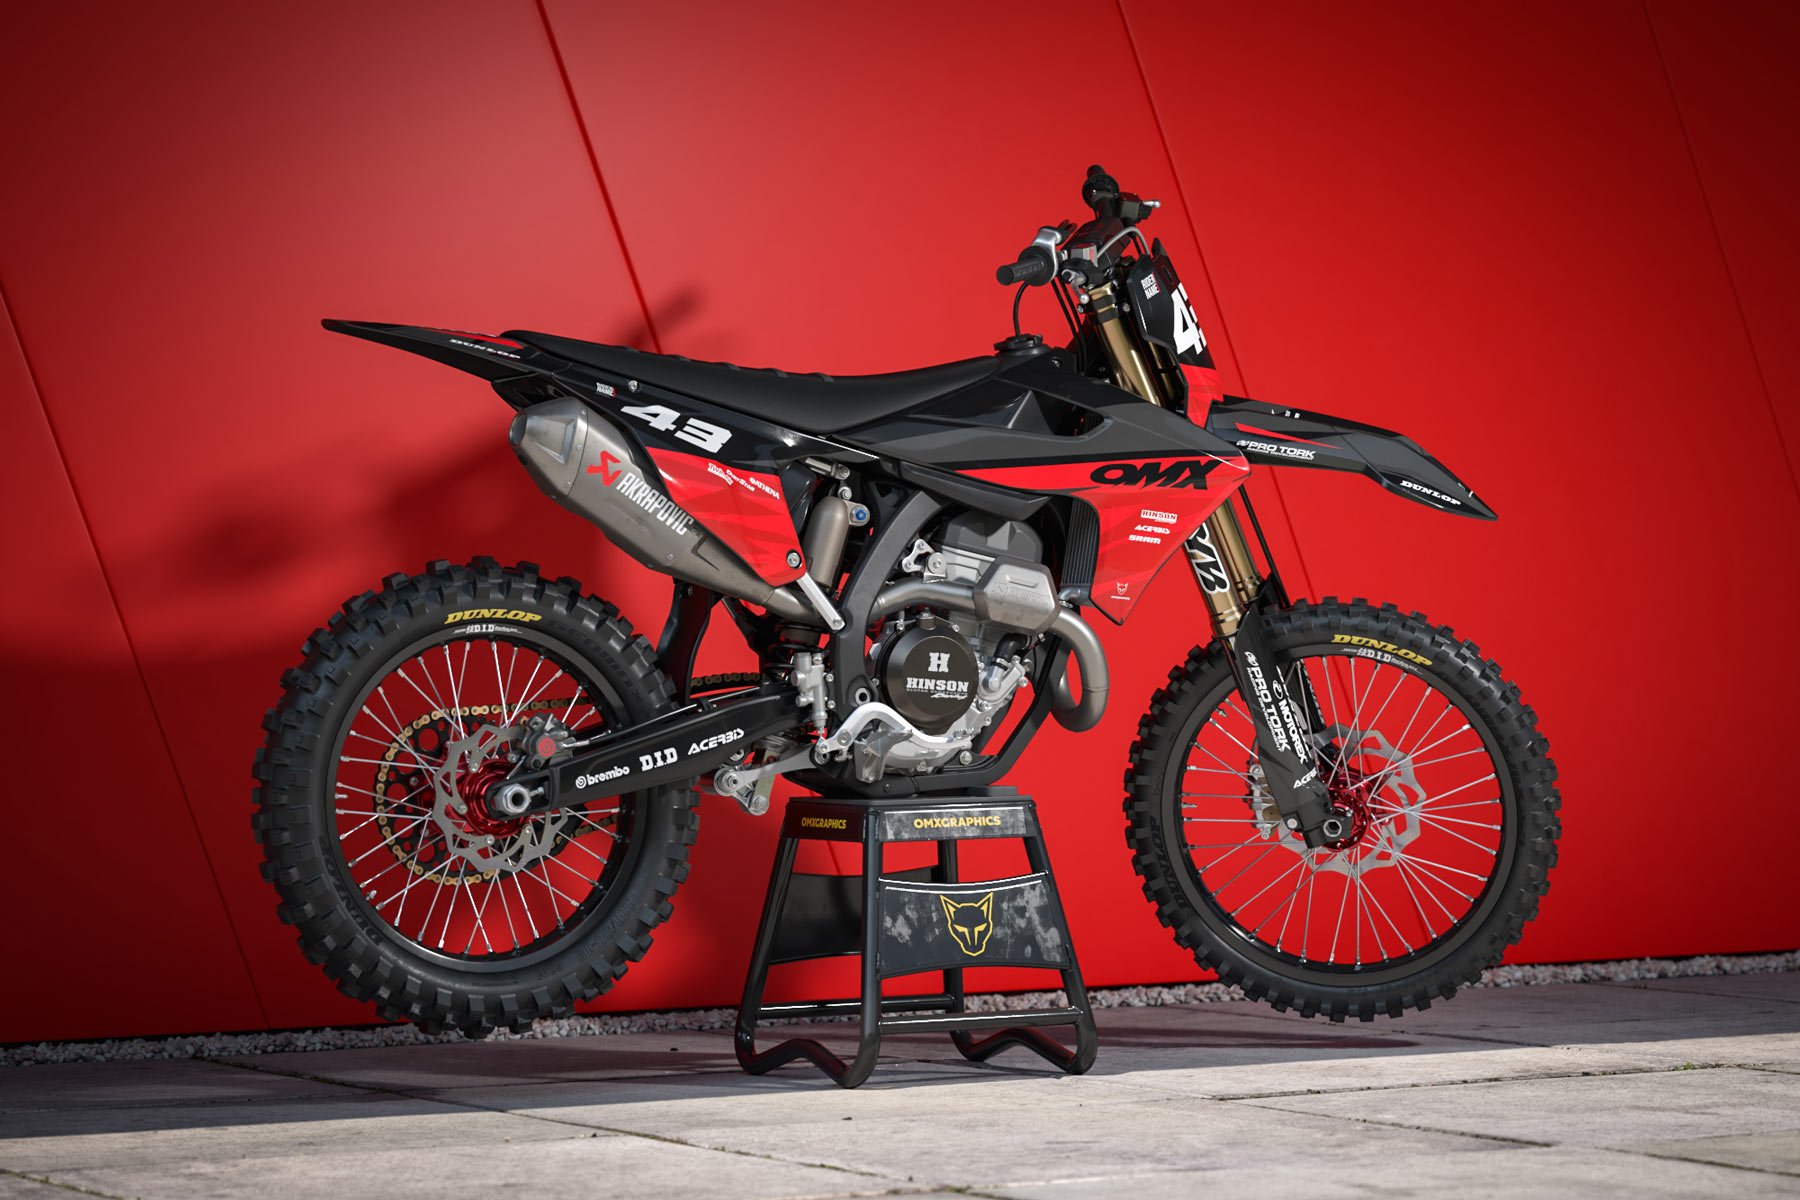
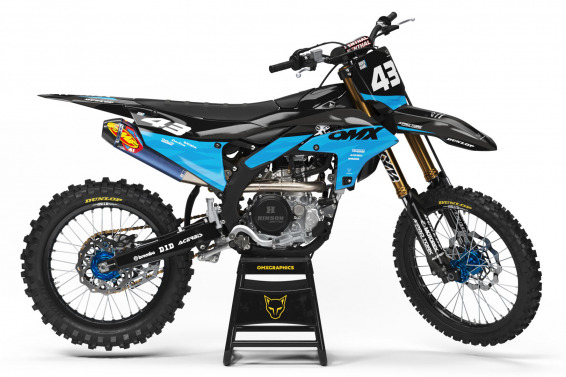
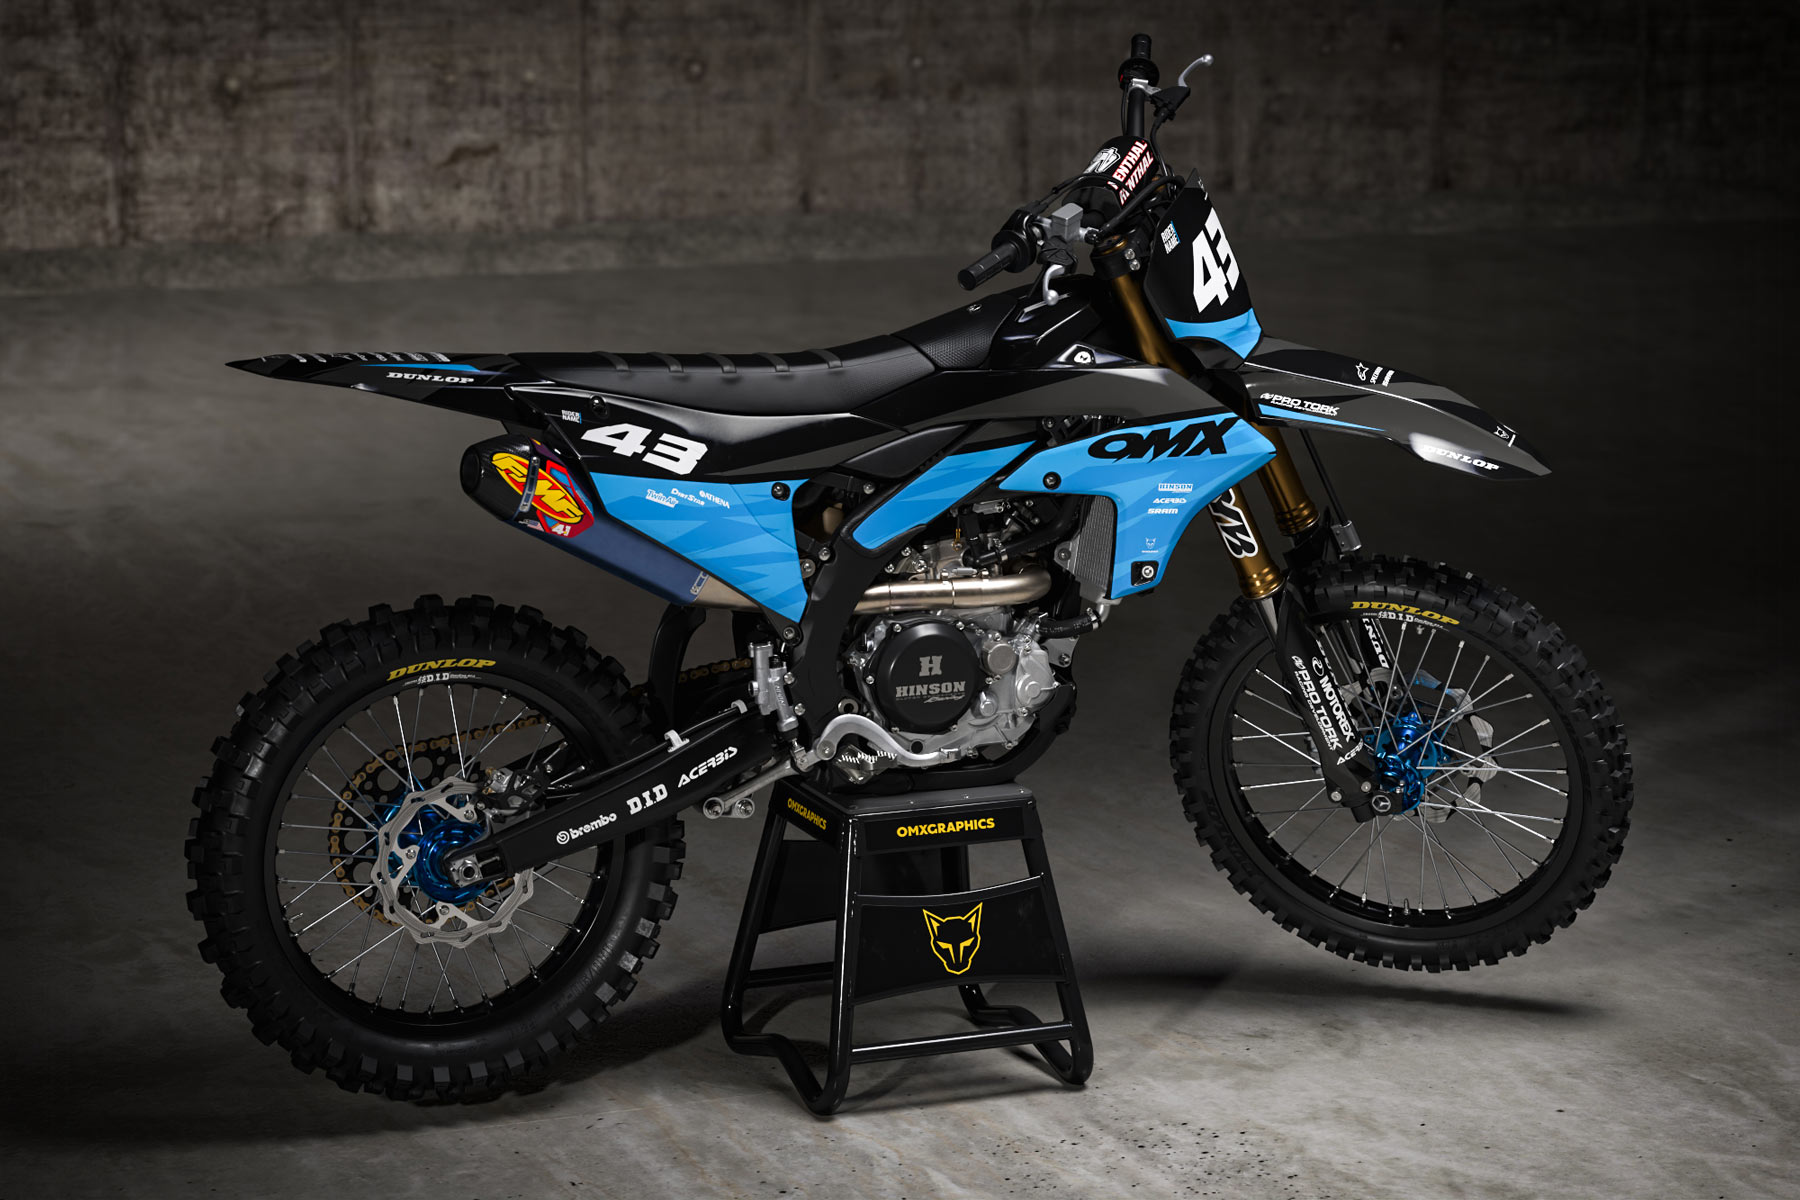
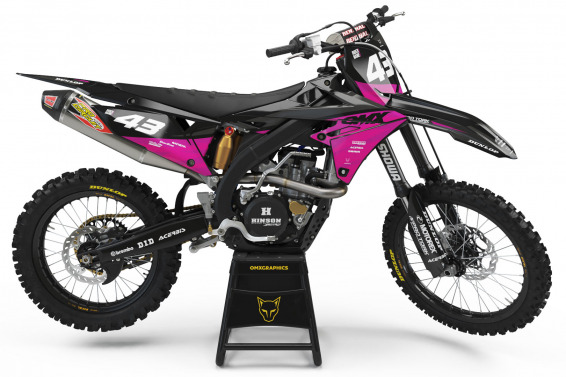
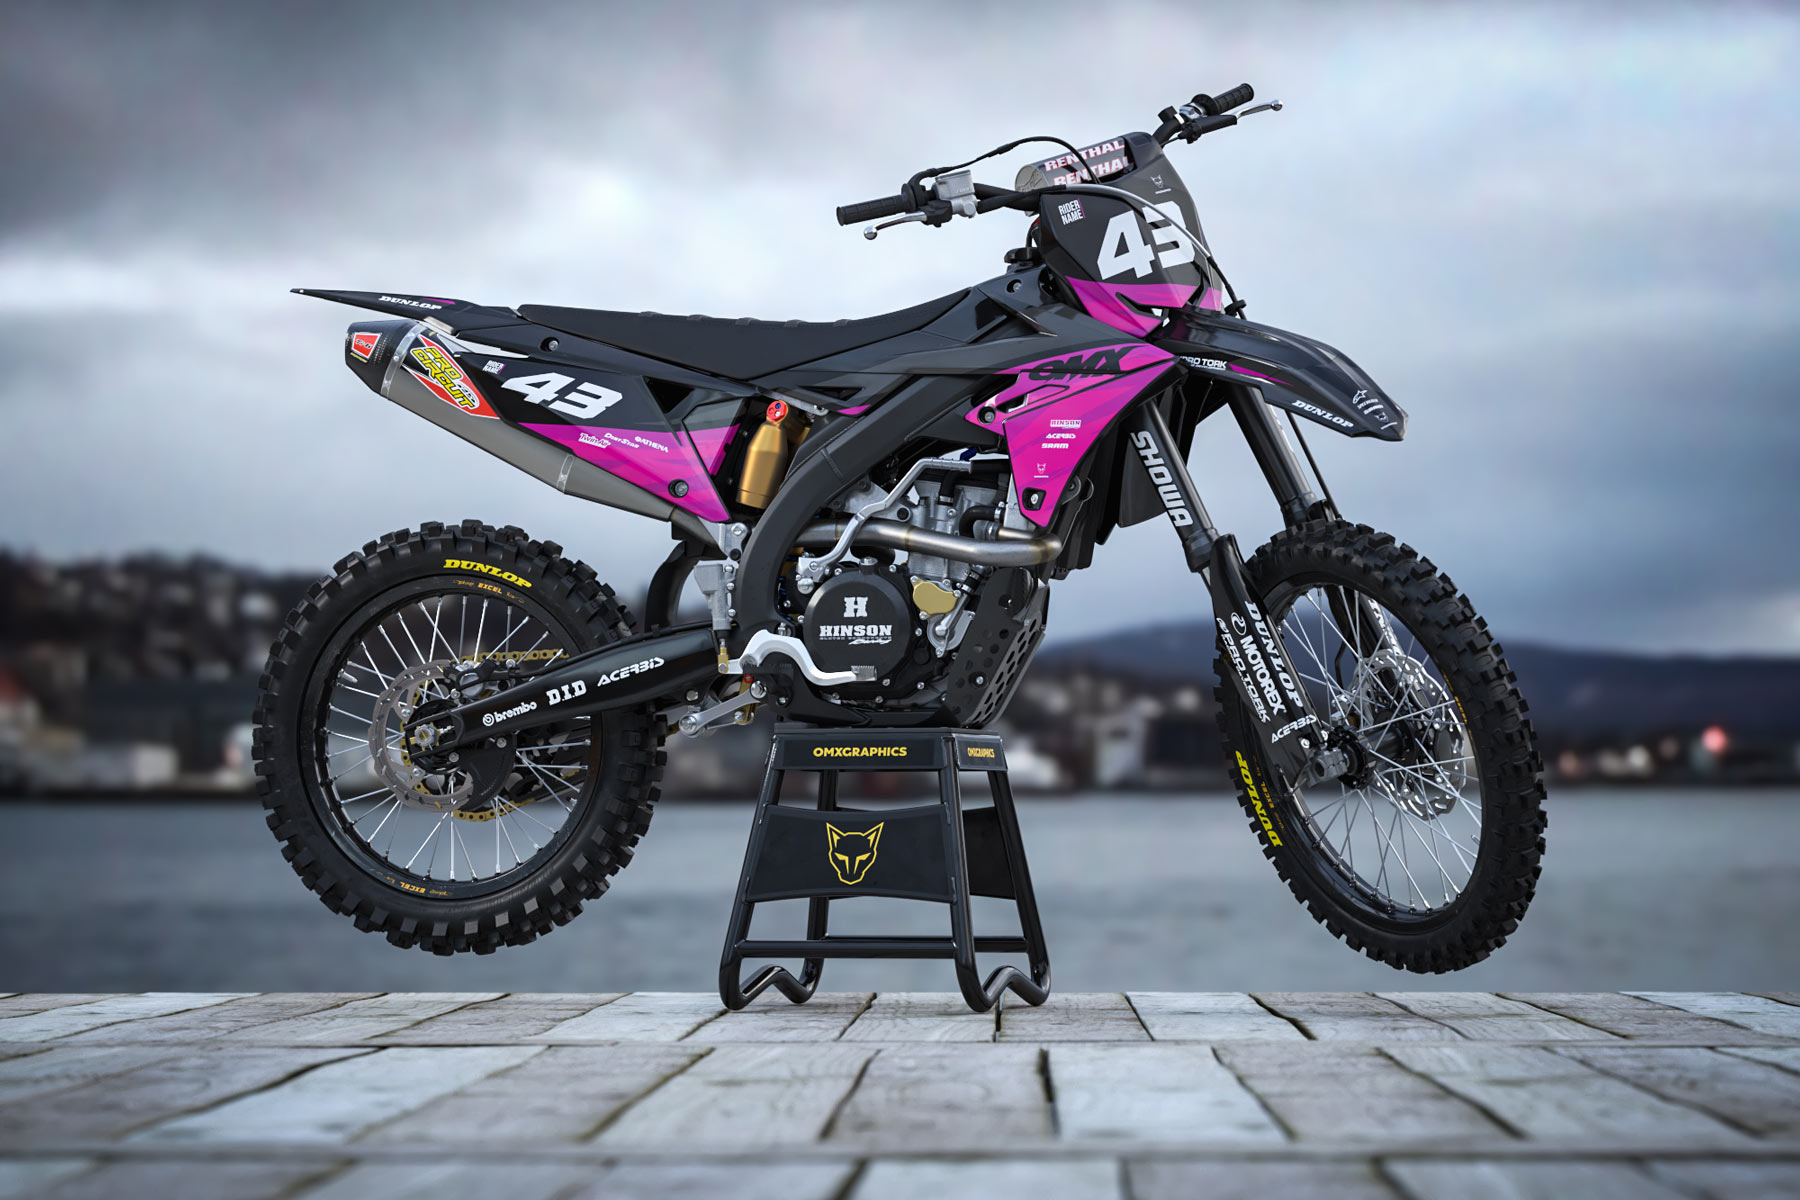
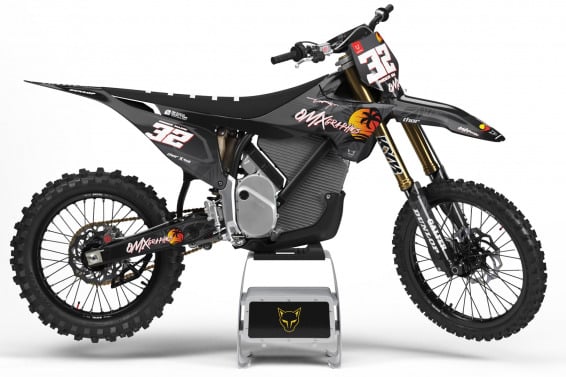
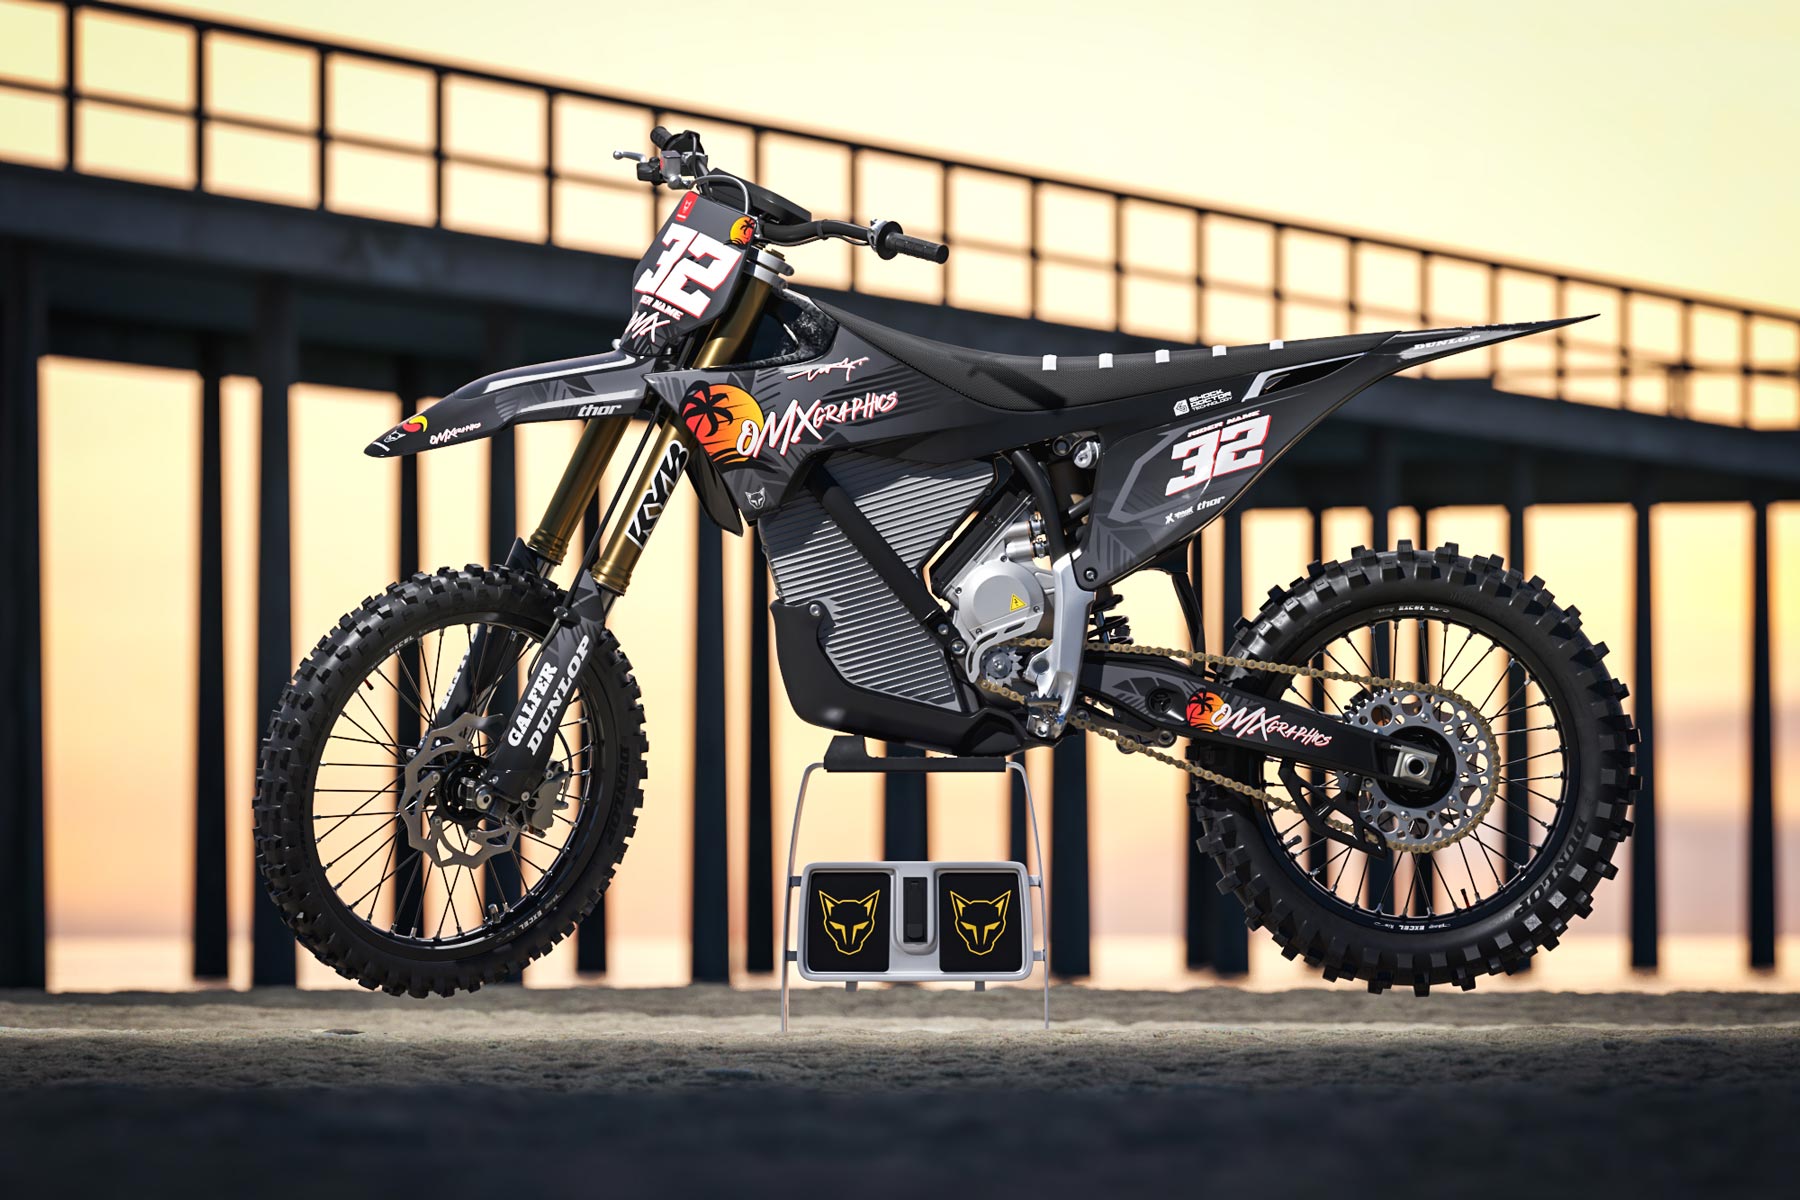
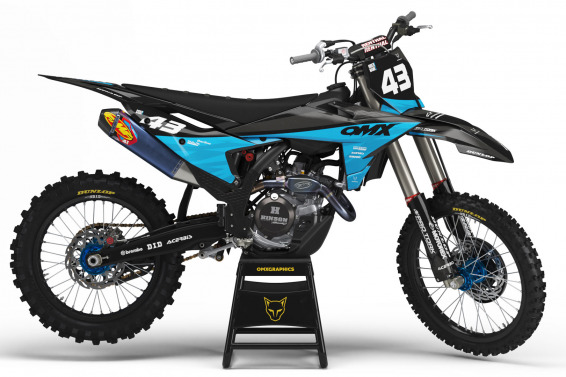
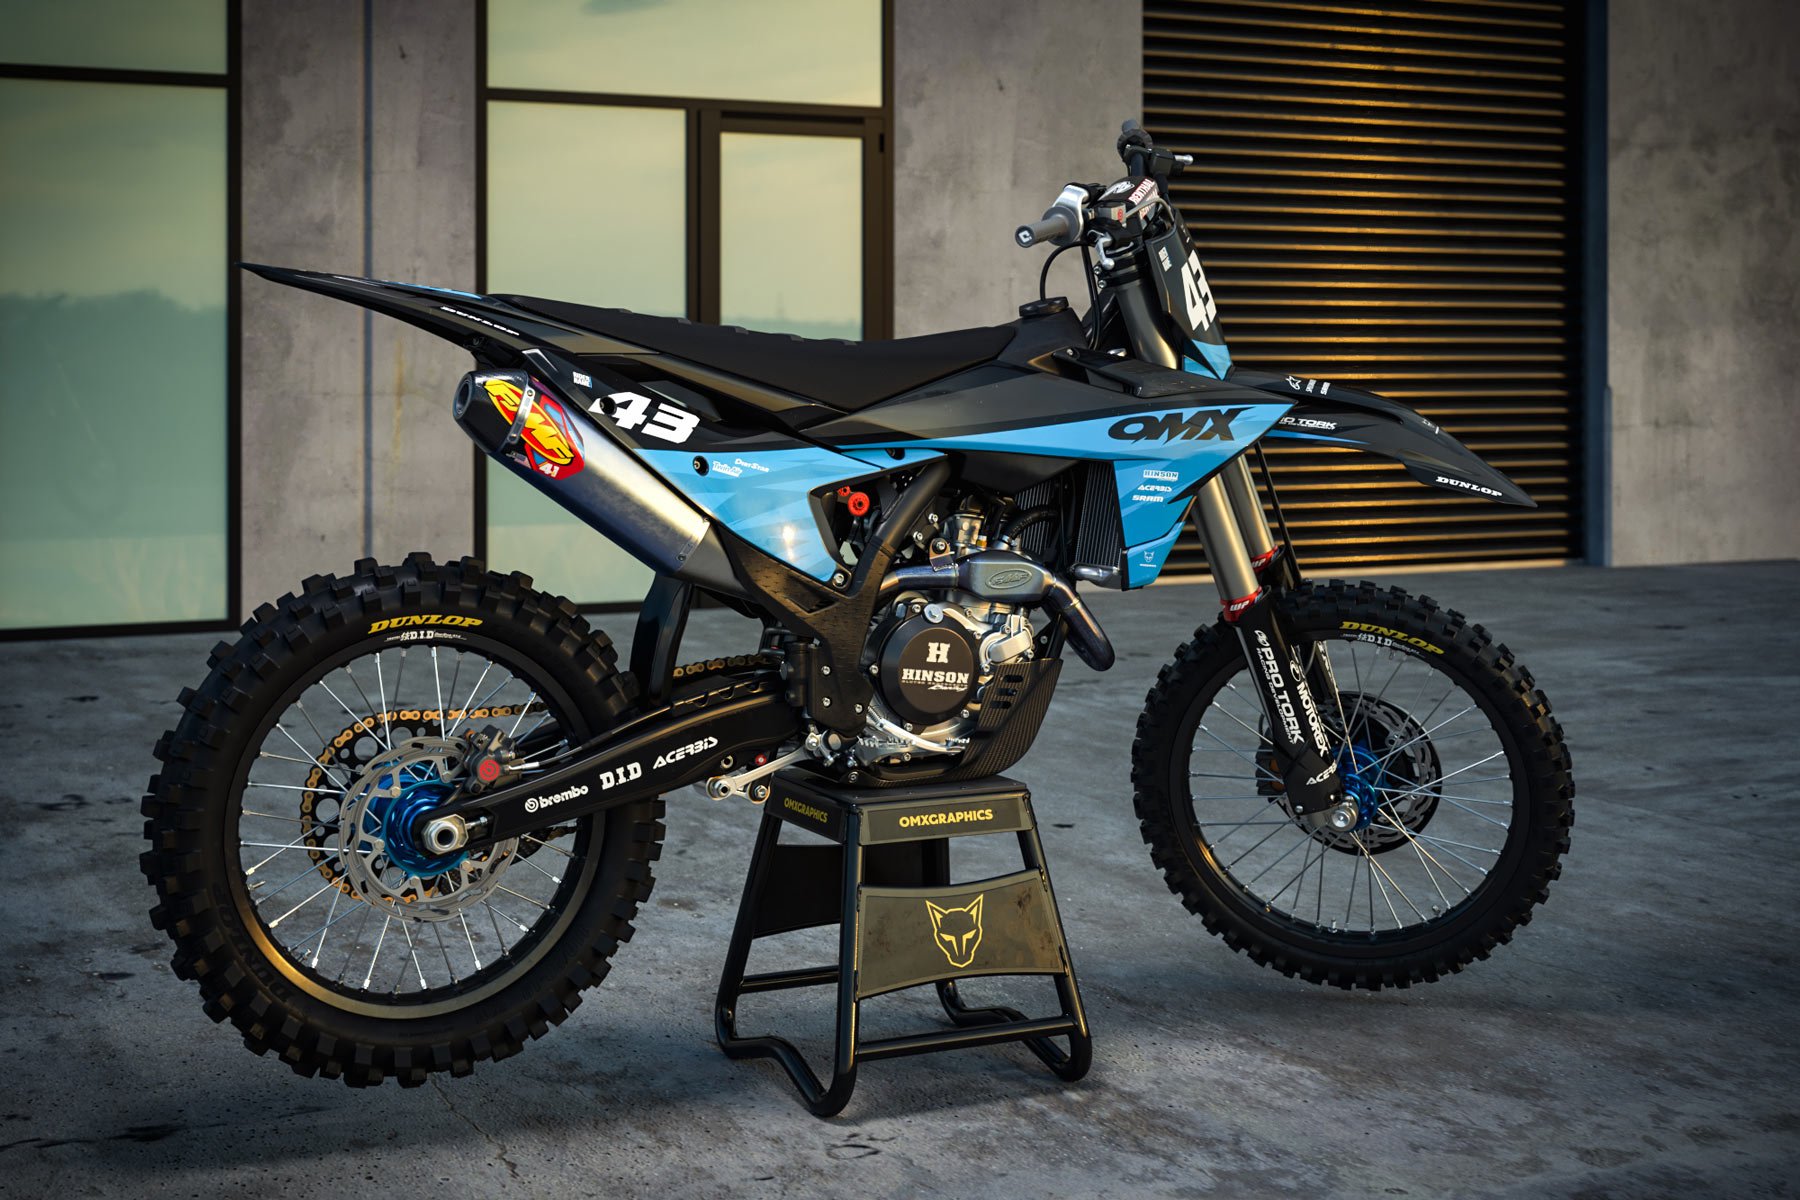
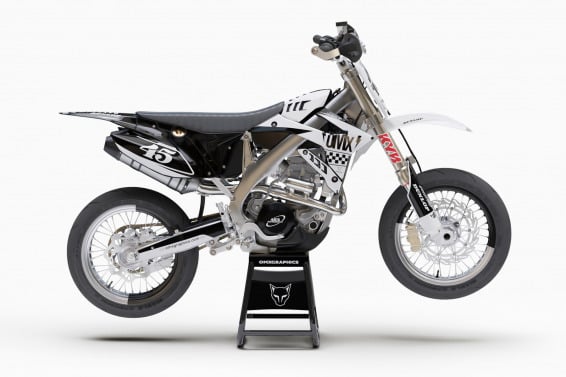
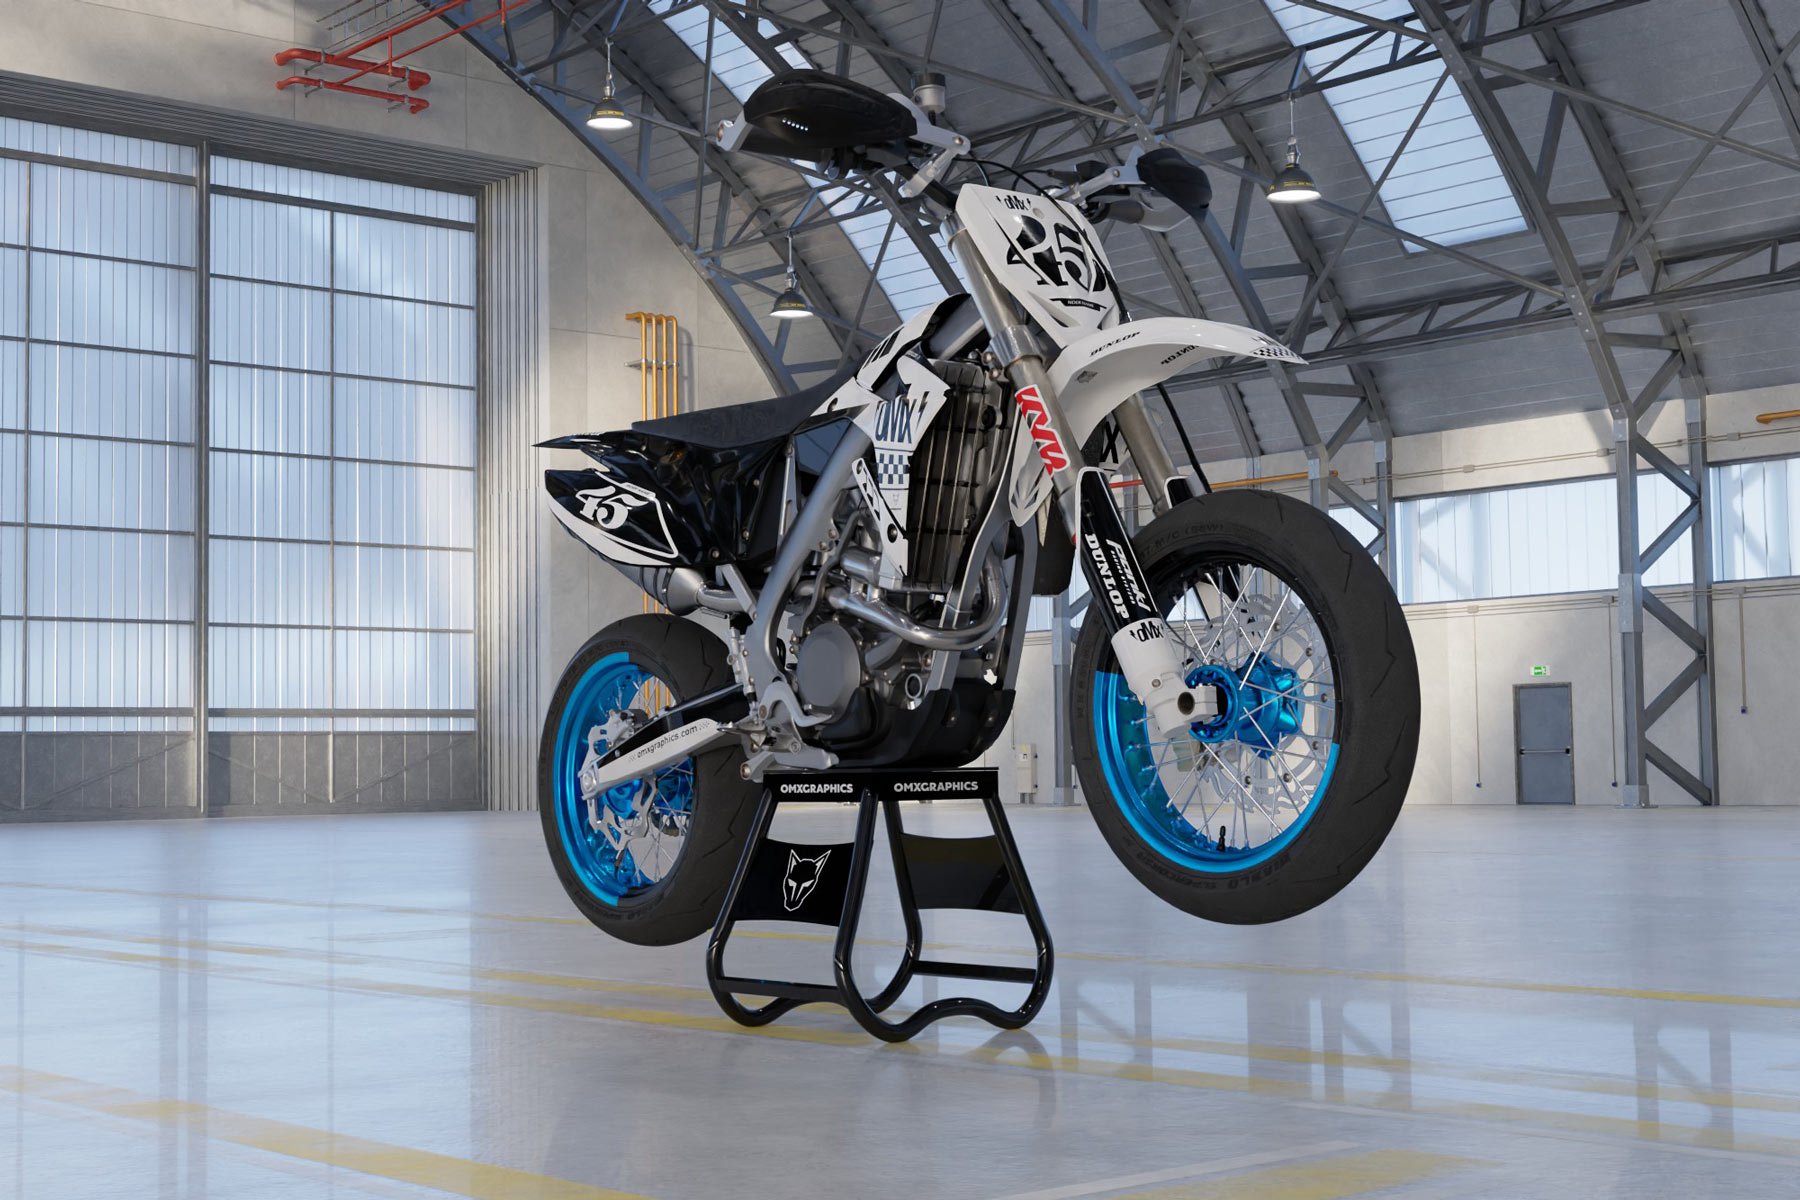
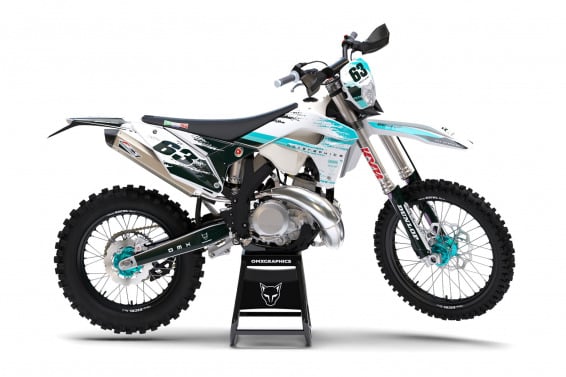
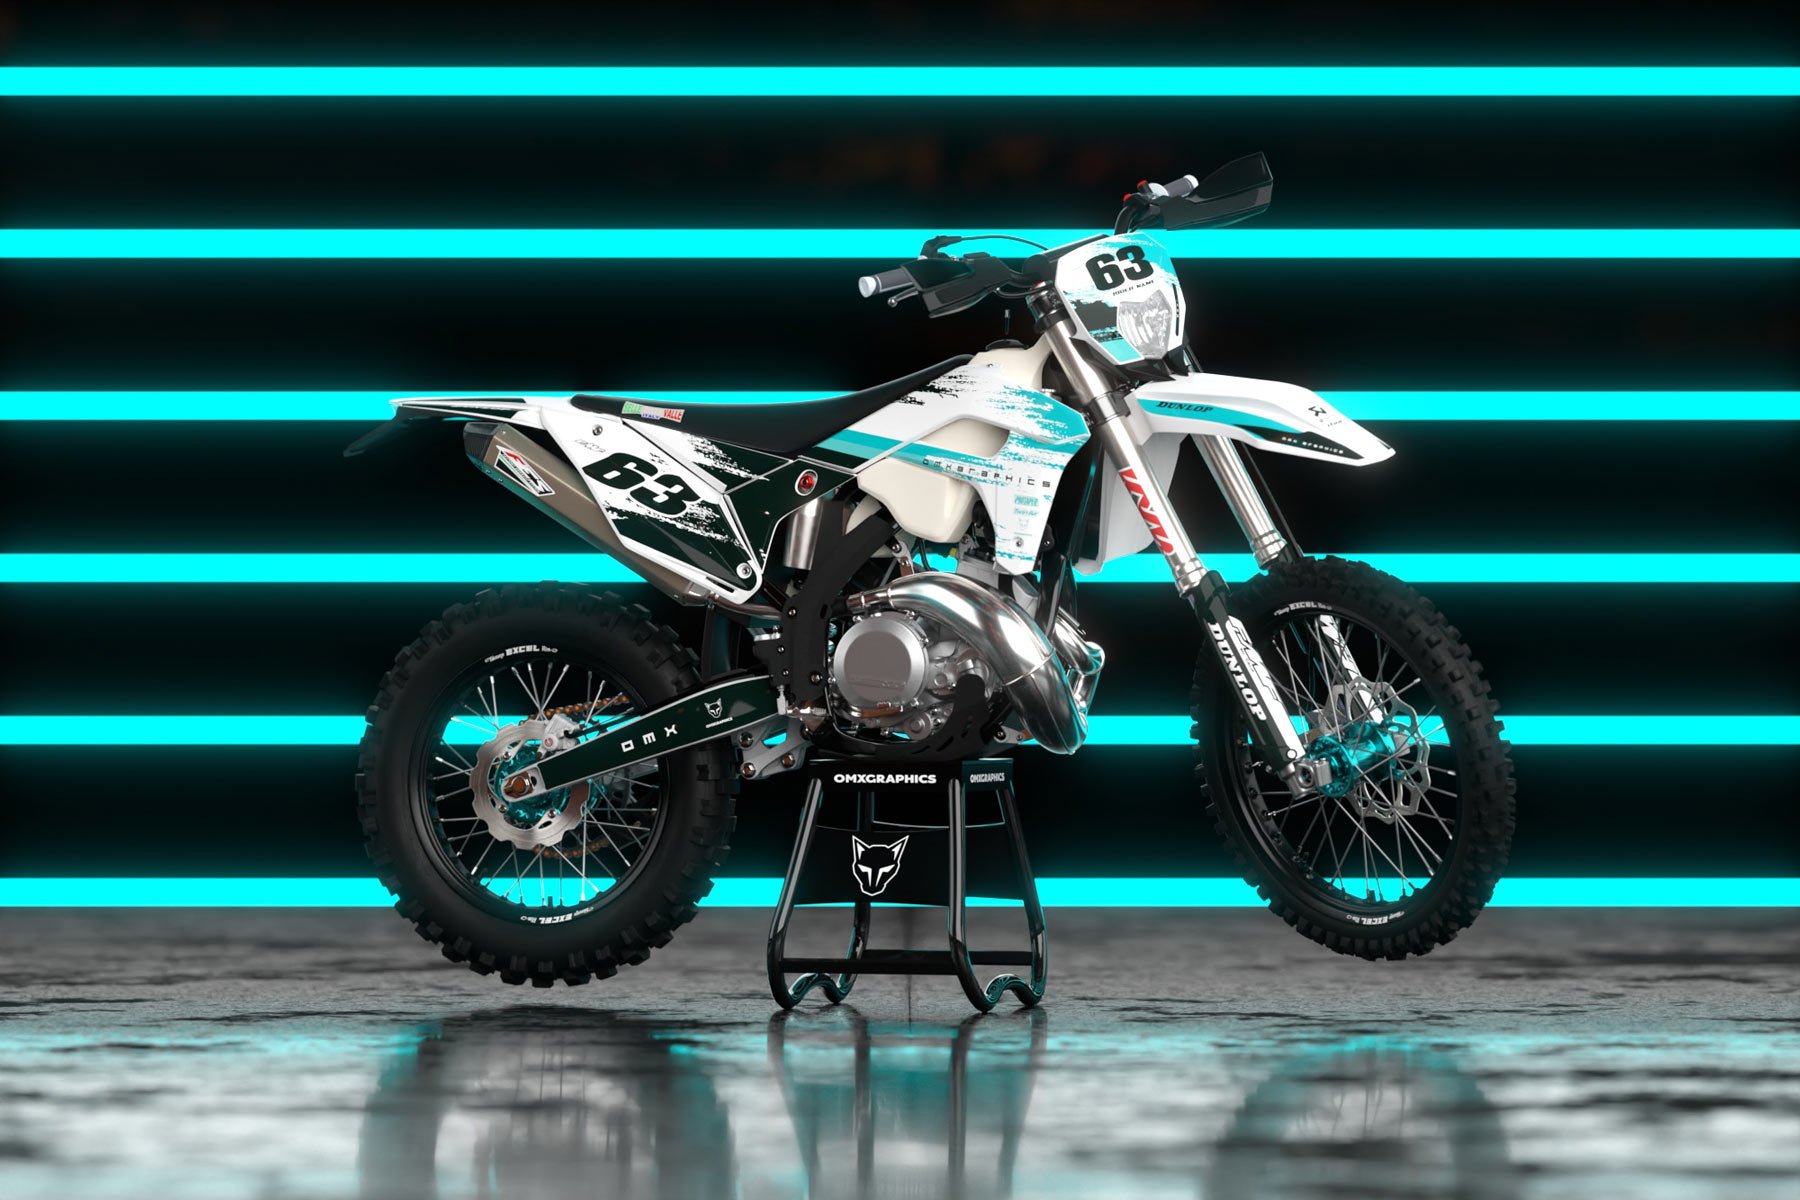
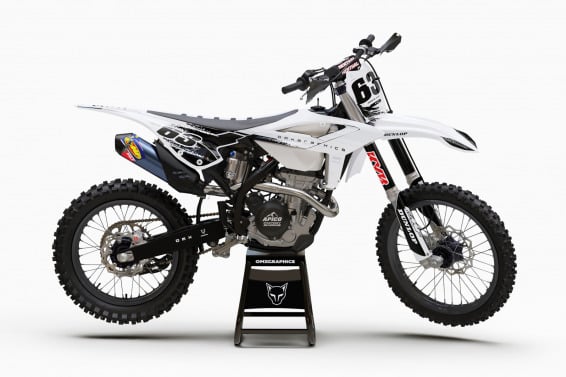
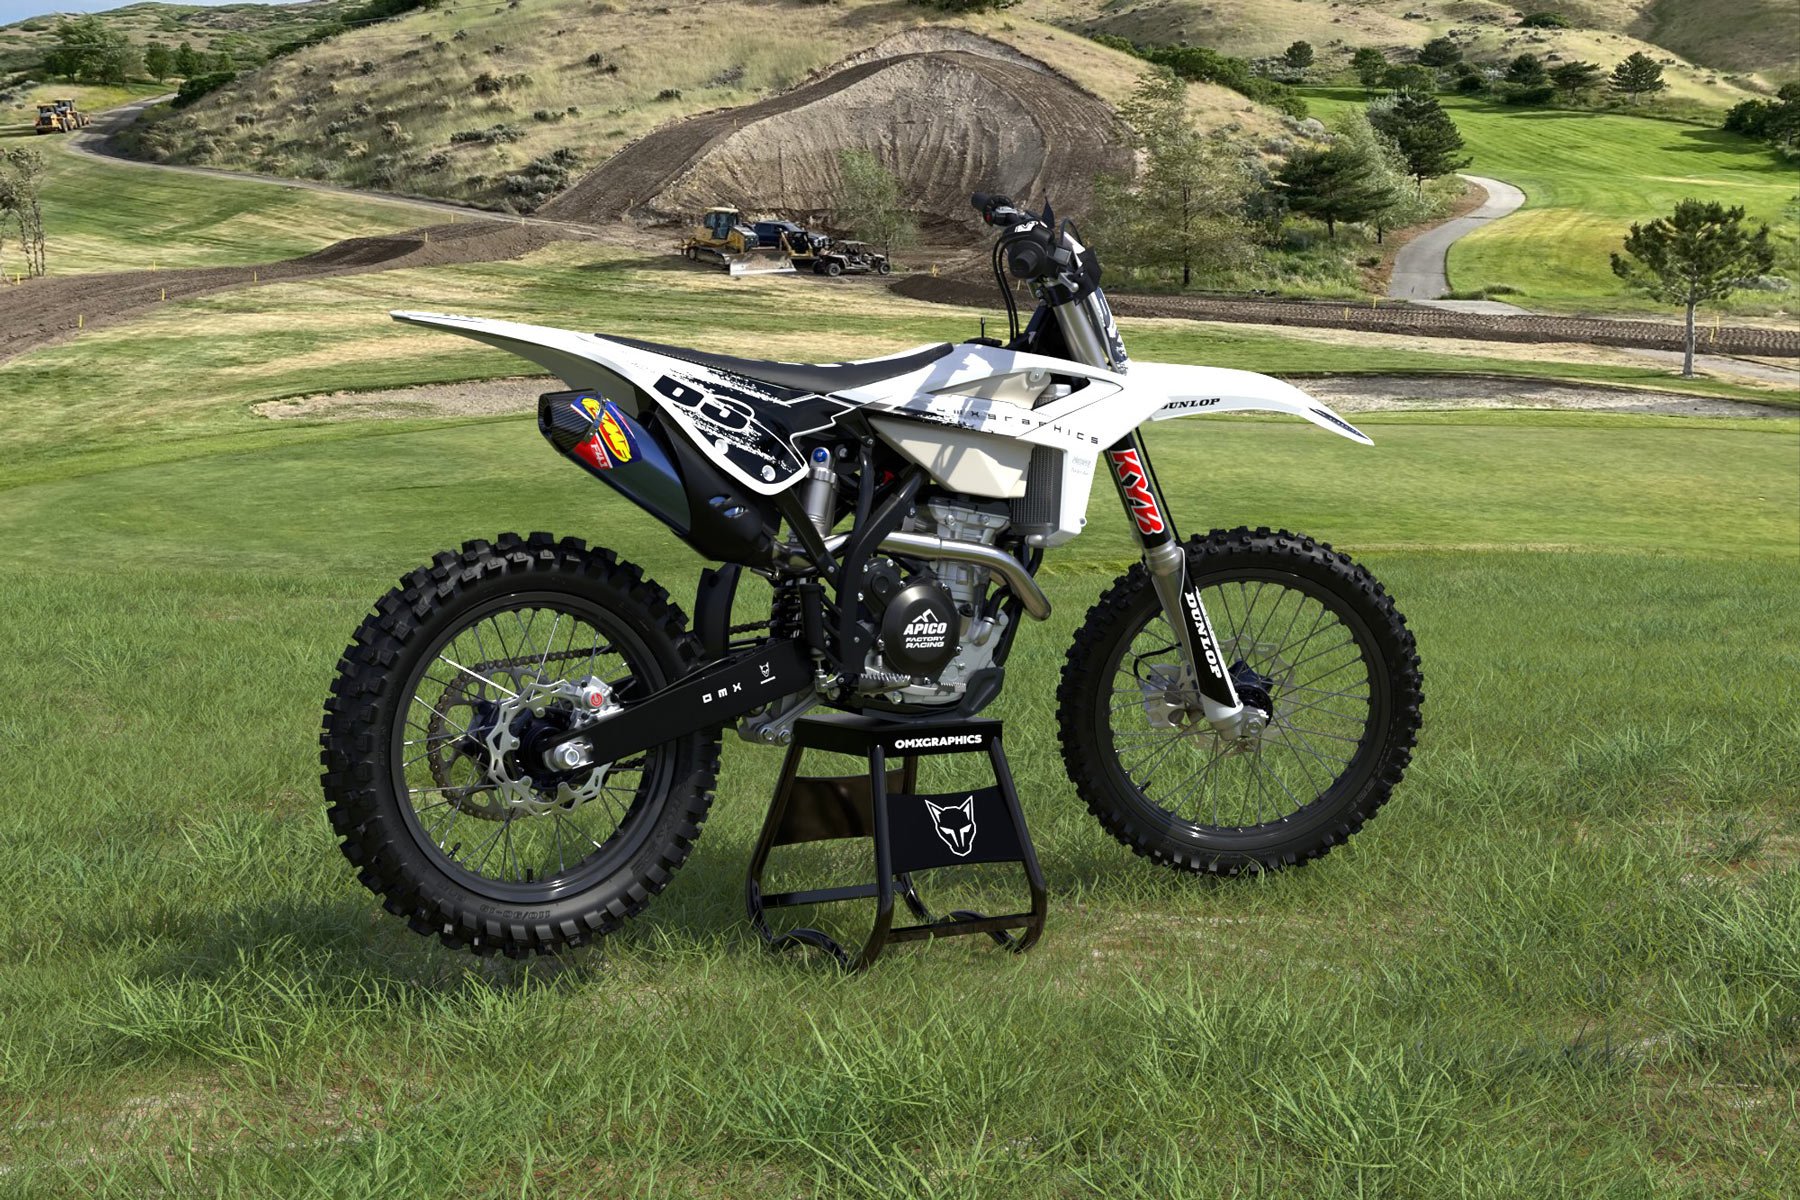
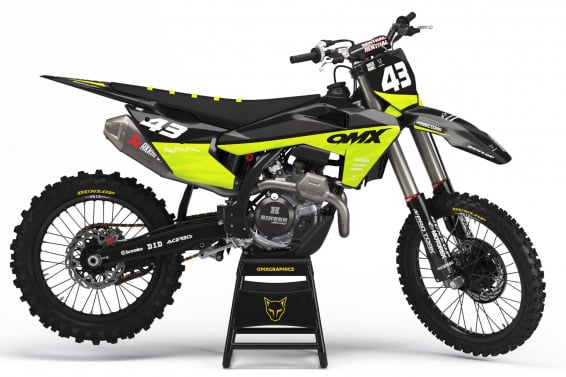
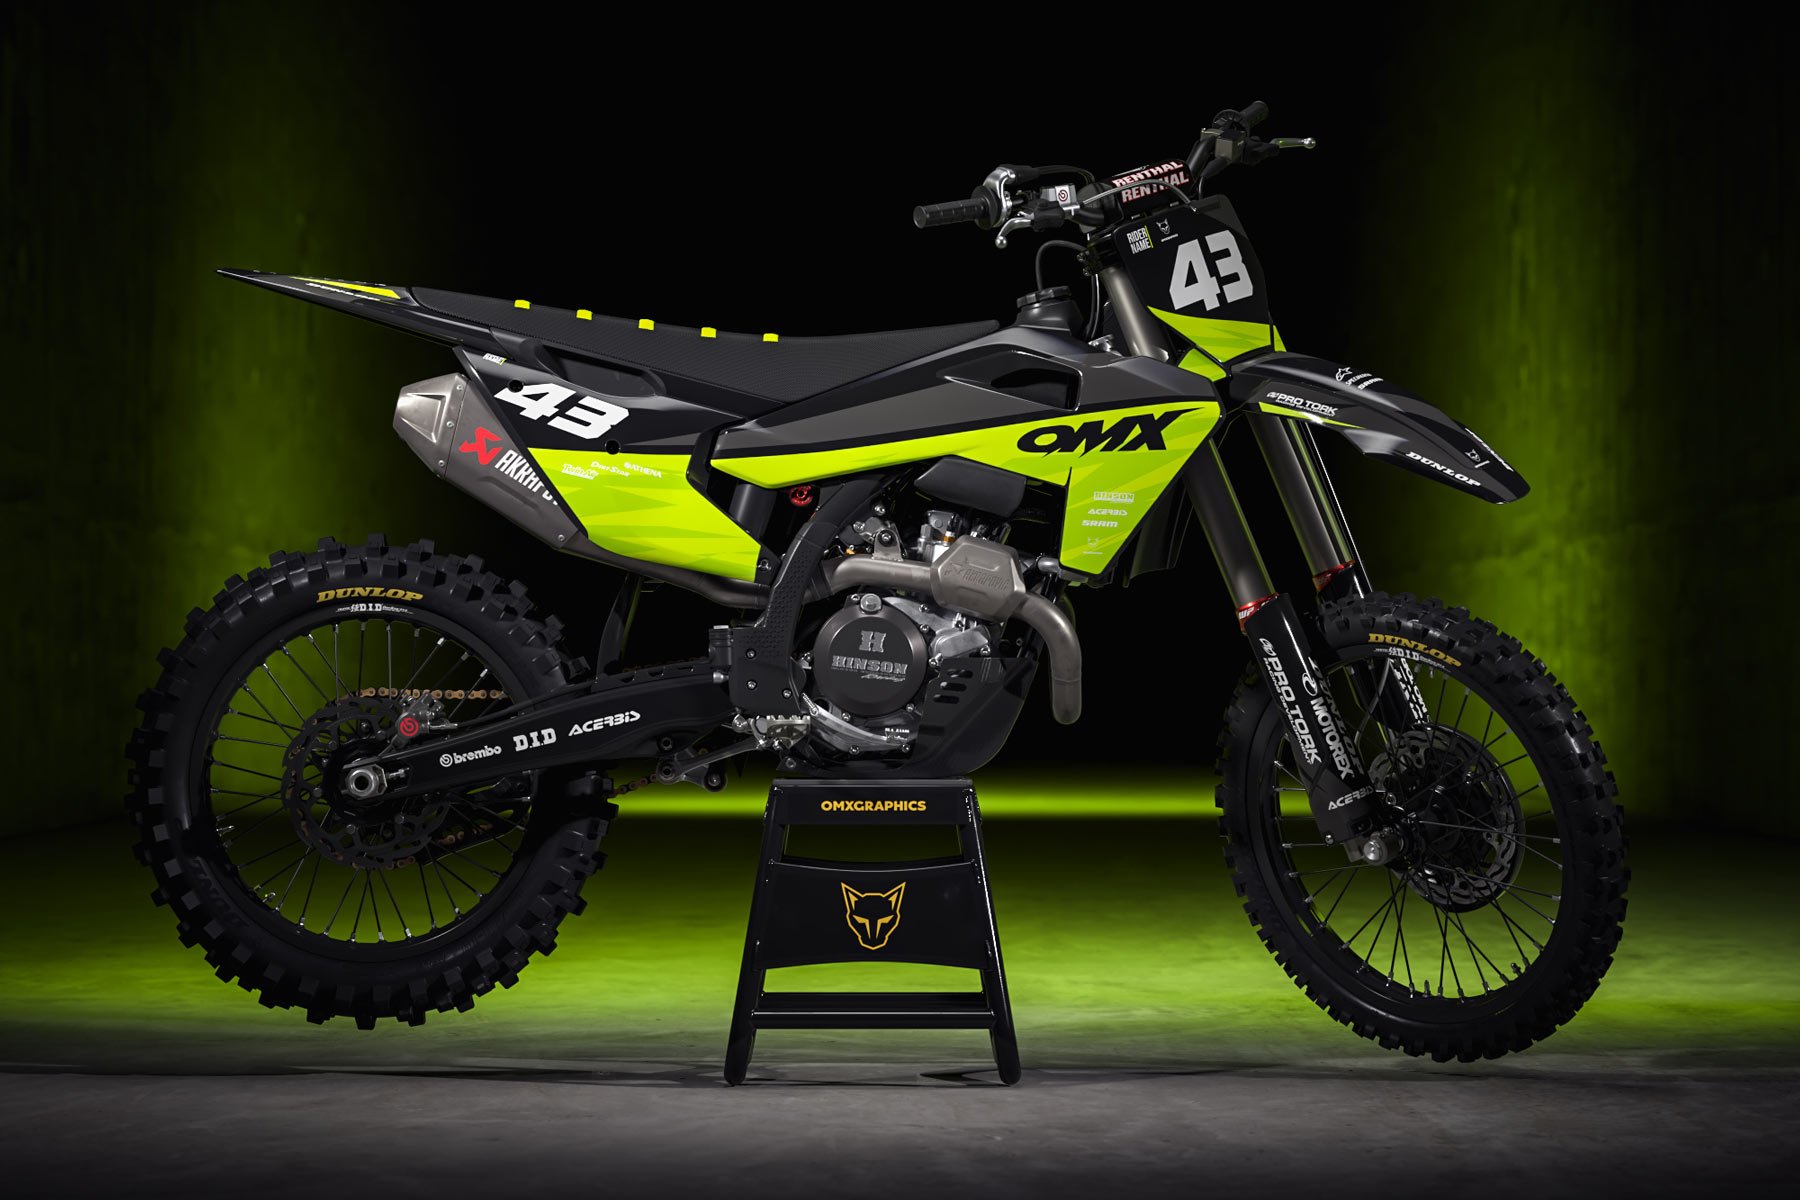
Most compelling and durable motocross graphics on the mx scene.
All our designs are available for most Honda, KTM, Kawasaki, Suzuki, Yamaha, Husqvarna, Sherco, Beta, Stark Varg and TM Racing dirt bike models 50cc – 500cc, starting 1998 onwards. That to be said, your search for the perfect motocross graphics kit ends here. Make sure next time you hit the track you do it in style!
Why OMXGraphics is your best custom motocross graphics choice?
We’re control freaks when it comes to motocross graphics quality. And it can be seen in every aspect of every motocross decal kit we sell. OMXGraphics is a premium quality custom motocross graphics producer. Well-known worldwide for its state of the art quality and high customer service standards. “Good enough” is not a phrase you’re going to hear around OMX. We’re in this for the long haul and that means either there is a “wow” effect or it never sees the daylight. In brief, when you engage with our online ordering system to customise your own custom graphics kit, the first thing you’ll notice is how simple and intuitive it works and how easy it is to add your own touches and create the decals of your dreams.
Once you’re done with your customisation and payment is confirmed, our in-house production team gets busy. The pursuit of perfection is part of our company DNA. Here at OMX we live custom graphics 365 days a year. And we’ll do everything it takes to become the best motocross graphics producer out there.
Premium Quality Motocross Graphics
OMXGraphics custom motocross graphics are made using premium quality Substance media only. To point out it is the world leader and #1 material selection for MX, ATV, Go Karts, UTV and other extreme industries. That to be said – our 21MIL thick, long lasting and ultra durable motocross graphics will never let you down. So, there is no big difference if you’re a professional rider or just hitting the dirt in sake of fun and dose of adrenaline – OMXGraphics has got your back for over 10 years with the coolest looking graphics available.
We should also mention:
– Over 200 unique motocross graphics kit designs to chose from;
– Our custom decals are tested in rough conditions by our supported riders globally;
– Exceptional print and cut quality;
– What you see is what you get – we’ll send you a flat design mock-up that fits your exact dirt bike model;
– Nothing ever gets printed without your approval;
– Fast turnaround – we need just two business days after the design approval to get your motocross graphics ready for shipping;
– Safe and fast FedEx worldwide delivery;
– Above that, making new motocross graphics is the fun part for us. You fellas are so different, therefore all of our products are made to meet the demands of pro riders, adventure seekers and all the other motor-heads out there.
The process
Once you’ve selected the design you like and entered all the customisation details, you are ready to place an order. Keep in mind – all the customisation is totally free. You can add your name, number, logos and even change the colours to meet your needs at no extra charge.
As soon as order has been placed our production team gets down to business. As said before – what you see is what you get. We will prepare and e-mail you a flat design mock-up on a template that fits your exact dirt bike model in 3 to 5 business days.
After the design approval it takes just two business days to produce and get them ready to dispatch. Usually worldwide delivery by FedEx takes 3 business days.
How to apply your motocross graphics kit?
The most amazing motocross graphics aren’t much good if they’re poorly installed. To make sure custom graphics stay where they’re supposed to, you need to follow the established installation method below.
Surface preparation is key
You wouldn’t hang a wallpaper on a dirty wall (at least you shouldn’t). You wouldn’t paint the house without scraping off the old paint and cleaning the surface first. And you should never try installing a new custom motocross graphics kit without first engaging in some focused surface preparation. Start with a clean damp cloth and wipe down every surface that’s going to have a graphic. Then check for problem areas. Clean them using a mild degreaser like dishwashing liquid. Then rinse and dry. Any areas where old graphics may be peeling or where they left behind adhesive residue should be cleaned. We suggest to use 3M Citrus cleaner. Wash all the parts one more time and then dry with a soft cloth.
Do a dry run
Once all the components that are going to receive motocross graphics are properly prepared lay the decals out next to them so you can get an idea how they’ll look and fit. You can stick each graphic up to the intended destination to make sure it’s going to appear the way you want it to with a paper tape. Before you peel off any backs take each sticker and do a dry run with them, practicing how you’re going to apply them. Determine where is the best place to start and get used to the motion you’ll have to make to install the decals.
Begin with the simple stuff
Even after you’ve practiced your motocross graphic kits installation process a few times it will still be new to you when you peel off the first backing paper. Therefore make sure you start with the easiest parts first. No sharp corners or odd shapes to begin with. Do the flattest areas and take your time. This will allow you to get used to the feel of the materials before you hit the more complex shapes. You can use a squeegee to work out any air bubbles or minor creases. Just be sure not to push too hard – although our decals are durable, they are not supposed to endure harsh hits of a squeegee or a similar instrument.
Progress to the harder parts
As you grow more accustomed to the feel of the material and how it responds to your attempts to manipulate it you can move on to tougher and more challenging pieces. Just remember to take your time. If something doesn’t feel right or you can see it’s off course slowly back out and try again. There’s no penalty for being careful and making sure you get it right. You might find it useful to use a hair dryer to flatten out air bubbles but don’t put the hot nozzle too close the surface or it may affect the integrity of the decal.
Be careful with the gas tank
Gas tanks seem like pretty simple things to attach graphics to but they can actually be tricky. That’s because of the fumes involved. The best thing to do is to empty the tank completely and leave the cap off so it can air out for a day or 2. Once you’re certain there are no gasoline fumes in play it’s safe to install the graphic (providing you’ve prepared the surface first).
Here’s a helpful guide from us on how to install motocross graphics by yourself. It’s not that complicated as it may seem at the beginning, so take your time and be patient while applying motocross graphics by yourself. Follow the steps accurately and you will be surprised with the result.
Find answers to all your dirt bike graphics related questions here!
No doubts that custom motocross graphics from OMX will transform your ride into a dirt track warrior that will grab the attention of fans and photographers alike and will ensure you’re never invisible on the course again.
Find your perfect custom motocross graphics kit among hundreds of pre-made designs that you can customise to fit your bike year and model just the way you want it! Take a look at some of the most impressive motocross decals available on the market today for:
KTM Graphics
Honda Graphics
Yamaha Graphics
Suzuki Graphics
Kawasaki Graphics
GasGas Graphics
Husqvarna Graphics
Beta Graphics
TM Racing Graphics
Sherco Graphics
Shopping Cart

