Installing a motocross decals kit is not complicated – but using the right tools makes a massive difference.
Many riders blame the material when decals lift, wrinkle, or bubble. In reality, the problem is usually poor preparation or missing tools. If you want a clean, factory level finish on your plastics, you need the right setup before you even peel the backing paper.
Here’s a complete guide to the best tools for decal installation – and why each one matters.
Isopropyl alcohol is essential for proper surface preparation
Before you think about applying any vinyl, your plastics must be perfectly clean. Soap and water remove dirt and mud. But they don’t remove grease, chain lube residue, or silicone-based cleaners. That’s where isopropyl alcohol (70–90%) becomes essential.
Why it matters
– Removes invisible oils;
– Improves adhesive bond;
– Prevents early lifting at edges;
– Reduces bubbles;
Use a clean microfiber cloth and wipe every surface thoroughly. Let it dry fully before applying vinyl. This single step increases long term durability more than any other tool.
Use microfiber cloths (not paper towels)
Cheap paper towels leave fibers and dust behind. Those tiny particles create bumps under the vinyl.
Use clean microfiber cloths instead. They:
– Don’t scratch plastics;
– Don’t leave lint;
– Absorb alcohol properly;
– Help polish surfaces before install;
Keep at least two on hand – one for cleaning, one for final wipe down.
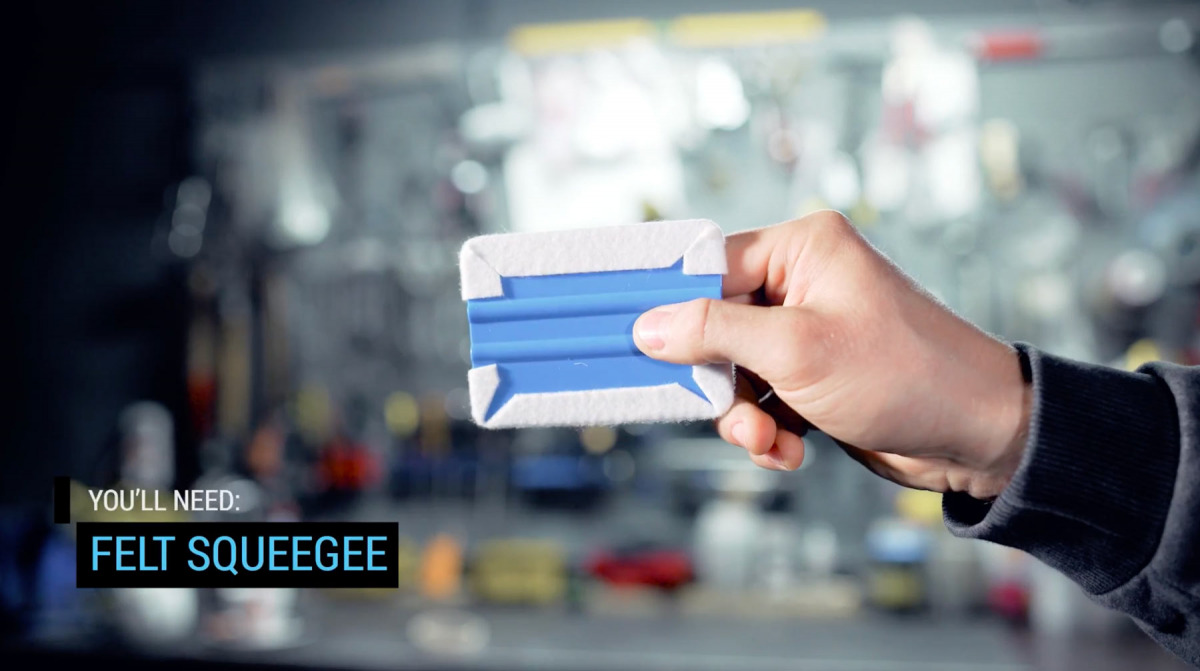
Plastic squeegee is a really important tool
If you only buy one tool, make it this one. A plastic squeegee helps you press the vinyl evenly onto the plastic. It pushes air out and prevents bubbles from forming.
Look for:
– Flexible but firm plastic;
– Rounded edges;
– Felt edge (optional but helpful);
Why it matters:
– Creates smooth finish;
– Prevents wrinkles;
– Helps stretch vinyl evenly;
– Removes trapped air;
Always apply from the center outward in small strokes. Never press too aggressively at once.
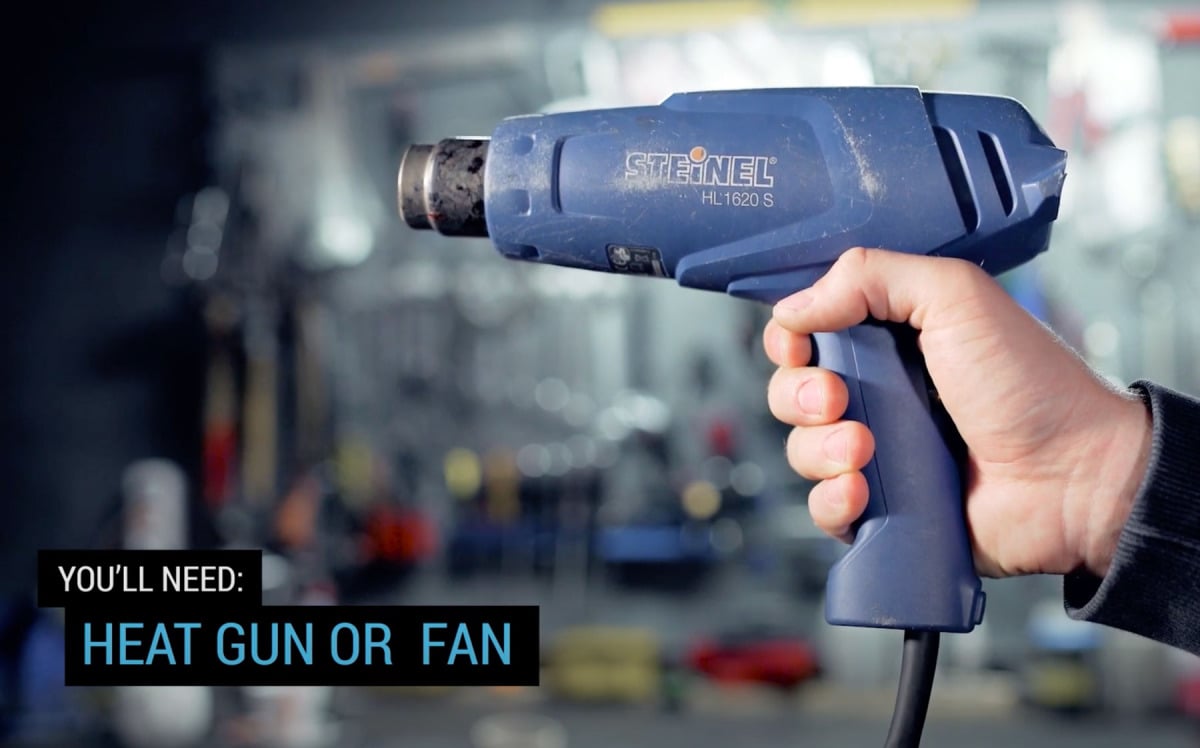
Use heat gun or hair dryer
Motocross plastics are not flat. They have sharp curves, vents, and complex shapes. Vinyl needs heat to properly conform to those areas.
A heat gun is ideal, but a strong hair dryer can work too.
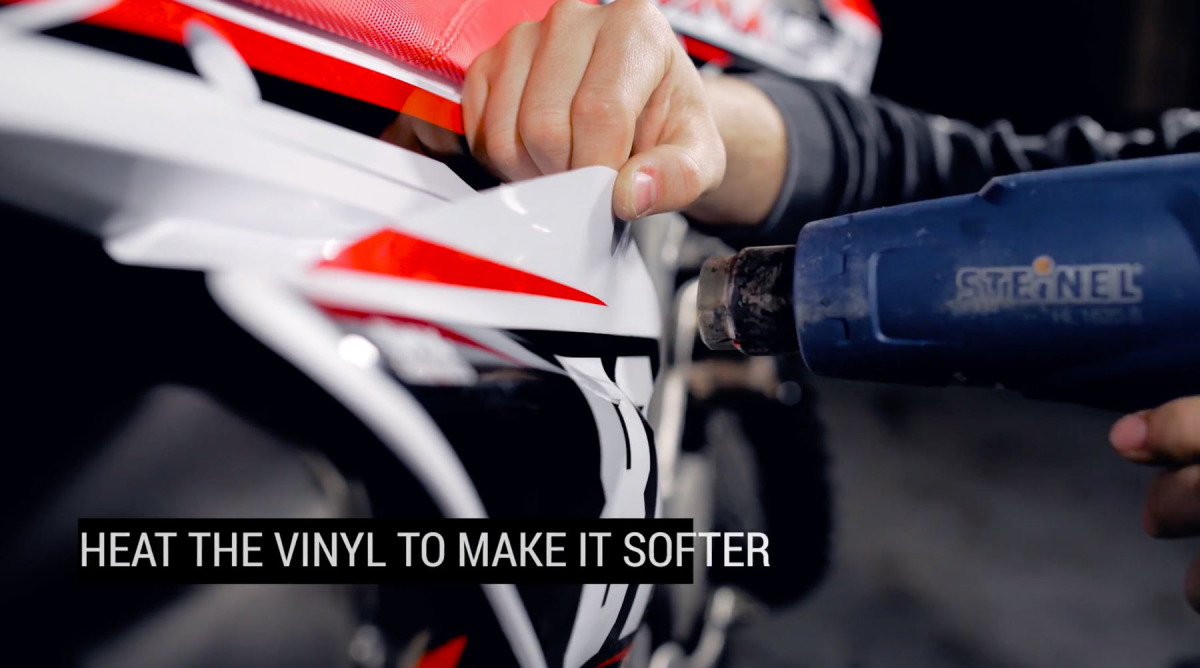
When to use heat
– Around shroud curves;
– Airbox corners;
– Number plate edges;
– Fender bends;
Heat softens the vinyl, making it more flexible. It also activates the adhesive for a stronger bond.
Important:
– Do not overheat;
– Warm gradually;
– Keep the heat moving;
Too much heat can overstretch the vinyl or damage the laminate.
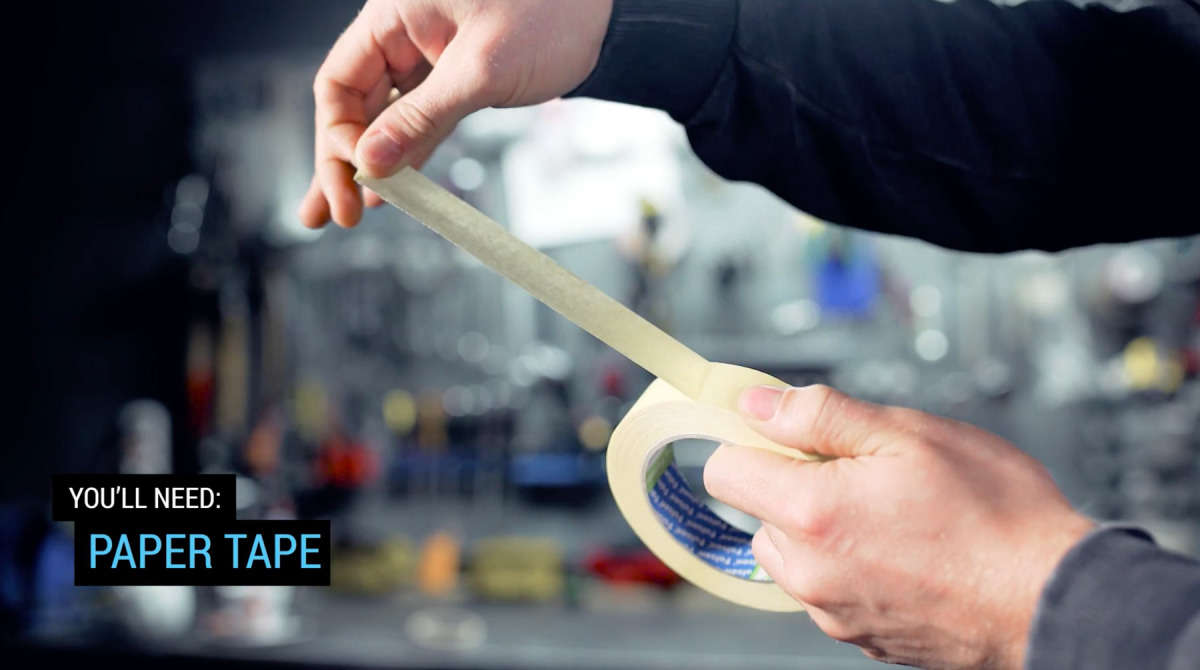

Masking tape
Masking tape is underrated – but extremely helpful. Before applying large pieces (like shrouds), position the decal dry and secure one side with masking tape. This creates a “hinge” so the piece stays aligned while you peel and apply.
Benefits:
– Prevents crooked installs;
– Reduces stress;
– Keeps placement precise;
This is especially useful for beginners.
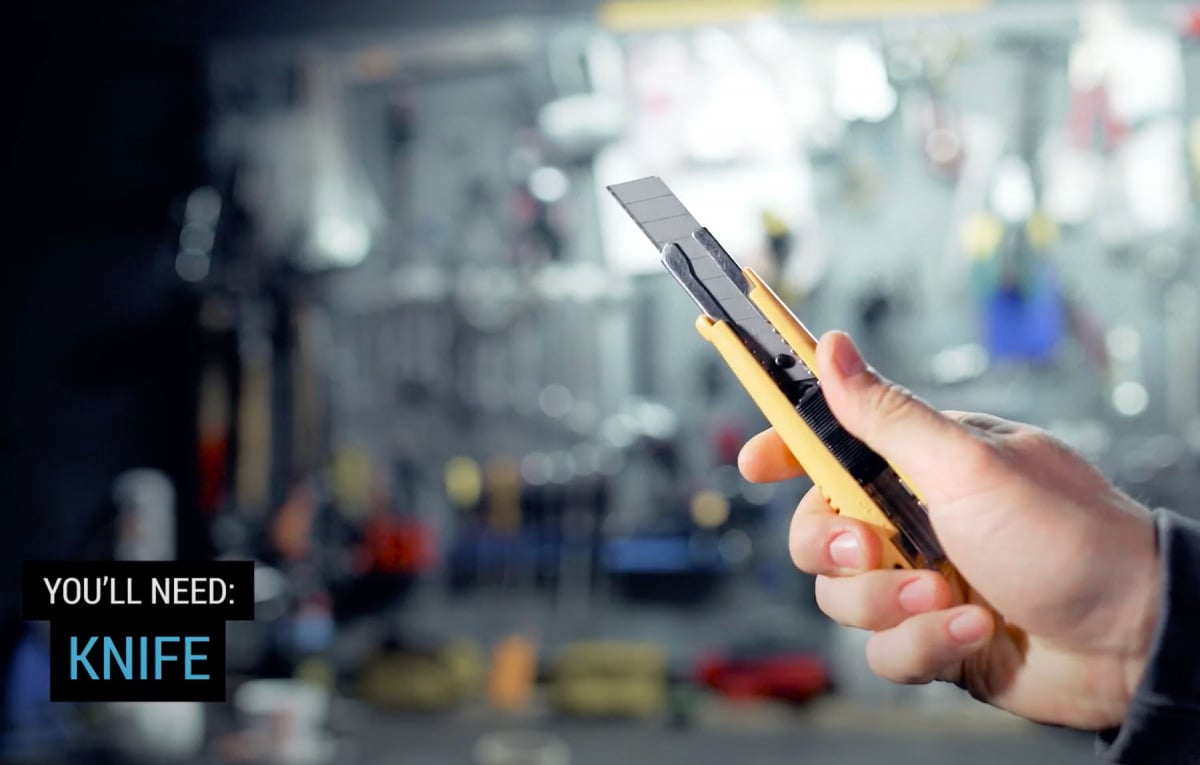
Precision utility knife
Most premium dirt bike graphics kits are pre cut perfectly. But sometimes small trimming is needed – especially around bolt holes or if plastics are slightly worn.
Use:
– Sharp precision blade;
– Light pressure only;
Never force cuts while vinyl is stretched. Let the vinyl relax before trimming. A dull blade will tear instead of cut cleanly – always use a fresh blade.
Pin or fine needle
Even experienced installers get small air bubbles. Instead of peeling everything off, use a thin needle to:
– Gently puncture the bubble;
– Press air out smoothly;
If done correctly, the hole becomes invisible. This tool saves a lot of time and frustration.
Clean, warm working environment
This isn’t something you buy – but it matters a lot. Install vinyl in:
– A dust free space;
– 65 – 77°F (18 – 25°C) temperature;
– Dry conditions;
Cold plastics make adhesive stiff. Too much heat makes vinyl overly soft. A clean garage is better than installing outdoors where wind can blow dust onto adhesive.
Gloves are optional but helpful
Thin installation gloves can:
– Prevent fingerprints;
– Help vinyl glide smoother;
– Improve control during stretching;
They’re not required – but useful for large pieces.
Tool checklist for a clean installation
Here’s a simple summary:
✔ Isopropyl alcohol
✔ Microfiber cloths
✔ Plastic squeegee
✔ Heat gun or hair dryer
✔ Masking tape
✔ Precision blade
✔ Fine needle
✔ Clean workspace
With these tools, installation becomes controlled instead of stressful.
Why the right tools change everything
Many riders rush installation and skip preparation. Then they blame the decal kit when edges lift. But vinyl adhesive depends on:
– Clean surface;
– Correct temperature;
– Proper pressure;
– Controlled stretching;
The right tools give you control over all four. A quality dirt bike graphics kit installed with proper tools can last for years – even under aggressive riding conditions.
Final thoughts
Installing motocross decals is not about being a professional mechanic. It’s about preparation and patience. With the right tools:
– Alignment becomes easier;
– Bubbles are minimized. Moreover, we use materials with FLO technology for bubble free installation;
– Edges stay sealed;
– The final look is cleaner;
If you invest in proper installation equipment once, you can use it for every future kit. And when done correctly, your bike won’t just look good in photos – it will hold up ride after ride.
Here is our step by step video guide: