Choosing the right dirt bike graphics kit is more than just about the looks. A good kit should match your riding style, fit your bike perfectly and survive real riding conditions. From motocross tracks to enduro trails, graphics take constant abuse from boots, mud, pressure washing and UV exposure. That’s why not all graphics kits perform the same.
In this guide, we’ll break down what dirt bike graphics are, what really matters when choosing a kit, and how to decide between custom and pre made designs. If you’re changing graphics for the first time or upgrading from a worn kit, this will help you make the right call.
What Are Dirt Bike Graphics?
Dirt bike graphics are adhesive vinyl decals made to fit specific plastics on a motocross or off-road motorcycle. A full dirt bike graphics kit usually covers the shrouds, radiator scoops, fork guards, swingarm, front and rear fenders, side panels and number plates.
Beyond styling, graphics also act as a protective layer. Quality graphics help reduce surface scratches, slow down plastic wear and shield against sun fading. Poor-quality kits, on the other hand, can peel, fade, or crack after only a few rides.
Why Dirt Bike Graphics Matter More Than Just Looks
It’s easy to think of graphics as purely visual, but durability plays a major role as well.
Riding exposes graphics to:
– Constant boot and knee friction;
– Mud, sand, and debris;
– High-pressure washing;
– Heat and UV radiation;
Thin vinyl and weak adhesive fail quickly in these conditions. Thicker materials and proper adhesives stay in place longer and keep the bike looking clean, even after heavy use. Well chosen graphics also help maintain resale value of your bike. Plastics protected by graphics often look significantly better once the kit is removed.
How to Choose the Right Dirt Bike Graphics Kit
Bike Model and Year Compatibility
Fitment is non-negotiable. Dirt bike plastics change shape between model years, even within the same brand. A graphics kit must be designed specifically for your bike’s make, model, and year.
For example:
– KTM MX Graphics
– Yamaha MX Graphics
– Honda MX Graphics
– Husqvarna MX Graphics
– GasGas MX Graphics
– Triumph MX Graphics
– Stark Varg MX Graphics
– Suzuki MX Graphics
– Kawasaki MX Graphics
Incorrect fit leads to wrinkles, lifting edges, and exposed plastics – all signs the kit wasn’t designed for that exact model.
Incorrect fit leads to:
– Wrinkles and air pockets;
– Misaligned edges;
– Exposed plastic areas;
Always double-check model year compatibility before ordering.
Material Thickness and Adhesive Quality
This is where most kits differ. Thicker vinyl:
– Resists tearing;
– Absorbs impacts better;
– Lasts longer under friction;
High-quality adhesive:
– Bonds properly to modern plastics;
– Doesn’t lift at edges;
– Stays secure after washing;
Air-release channels also matter. They make installation easier and reduce trapped bubbles.
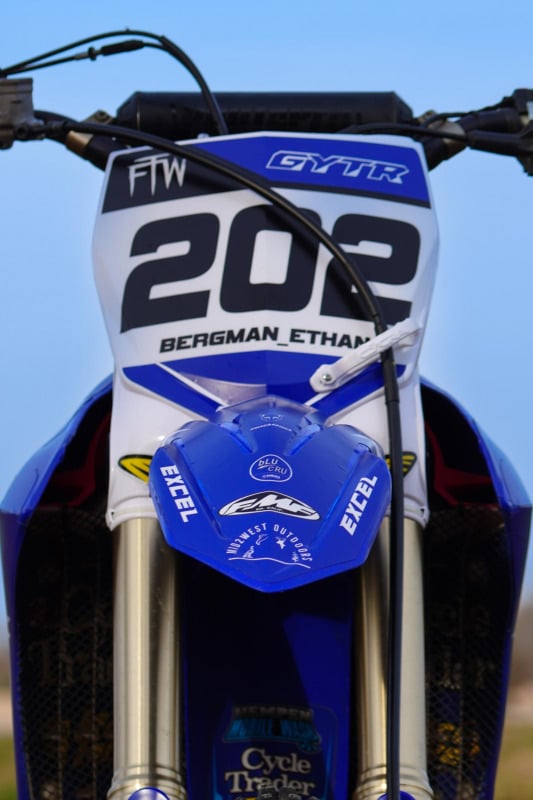
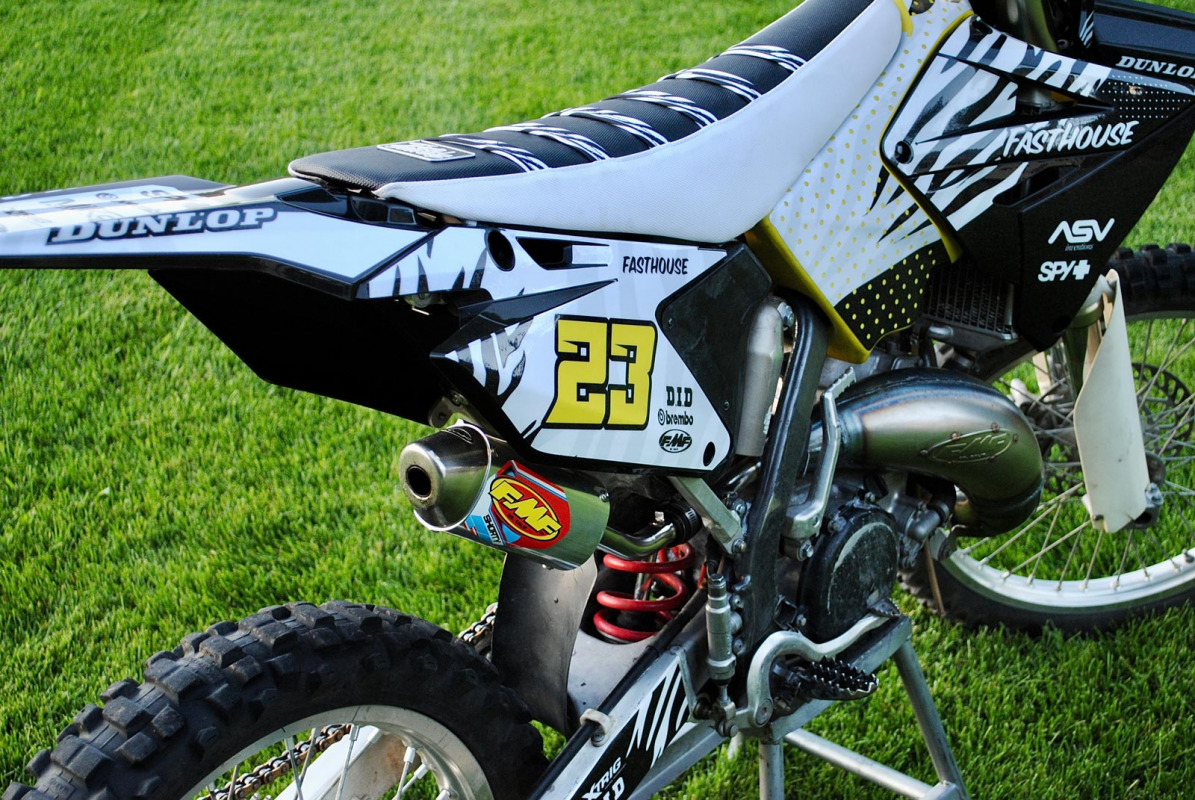
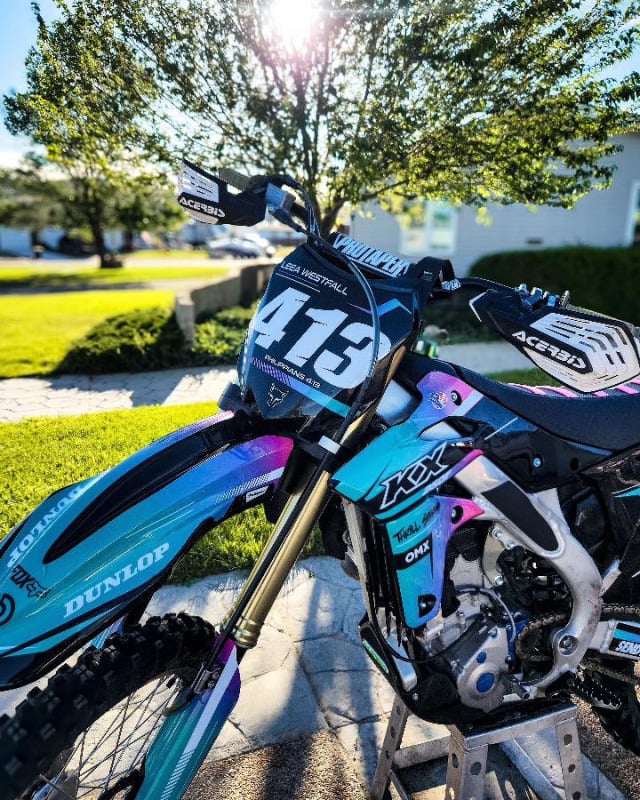
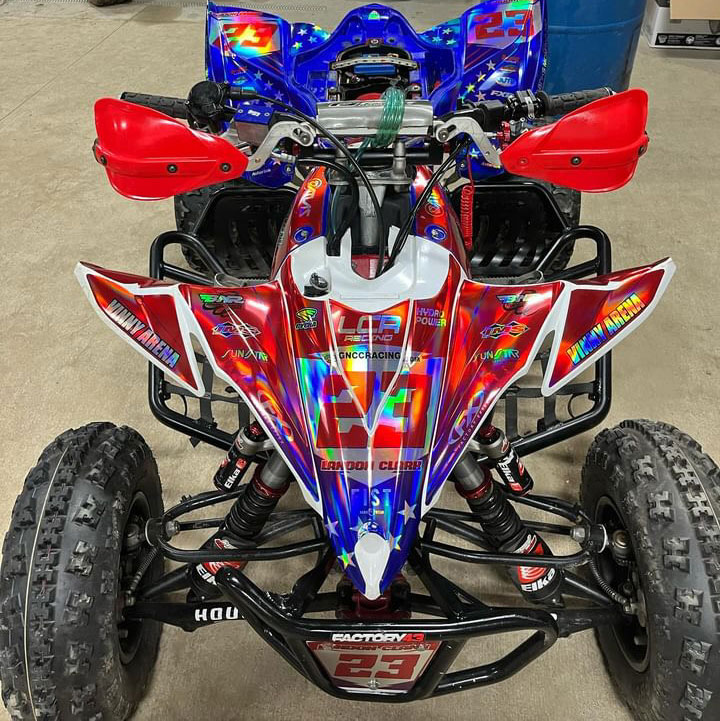
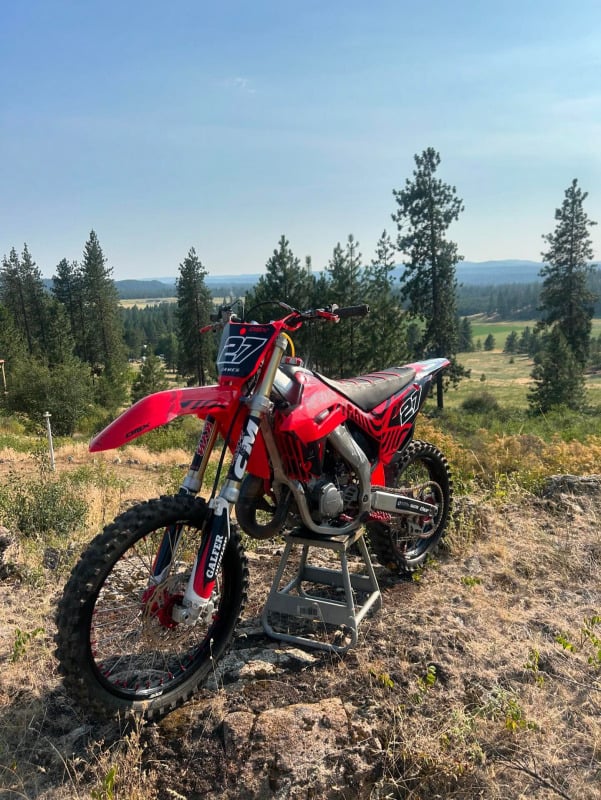
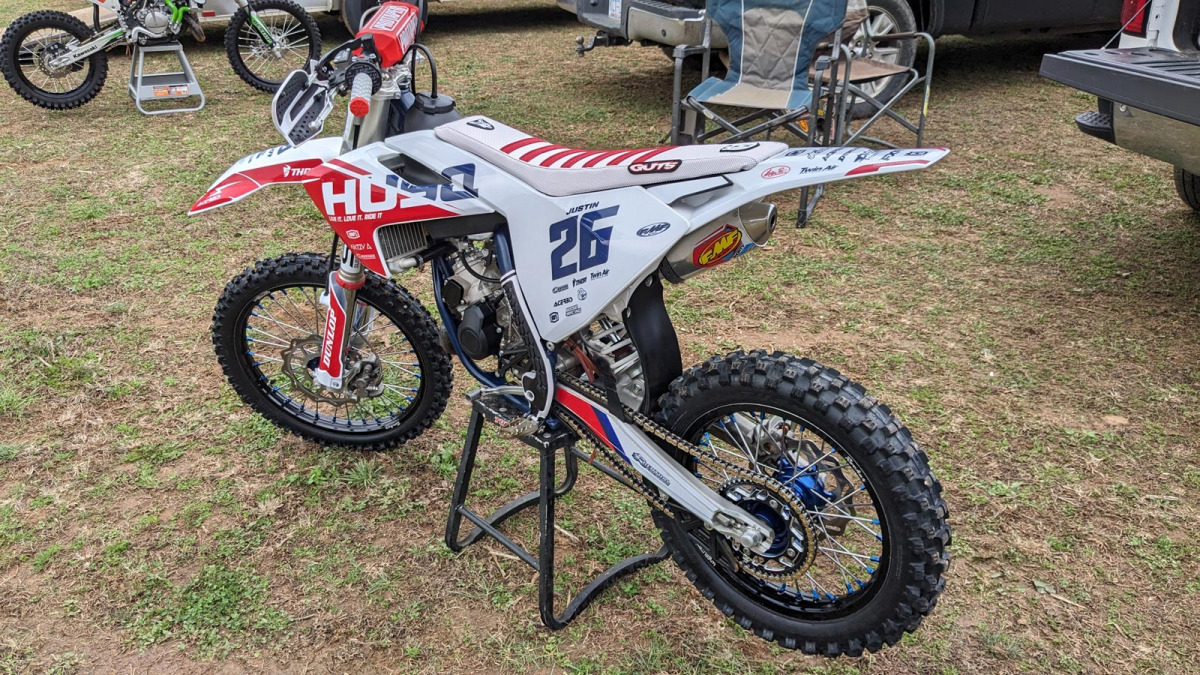
Dirt Bike Graphics Examples – Styles, Fits and Finishes
Seeing real dirt bike graphics installed on different bikes helps riders understand fitment, style options and how graphics look in real riding conditions. Below are some examples of different graphics styles, finishes, and specific kits installed on motocross and off-road bikes.
Check our print base on over-laminate options here.


See more on our MX Graphics gallery or visit OMXGraphics Instagram page
Custom vs Pre Made Dirt Bike Graphics
Pre Made Graphics Kits
Pre made designs are ready to go and tested for fitment. You can browse a wide range of styles in the dirt bike graphics collection and choose one that fits your bike and taste. They’re ideal if you want a proven design and a bit faster turnaround.
Fully Custom Dirt Bike Graphics
Fully custom dirt bike graphics kit allows you full personalization. Meaning starting design from a scrach. Your design idea, colours, patterns, name, number, colours and logos can all be done to match your style. Fully custom kits are popular among teams and riders who want a unique look without compromising quality.
How Often Should You Change Dirt Bike Graphics?
Most riders change graphics every 6 to 18 months. This depends on:
– How often you ride;
– Terrain conditions;
– Washing habits;
– Riding gear contact;
Some riders update graphics purely for a fresh look. Others wait until edges lift or colors fade. If the plastics underneath are still in good shape, replacing graphics is often the smarter option.
Can Dirt Bike Graphics Protect Plastics?
Yes – to a degree. Graphics act as a protective layer that absorbs wear before it reaches the plastic. While they won’t prevent cracks, they significantly reduce surface damage and discoloration. Areas that benefit the most are – shrouds, side panels and swingarms.
Installation Tips That Affect Longevity
Even the best graphics won’t last if installed poorly. Basic rules are:
– Clean plastics thoroughly;
– Remove grease and residue;
– Use heat to help vinyl conform;
– Apply pressure evenly;
– Let the bike sit before riding;
If you’re new to installation, a dedicated guide helps avoid common mistakes. Here is our how to install dirt bike graphics step by step guide.
Final Thoughts
Choosing the right dirt bike graphics kit comes down to fitment, material quality and how you ride. A properly made kit should install cleanly, stay in place and handle real riding conditions without fading or peeling too soon. Whether you choose a pre made design or go fully custom one, understanding these basics will help you get the most out of your graphics – and keep your bike looking sharp ride after ride.