
A new MX graphics kit can completely refresh the look of a bike, but what happens before and after applying it can make a big difference. Old adhesive, worn plastics, incorrect cleaning, excessive stretching and everyday riding abuse can all affect how a kit looks and how long it stays looking fresh.
At OMX Graphics, we’ve been creating dirt bike graphics since 2011 and have worked with more than 40,000 riders worldwide. Over the years, we’ve seen the same practical questions come up again and again.
Can you simply put a new kit over the old one? Why do edges sometimes start lifting? Do scratched plastics need to be replaced? Is matte or gloss better? And what’s the safest way to remove an old kit? Here are five answers worth knowing before your next graphics refresh.
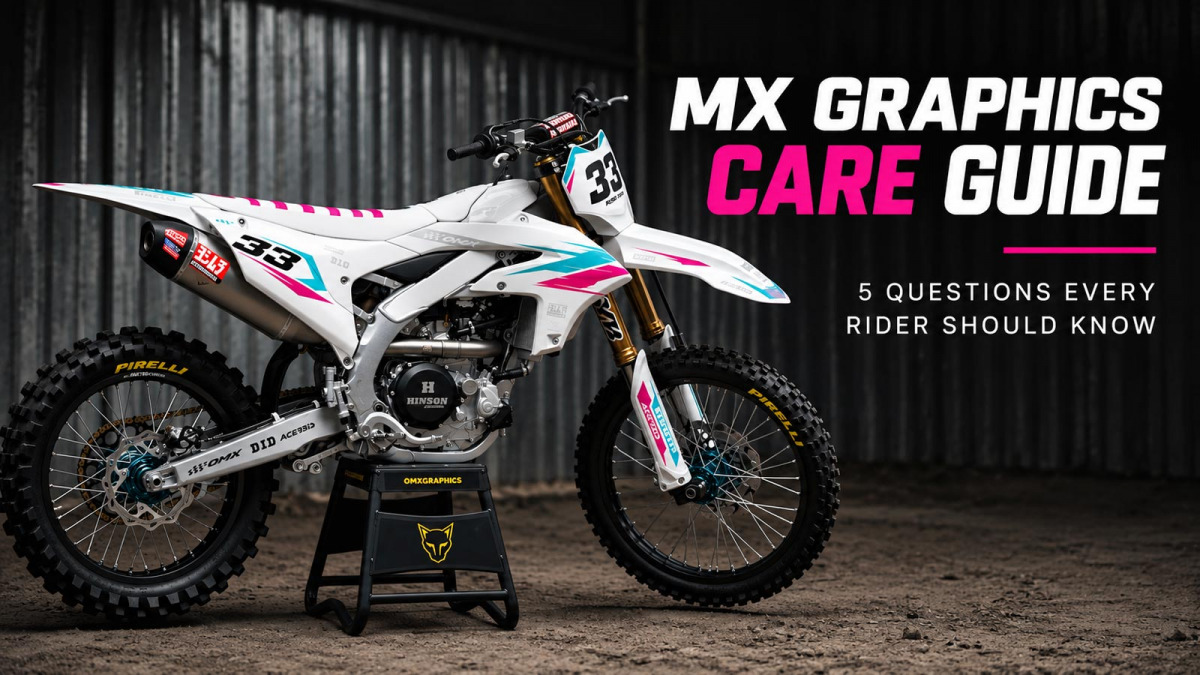
1. Can you apply a new MX graphics kit over an old one?
Technically, yes. For the best result, no. We advise not to do that. A new graphics kit should ideally be applied directly to clean, properly prepared plastics rather than over an existing kit.
Putting new graphics over old ones creates several potential problems. The new adhesive bonds to the laminate of the previous graphics rather than directly to the plastic. Existing edges, bubbles, damage and imperfections can also become visible underneath the new material.
More importantly, the new layer is only as secure as the layer underneath it. If an old section begins to lift from the plastic, the new graphics applied over it will lift too. You may end up with a great looking new kit attached to a surface that is already failing.
Removing the old kit also gives you the chance to inspect the plastics properly. You can identify deep scratches, damaged areas, leftover glue or contamination before covering everything again.
For the cleanest finish and strongest possible bond, start with bare, properly prepared plastics. Once you’re ready to apply the new kit, follow our MX graphics installation guide for the complete application process.
2. Why do MX graphics start peeling at the edges?
Edge lifting is one of the most frustrating problems because a kit can look perfect everywhere else while one small corner starts coming loose. There usually isn’t one universal cause. These are seven of the most common reasons.
The plastics weren’t completely clean
This is one of the first things to check.
Grease, silicone, chain lubricant, fuel residue and certain bike cleaning products can leave contamination on the surface. Even when the plastic looks clean, a thin residue can interfere with the adhesive.
Old glue was left on the plastics
Removing the previous graphics doesn’t necessarily leave a clean surface.
Small amounts of old adhesive can remain behind and create an uneven surface for the new adhesive. All previous glue should be removed before applying another kit.
The material or plastics were too cold
Temperature affects both the flexibility of the material and the way the adhesive initially bonds.
Trying to work with graphics that have been sitting in a freezing garage is very different from working with material at a comfortable room temperature.
Allow the graphics and plastics to reach a suitable temperature before getting started.
The edges weren’t secured properly
Number plates, radiator shrouds and other MX plastics aren’t flat surfaces. They contain curves, recesses and sharp transitions.
These areas need extra attention. Once the graphics are positioned correctly, work across the entire surface and make sure every edge is firmly secured. Use heat gun if needed.
The material was stretched too aggressively
More stretching isn’t always better.
Pulling material aggressively around a difficult curve creates tension. It may look perfect initially, but the stretched material naturally wants to return toward its original shape.
That continuous tension can eventually work against the adhesive and cause an edge to lift.
The bike was used immediately
Finishing a new graphics kit on Friday night and racing Saturday morning might be tempting, but giving the adhesive some time before exposing it to mud, water and aggressive riding is the better option. Whenever possible, don’t leave the job until the final hours before riding.
Normal riding creates serious abrasion
Think about what the sides of a motocross bike experience. Boots, knee braces, riding pants, mud and constant body movement repeatedly rub against the same areas. Some wear is simply part of riding.
Quality material helps, but no graphics kit exists in a zero-wear environment.
For a deeper explanation of how material construction affects durability, read our guide covering MX graphics thickness and lifespan.
3. Do you need new plastics when changing MX graphics?
No. New graphics do not automatically mean you need new plastics. A quality kit can be applied to used plastics as long as they remain in suitable condition.
Normal riding marks and light scratches generally aren’t a reason to replace an entire plastics set. What matters more is whether the surface can be properly cleaned and whether it provides a solid base for the adhesive.
Deep gouges are different. Very rough surfaces, heavily damaged areas, distorted plastics or sections that have been repeatedly contaminated by fuel or chemicals can make achieving a clean result more difficult.
Older plastics can also become heavily scratched over years of riding. The graphics may still adhere, but some of that uneven texture can affect the final appearance.
So when should you buy new plastics?
If the existing set is badly damaged, warped or extremely rough – or you’re rebuilding the bike and want the cleanest possible finish – new plastics make sense.
If your current plastics are straight, solid and reasonably smooth, there’s usually no need to replace them simply because you’re changing the graphics.
4. What materials to choose for my MX graphics?
There isn’t a universal winner. The choice between matte, gloss, galactic, holographic or chrome is mainly about the appearance you want for the finished bike.
See our MX graphics material options here.
5. What’s the safest way to remove old MX graphics and adhesive?
Patience helps a lot. Trying to rip an entire old graphics kit off as quickly as possible can leave considerably more adhesive behind and make the job harder than it needs to be.
Start by gently warming the graphics. Moderate heat helps soften the adhesive and makes the material easier to peel. A hair dryer is often enough for this job. You don’t need extreme temperatures. Once the material is warm, lift a corner and begin peeling it back slowly. Keeping the pulling angle relatively low gives you more control. Work gradually instead of aggressively tearing large sections away from the plastic.
Once the graphics are gone, inspect the entire surface. If adhesive remains, use a suitable adhesive remover and a clean cloth to work it away. Make sure the product you’re using is appropriate for the plastics you’re cleaning.
Avoid scraping stubborn adhesive with metal blades or sharp tools. Saving a few minutes isn’t worth permanently gouging a set of plastics.
And don’t stop once the old glue disappears. Adhesive removers can leave their own residue behind. Before applying anything new, clean and degrease the plastics again.
Your final surface should be clean, dry and free from grease, oil, old adhesive and cleaning product residue.
Good mx graphics care starts before the first ride
Most riders naturally focus on the design when ordering a new graphics kit. That’s the fun part. But preparation and care have a major influence on what happens afterwards. Starting with a clean surface, removing old adhesive properly, avoiding excessive stretching, securing difficult edges and looking after the finished kit can all contribute to better results.
Material quality is another important part of the equation. OMX Graphics kits use professional 21MIL total-thickness material, combining a 6MIL printed vinyl layer with a 15MIL overlaminate. Strong adhesive with FLO Technology helps make application easier and allows trapped air to escape during the process.
But premium material isn’t a substitute for good preparation. Whether you’re refreshing a race bike, rebuilding an older machine or simply changing its look, the basic principle stays the same: Take care of the surface, take your time with the graphics, and they’ll have the best possible foundation for whatever happens on the track or trail next.