You know what it’s like, you just received your package with new bits for your bike, and you can’t wait to fit them. But that can be an issue sometimes, and while adding a seat cover is something you won’t get wrong, like fitting new bars or brakes if you get new dirt bike graphics, it pays to stop, read the instructions carefully and take your time. There are a lot of mistakes people make when fitting graphics, here are the most common and how to avoid them.
Not preparing your bike properly is one of the main reasons
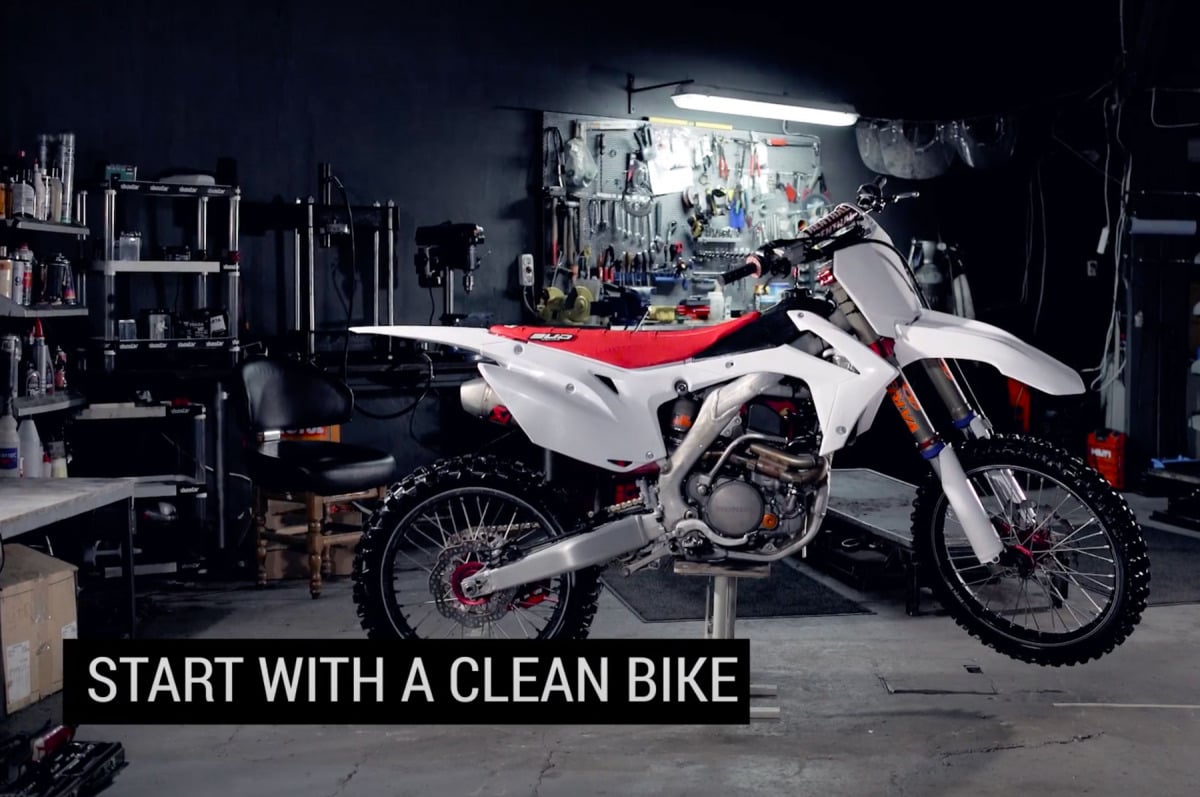
Its easy to get carried away and just rush into applying your graphics, but more than any other work on your bike, this is a route to disaster. Everything about the finished look of the graphics, how smooth and well fitted they are, even how long they last, is shaped by how well your bike is prepared before you fit them.
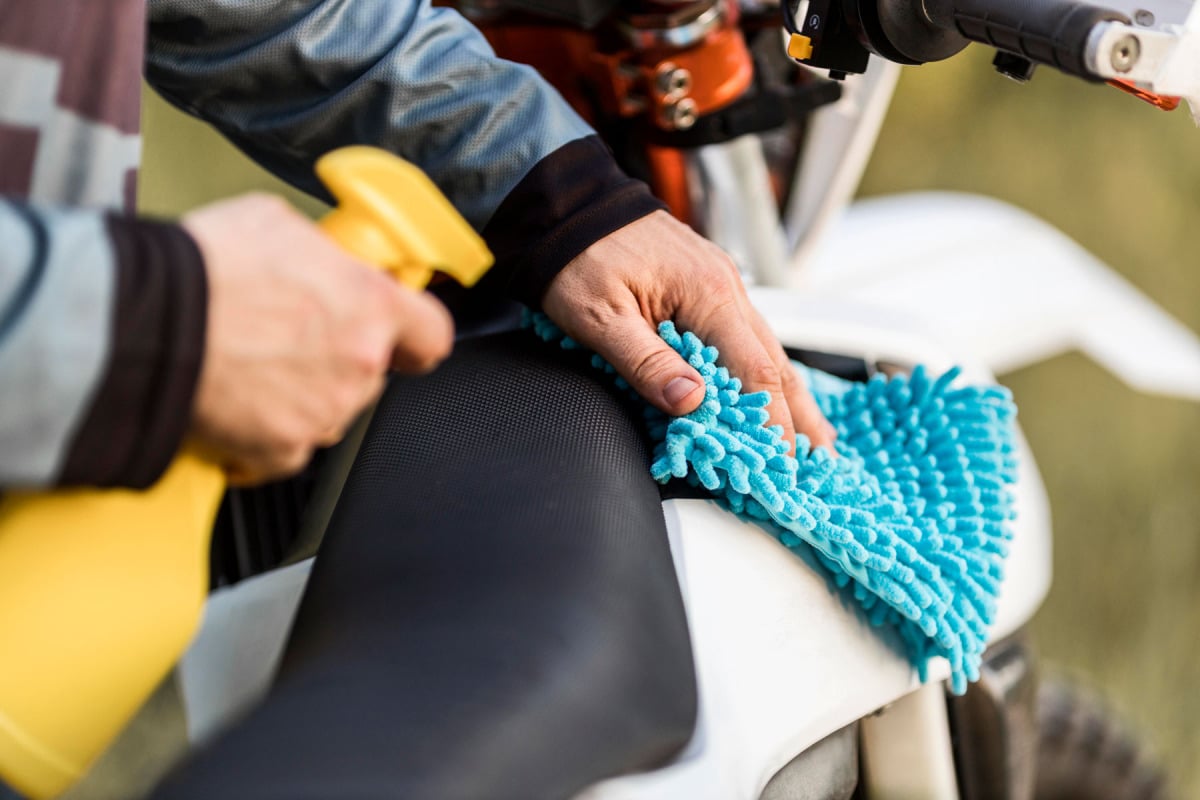
Clean and de-grease every part of your bike
If you don’t clean and de-grease the surfaces properly, dust and debris can cause air bubbles, ruining the smooth, painted on look you want. Worse, if there is oil or grease anywhere on the surface you are applying your graphics too, then they won’t stick properly, and the graphics will start to peel pretty quickly.
There is one more contaminant that can ruin your graphics, silicone. If you have previously applied some spray polish to the bike, or used any silicone-based lubricants, the surfaces on your bike could have silicone residue on them. You can’t really see it, and it is another substance that will ruin adhesion and cause your graphics to peel.
So, wash everything down and finish the surface with a de-greaser to ensure there is nothing on the bike to cause problems. Once you have cleaned it all, use disposable gloves to avoid the oil from your fingers getting onto the plastic of the bike for the best adhesion when fitting.
You want to be sure that the surface is smooth
Whatever the surface is like before you put the graphics on, it will be seen even more clearly after application. So, if your bike has a scratch, that will show through and ruin the effect. You may be in a rush to fit your graphics, but it really is important to stop and fix any issue before fitting. You won’t be hiding problems with graphics, just making them more obvious.
If your bike has scratches, use fine sandpaper to smooth the surface. If it’s a deep scratch, use some filler and then sand everything flat.
Installation mistakes to avoid
As with preparation, taking time to get everything right is crucial here, don’t just leave something and think it will improve, you always need to fix an issue.
Having said that, there are a number of things that can cause problems that are very easy to avoid if you plan ahead.
Applying graphics in direct sunlight
This is probably the most common mistake in adding graphics to your dirt bike. After all, what better way to enjoy a sunny afternoon than sit outside and apply your dirt bike graphics? The problem is, sunlight heats up the plastic on your bike, it dries out any application liquid you are using, and can cause issues with adhesion too.
If you have to work outside, try and avoid strong sunlight wither by finding some shade or waiting for a more overcast day.
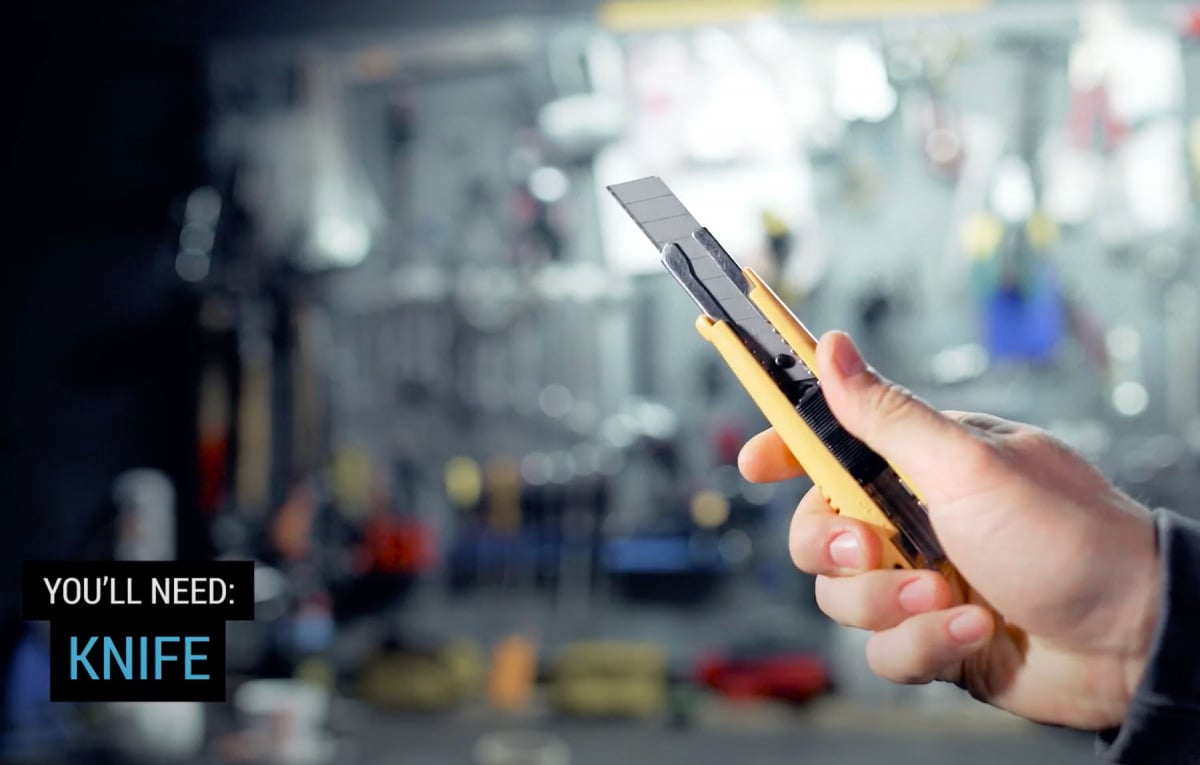
Not bothering with the right tools
Its just some stickers, right? If you’ve met enough bikers, you’ve heard that at least once. Having the right tools gets you a better finish, and more than that, its just an easier process. Why make life harder for yourself, just buy an installation kit, they usually come with a sturdy squeegee to help get the bubbles out, and application liquid that makes it much, much easier to get your graphics in the right place.
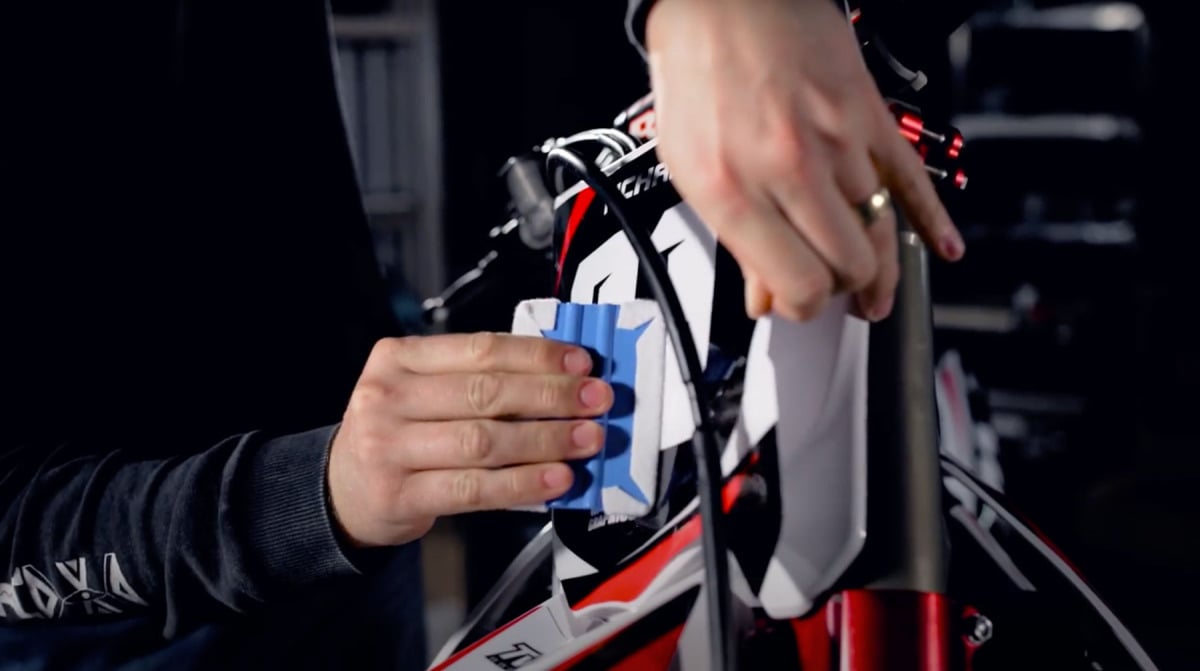
Not Dealing with air bubbles and wrinkles
I don’t know where this idea came from, but lots of people seem to think air bubbles will deal with themselves. They won’t, in fact they get worse over time and lead to the entire graphic lifting. Not only that, but those bubbles stand out and ruin the look of your graphics in the first place, so you need to deal with them as you install everything.
Use your squeegee, you did buy an installation kit, right, start from the middle of the graphic and push the air bubble out to the edge. Work on each piece until you have got rid of all the bubbles, and everything is nice and smooth, before moving to the next graphic.
Thinking you know best is a common mistake as well
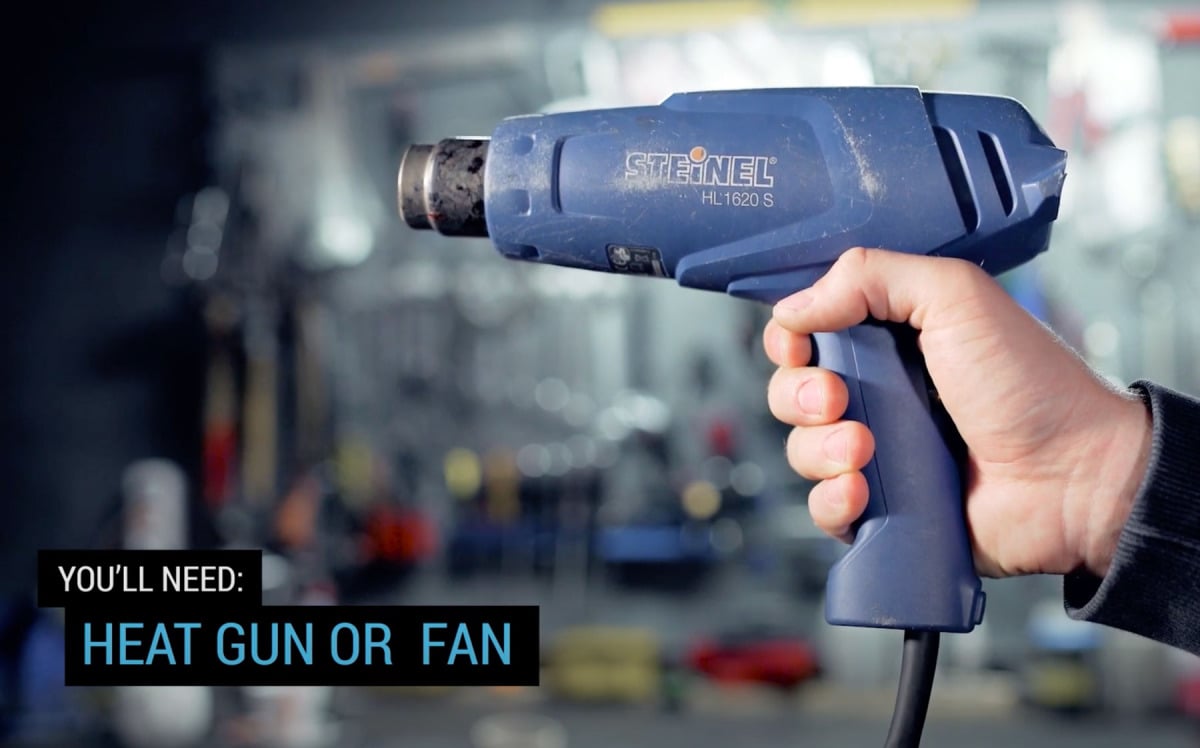
This is one for those of us who have fitted a few graphics kits before, and think we know everything. Read the instructions for the new kit, and do what they say. We can all be guilty of this, you’ve fitted one graphics kit, you can do them all. But different materials need different approaches, some may suggest using a heat gun, others not, for instance. If the instructions recommend heating that graphic, then heat it, you can get a cheap air gun and it will do the job fine, you don’t need anything fancy.
Always follow the instructions, even if you know what you are doing. Just one little difference between products can mean a poor fitment if you don’t know what is needed.
Patience
All these little errors can have a big impact on how your graphics turn out, so pay attention and you can avoid them all easily. However, there is one issue that should be part of everything you do with graphics, and that is patience.
Don’t be tempted to rush anything, take your time with each piece and make sure it is fitted right before moving to the next one. Patience is the secret to success when it comes to dirt bike graphics. Lose your patience, and it will probably go badly, take your time, follow the lessons here, and you will get great results.