Every day, we receive questions about how to easy install dirt bike graphics. To help our customers, we’ve created this article that covers the entire installation process, offering practical tips and clear, step-by-step instructions. This guide is made to make it easy for you to achieve a professional, long-lasting finish on your bike. Keep reading to find all the answers you need!
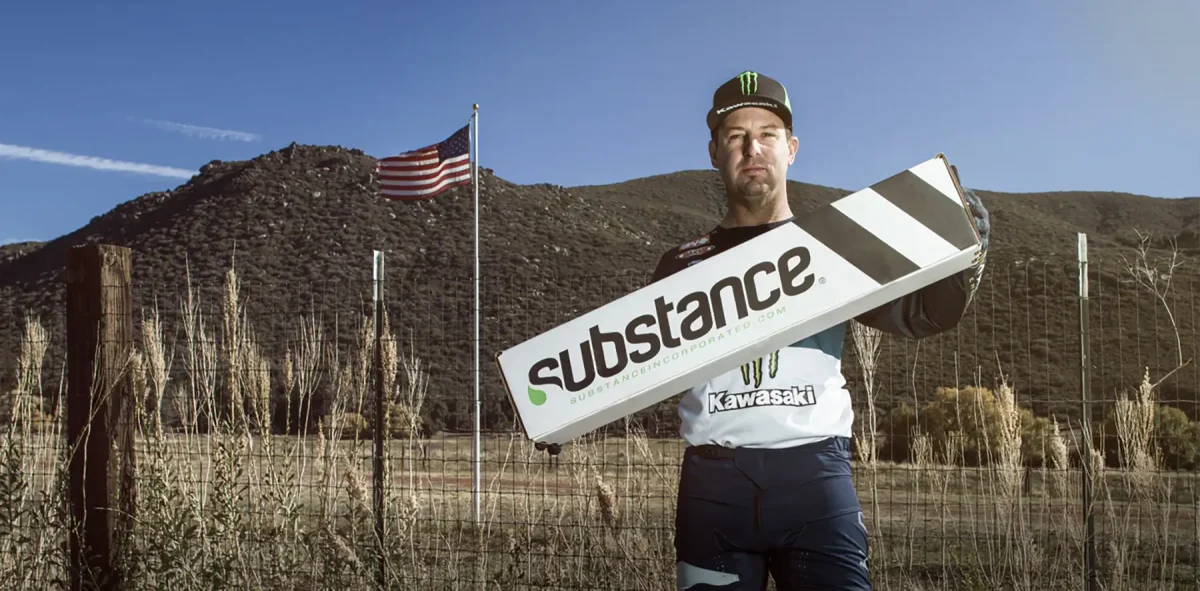
Our longterm partner in creating graphics is Substance Incorporated. Unsurpassed passion and innovation to the marketplace, Substance Incorporated is a market leader in motocross graphic technology for digital and screen printers.
Before you start installing your dirt bike graphics
Inspect your plastics, if they are scuffed and scratched or have major damage it may be worth looking at replacing them. Before you start to install dirt bike graphics kit your dirt bike plastics need to be in a reasonable / excellent condition.
To install mx graphics you will need:
- adhesive paper tape;
- paper knife / scissors;
- hair dryer or heat gun;
- degreasing agent or alcohol-water mixture;
- squeegee (optional);
Wash your hands. It is very important to have clean hands while you are preparing surface and working with mx graphics. Oily / dirty hands will reduce the ability of your graphics to adhere.
Preparing surface
Before you start to Install mx graphics you have to remove old decals. You can use hair dryer or heat gun to warm the old graphics for easy removal. Clean the surface with degreasing agent. You do not want to leave any glue residue from the old graphics, oils or dirt. Your dirt bike plastics should be warm before applying new graphics. We recommend you to keep plastics in a room with temperature more than 15°C / 60 ºF for several hours.
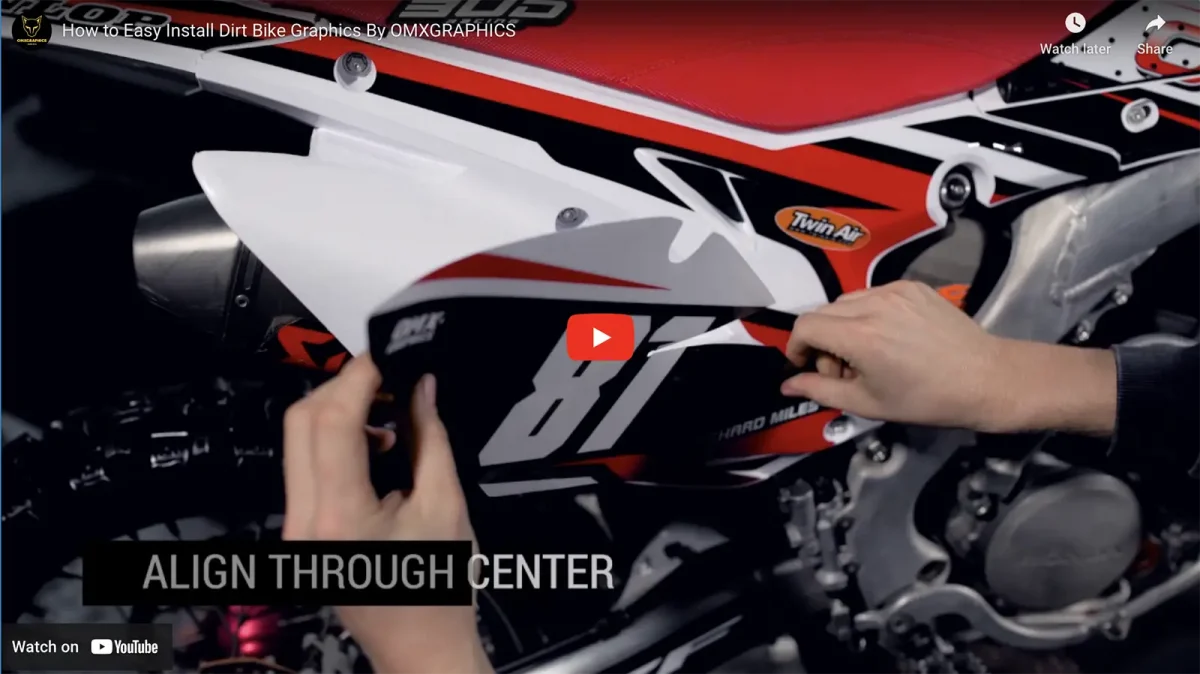
Applying new mx graphics (watch video)
Place your new mx graphics over the plastic (e.g. number plate). Using adhesive paper tape, tape down the decal to the plastic. This will hold your decal in place. Use as much tape as you need.
Peel the backing paper away from the background till the middle, cut it off. Re-check your alignment on the part to be covered. Touch one side of the graphic with your finger to place it.
Working in small sections, use your thumb (or squeegee) to apply pressure to the graphics being careful not to get any wrinkles or bubbles. You have to work from the center out. If you get bubbles, carefully peel the section up and try again. Use the safety pin to pop any small air bubbles. Then smooth out the bubble section moving towards the edges of the graphics. Repeat install process to the other side of the same decal.
If you have sharp curves in your plastic (e.g. number plate over exhaust pipe), use heat gun to heat the graphics so they are more pliable. Be careful not to overheat!
If needed – cut off excessive sections or sections of the mx graphics that are covering bolts, access holes, or vent slits – we suggest to use paper knife.
dirt bike graphics Installation tips
Take your time and be patient! To install new dirt bike decals is not as hard as it may seem.
For several hours before installation, keep your dirt bike or plastics in place with temperature more than 15°C / 60 ºF for several hours.
Wait at least 24 hours before riding to make sure proper bonding is achieved.
YouTube video
You may also want to check FAQ
Shop dirt bike graphics