How to remove dirt bike graphics is a question every rider has asked himself at least once. Right?
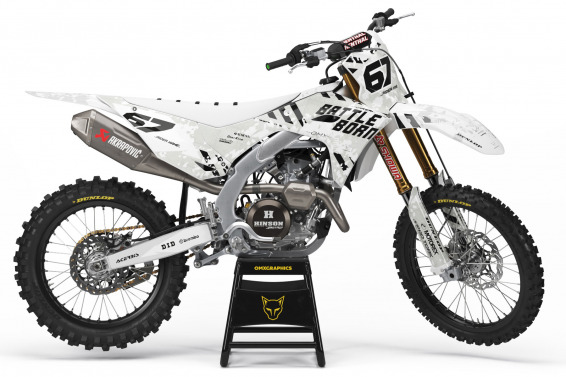
Custom Dirt bike graphics transform your bike from a simple off road vehicle into a beast with a purpose. They provide both you and your bike with a unique identity and stamp you as someone to be taken seriously. But dirt bike graphics are not permanent and if you own your bike for more than a few years you’ll eventually reach the point where replacing your old graphics becomes necessary. To remove dirt bike graphics is not as simple as it might seem. After being exposed to the sun for a prolonged period of time dirt bike graphics are going to be baked on the plastics pretty good and you won’t be able to just peel them off cleanly from the edge. So what do you do? Below we’ll get into how to remove dirt bike graphics.
While removing dirt bike graphics isn’t rocket science there is a bit of science involved if you’re going to do it right and not mess up your bike in the process. And while you’re likely to find several different websites and/or videos on the Internet describing different ways of removing old graphics from your bike the way we’re going to suggest will not fail if you are guided by one principle: patience.
Before we get into the right way to remove graphics from your dirt bike we should say a few words about the wrong way to do it. That would be to try and scrape the little buggers off when they’re cold and you’re in a hurry. That method will only ensure 2 things: a lot of sticky crap left behind and ruined paint job. So, don’t do that. Okay? Alright.
The 5 Steps to remove dirt bike graphics the right way.
The secret to removing old decals from your dirt bike is heat. The problem with old decals is that they’re cold and dry and brittle. So trying to peel them off when they’re like that is destined to fail. What you need to do is make them pliable first and then you’ll see, they’ll come right up like dogs to dinner. Here are the 5 steps you’ll want to take to make that happen.
- Go to the bathroom or bedroom or wherever and retrieve the hair dryer. If you don’t have one borrow one from your sister or mom or neighbor.
Holding the hairdryer about an inch above the decal turn it on high and move it back and forth for about 30 seconds. Don’t get it too hot as you could actually soften the paint underneath.
Now that the sticker is nice and warm use a credit card or something similar and gently pick at the edge of the sticker until it comes up. If it doesn’t come up fairly easy apply the heat for another 30 seconds and repeat with the credit card. Peel up the sticker slowly. If it starts to resist too much turn the dryer back on and hold it over the decal while you peel it back.
Once the sticker is completely removed you’ll probably have an outline and/or some residual glue on the surface. Just spray a tiny bit of WD40 onto the residue and wipe it away with a clean cloth.
That’s it. Once the stickers have all been removed clean all the surfaces thoroughly and dry them completely. If you don’t clean the surface thoroughly your new decals aren’t going to stick no matter how nice you ask them to. Use a mild soap and perhaps some rubbing alcohol, particularly if you used WD40 on the surface. Just make sure you don’t use a glass cleaner or anything with ammonia because it will likely leave behind a residue that will prevent the new graphic from adhering properly.
-
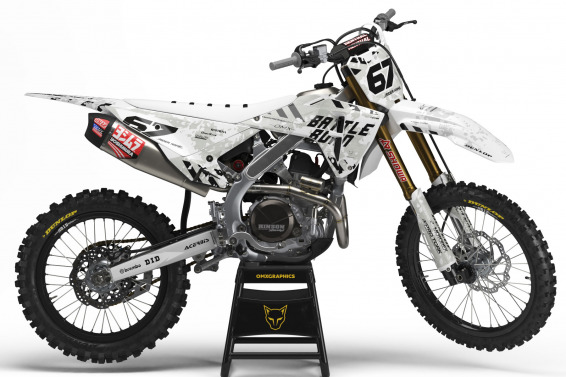
 Airborne Black – Graphics Kit for Kawasaki
 -
Airborne Black – Graphics Kit for Husqvarna
-
Airborne White – Graphics Kit for KTM
-
Airborne Black – Graphics Kit for GasGas
-
Airborne White – Graphics Kit for Honda
-
Airborne Black – Graphics Kit For Stark Varg
-
Airborne White – Graphics Kit For Yamaha
-
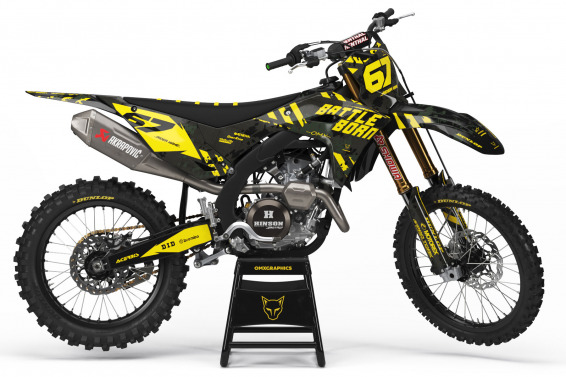
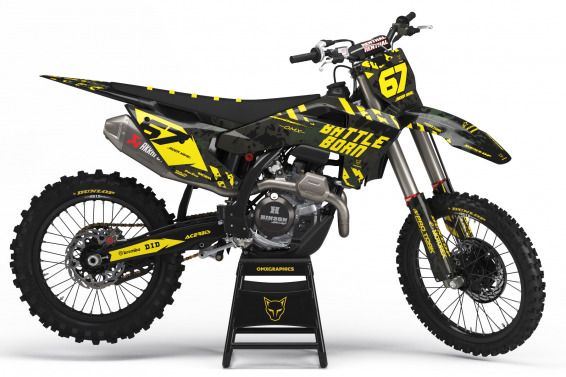
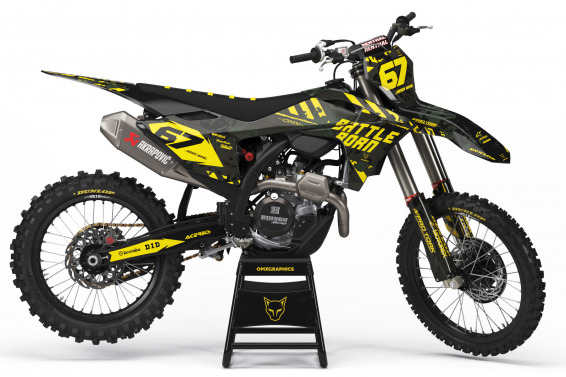
Graphics Kit for Suzuki – Airborne Black
-
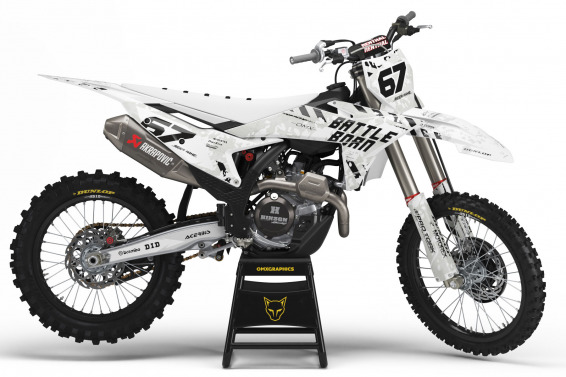
Graphics For Kawasaki – Airborne White
We’re going to assume you spent your money wisely and invested in a set of new motocross graphics from OMX. So bring them over to the workbench, get comfortable and let’s get going.
- Remove all the components you can that are going to receive a decal. Lay them out flat on your workbench. Wipe them down one more time to make sure they’re clean and dust free.
Peel back the paper from the decal using extreme care and making sure you don’t tug to hard in one direction or the other. Firm, even pressure is the order of the day here. Make sure you don’t touch the adhesive side of the decal during this part of the process. It could leave a dirt mark on your decal that will only become visible after you attach it.
Take a breath and get a nice firm hold on the decal. Holding it so that no part of the sticky back will contact any other part. For small decals you can place them all at once, just make sure they’re positioned properly. For larger decals place one side of the graphic down using extreme care and then slowly lay down the rest of it going from one side to the other. If you detect trouble at any point pull the graphic back a bit before proceeding.
Starting in the centre and moving to the edges smooth out the decal completely. Make sure you remove any creases or air bubbles along the way. If the bubble is stubborn puncture it with a pin and use a squeegee to force the air or water out through the pinhole.
Proceed until you have all the decals installed. Return the various components to your bike and you’re ready to go.
Learning how to remove dirt bike graphics is easy actually. All you need is a bit of common sense, some patience and a hair dryer. When installing your new dirt bike graphics just be sure that the surface is completely clean and remember not to use any window cleaning products or others that contain ammonia. Other than that just relax and be methodical.