You already know that dirt bike graphics are a fantastic way to add personality to your ride. However, some extremely tough rides and intense races might change their appearance. Dirt, mud, UV rays and the occasional crash can all take a toll on your graphics. Therefore, it takes some care and attention to make sure your graphics look smashing for longer. In this blog post we will share some tips and tricks on how to protect and maintain your graphics.
So why we chosen to discuss this topic when our entire business revolves around selling dirt bike graphics? First of all, we are aiming to become more sustainable day by day. That includes working with the latest printing machines that use less power and energy, and printing the graphics with eco-friendly UV inks. We use recyclable cardboard material to pack our graphics and we hope to have fully recyclable packaging soon. This philosophy also applies to our products. From our point of view, quality is a synonym for sustainability. If we sell premium quality custom graphics (which we do), the customer can sport them way longer. The quality holds for years to come, and that is why OMX Graphics is a safe place to look for your next kit. On the other hand, the customer also has to do his or her job to keep the bike and graphics in a pristine condition. Therefore, read on to find out the best ways to protect your decals in the long run.
How to Make Your Dirt Bike Graphics Last Longer? Start with High-Quality
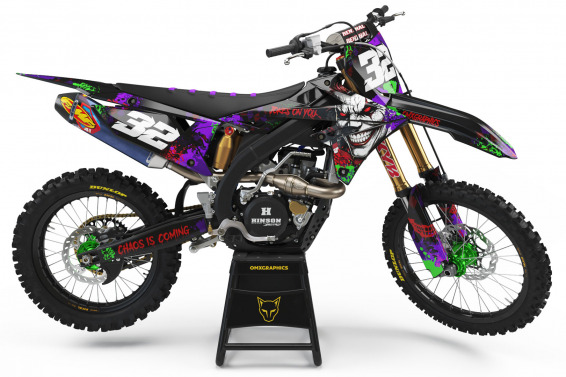
As you might already know, not all dirt bike graphics are equal. Choosing high-quality graphics can make all the difference in their lifespan. Even though cheaper kits might look good initially, they can easily fade, peel or tear much faster than premium options. Therefore, look for graphics made from high-quality 21MIL thick vinyl with UV-resistant properties. It goes without saying that is exactly what OMX Graphics offers. All our graphics are made using Substance media.
Pay Attention to Proper Installation
Even if you choose the finest graphics out there, you can shorten their life by installing them incorrectly.
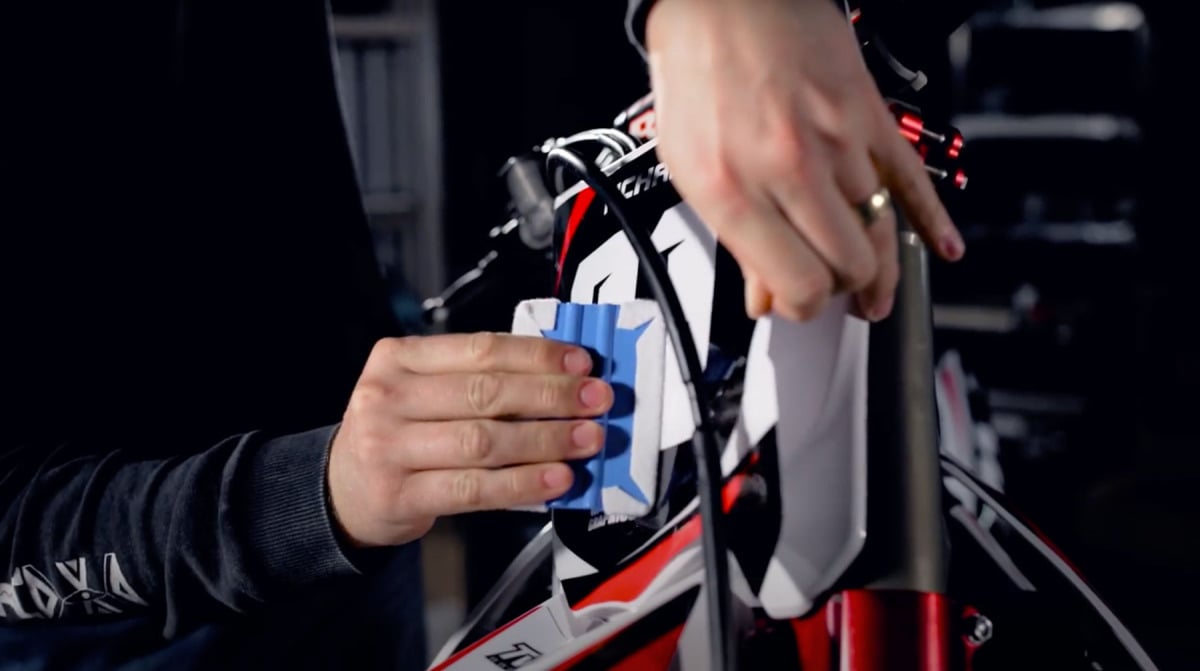
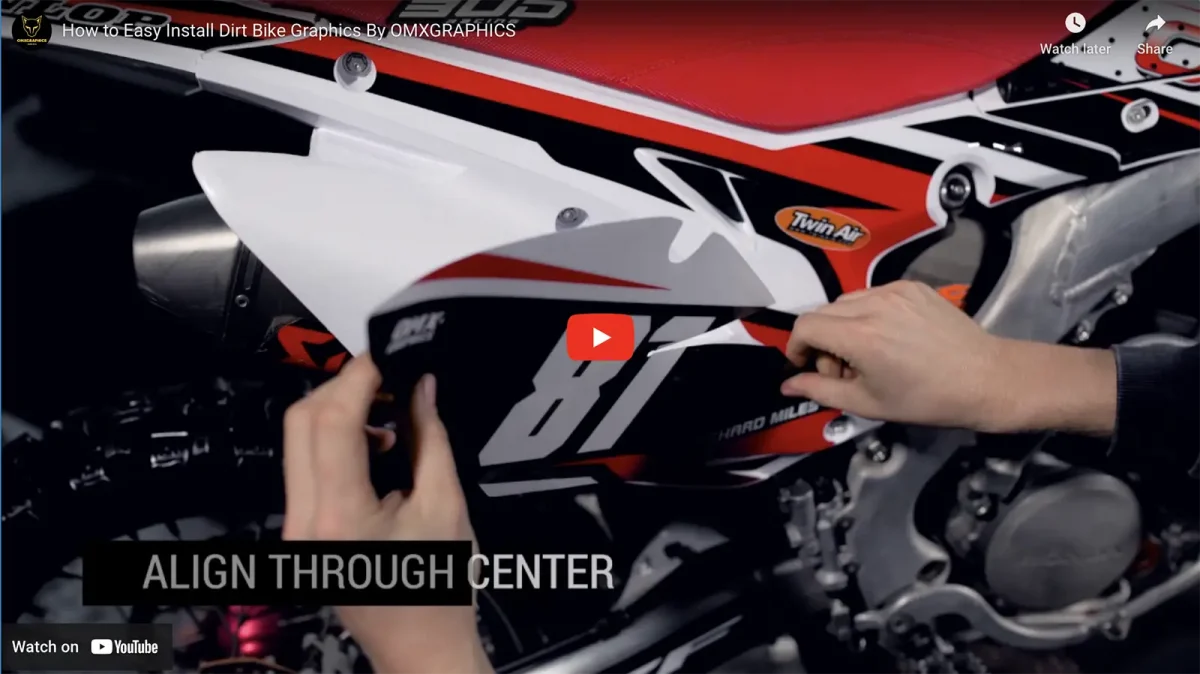
Here’s how to install them right:
Clean the surface: First of all, make sure that you thoroughly clean your bike. This is very important! Any dirt, grease, or debris can prevent the adhesive from sticking properly.
Use heat: A heat gun or hair dryer can make the vinyl more flexible and by that – easier to apply. It also helps the adhesive bond better to the bike’s surface.
Take your time: Don’t rush the process. Start by applying the larger pieces first and work your way to the smaller ones. Always smooth out any bubbles or creases as you go.
Use a squeegee: A small squeegee or even a credit card can help you push out air bubbles for a smooth finish.
Clean Your Bike Regularly
There is dirt in ‘dirt bikes’ for a reason. Dirt and mud are part of the fun when it comes to riding. We’re all here because we simply love playing it dirty, right? However, that can be quite tough on your graphics. Therefore, remember to clean your bike after each ride. The longer you let dirt sit on your bike, the harder it can be to clean. Always use mild soap and water, and forget about harsh chemicals! Don’t be tough on the edges of graphics.
Avoid Pressure Washers
We know, we know – it can be tempting to blast your bike with a pressure washer. But when you remember how harsh it can be on your graphics, you’ll easily change your mind. The intense force can lift the edges of the vinyl and that causes them to peel or tear. If you do use a pressure washer, keep it at a safe distance and avoid spraying directly at the graphics.
How to Make Your Dirt Bike Graphics Last Longer? Protect the Edges
The edges of your dirt bike graphics are the most prone to peeling. However, there is one simple trick to extend the life of your graphics – just seal the edges. You can use a clear vinyl edge sealer or a heat gun to lightly melt the edges. That will create a tighter bond with the bike’s surface. Another option is to apply a layer of clear protective film over the graphics. This adds an extra layer of protection against scratches, UV rays, and dirt.
Keep Your Bike Out of the Sun
UV rays can be brutal on your dirt bike graphics and cause them to fade. While high-quality graphics are often UV-resistant, it’s still a good idea to limit direct sun exposure when possible.
Handle Scratches and Tears Immediately
It happens even to the best of us – scratches and tears can happen. Rocks, branches, or even a crash can cause damage to your graphics. If you notice a tear or a peeling edge, don’t wait to fix it. The longer you leave it, the worse it can get. Use a heat gun to try and smooth down any lifted edges, or apply a small patch of clear vinyl to reinforce the damaged area. If the damage is more severe, you may need to replace the affected section entirely.
-
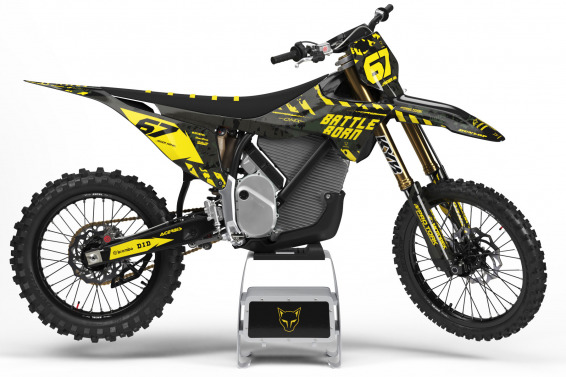
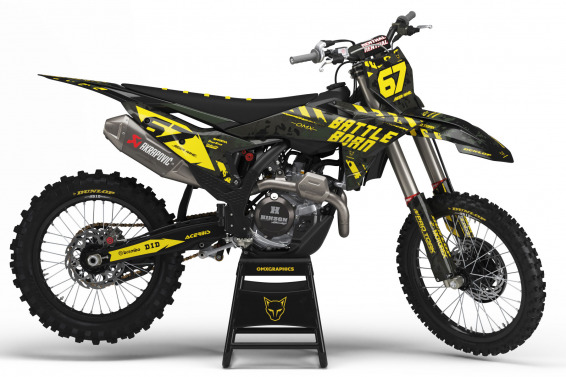
 Airborne Black – Graphics Kit For Stark Varg
 -
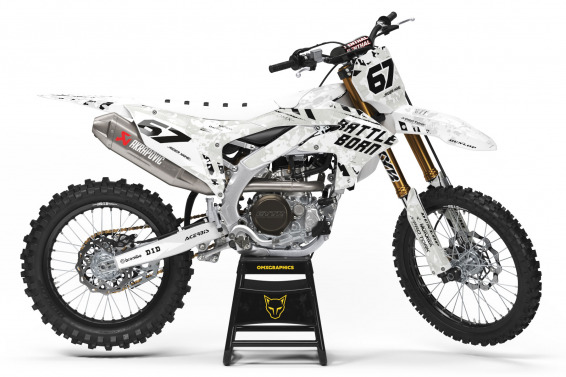
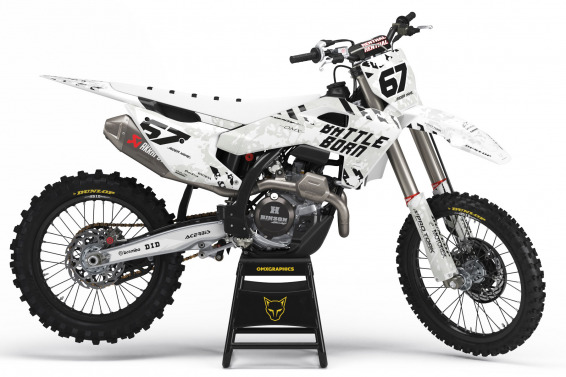
Airborne White – Graphics Kit For Yamaha
-
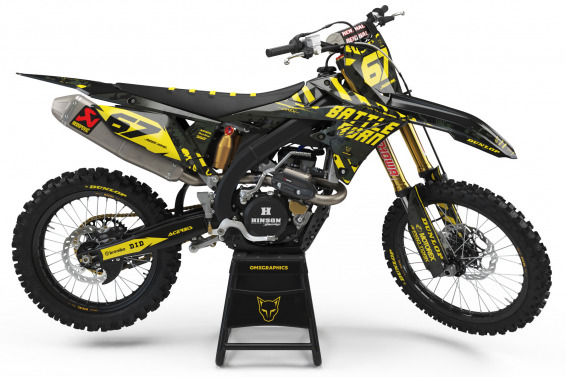
Graphics Kit for Suzuki – Airborne Black
-
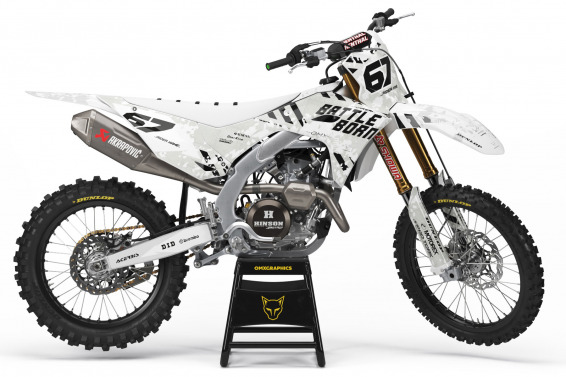
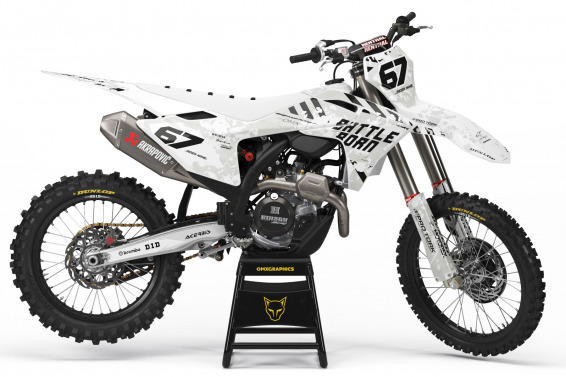
Graphics For Kawasaki – Airborne White
-
Graphics Kit for Husqvarna – Airborne White
-
Graphics Kit for KTM – Airborne Black
-
Graphics Kit for GasGas – Airborne White
-
Graphics Kit for Honda – Airborne Black
-
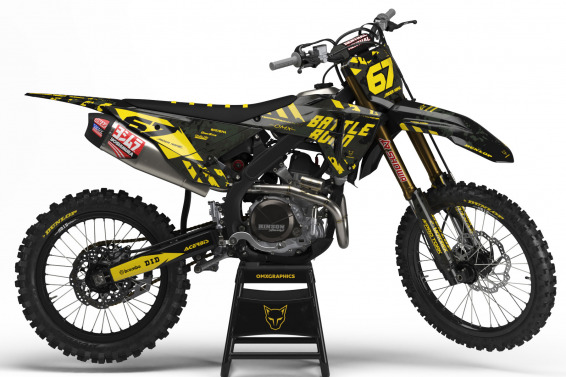
Graphics Kit for Suzuki – Joker – Black