
Let’s be real – motocross graphics have a rough life. Mud, pressure washing, riding boots, knee braces, crashes, fuel and constant flexing of the plastics are all part of a normal weekend at the track. That means a graphics kit needs to do considerably more than simply look good. Three questions come up again and again:
– How thick should motocross graphics be?
– How long should they last?
– And how do you install them without ending up with air bubbles?
After producing MX graphics for riders around the world since 2011, here is what we have learned.
How thick should motocross graphics be?
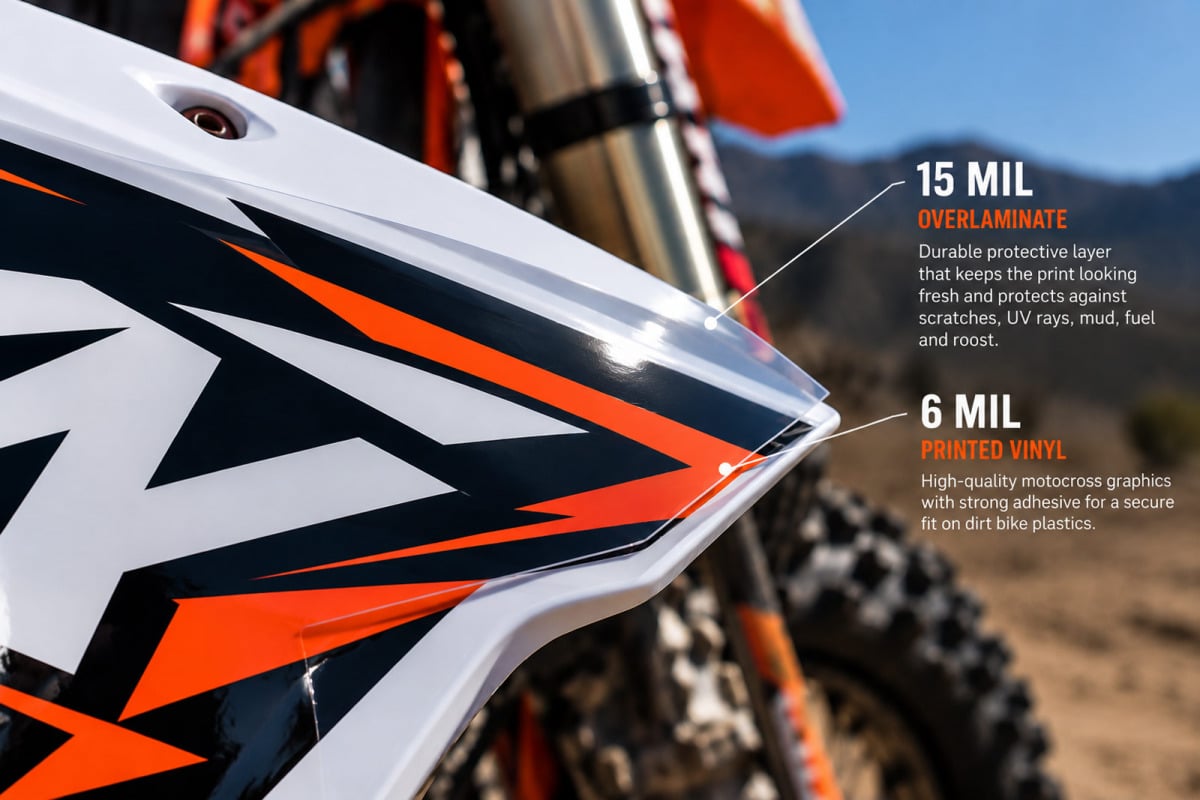
High quality MX graphics should generally have a total thickness of around 16MIL to 21MIL. That total thickness normally comes from two layers: the printable vinyl underneath and the protective laminate on top. Together, they create the finished material that gets installed on the bike. At OMX Graphics, we use 21MIL total thickness pro material for our all our dirt bike graphics. It gives the finished kit the heavy-duty feel needed for actual motocross use while remaining flexible enough to follow the complicated shapes and curves of dirt bike plastics. But thickness alone doesn’t automatically mean a graphics kit is good. The quality of the print media, laminate and adhesive system is just as important. A thick material with poor adhesive can still start lifting around edges and tight curves. Likewise, material that isn’t designed for motocross applications may struggle with the constant flexing and abuse dirt bike plastics experience. A proper MX graphics material needs the complete combination: suitable thickness, strong adhesive, flexibility and a laminate designed to protect the printed layer underneath.
How long do dirt bike graphics last?
There isn’t one exact lifespan for dirt bike graphics because the way bikes are used varies massively. A recreational rider who rides occasionally can keep the same graphics looking good for years. A racer riding several times every week in mud, sand and extreme conditions can wear through graphics considerably faster.
Installation also makes a huge difference. Graphics applied to perfectly clean plastics and given time to bond will normally last much longer than the exact same material installed over grease, silicone, adhesive residue or poorly prepared plastics.
Pressure washing is another factor. MX graphics are made to handle washing, but repeatedly aiming a pressure washer directly underneath graphic edges is a great way to shorten their life.
Then there are riding boots and knee braces. Constant contact against the side panels and airbox can eventually wear through the laminate. That’s normal mechanical wear rather than an adhesive problem.
In other words, high quality motocross graphics can last several seasons under lighter use, while heavily raced graphics may show significant wear much sooner. How you ride, install, clean and maintain the bike matters.
How do you install mx graphics without bubbles?
The first secret to a bubble-free installation actually happens before you install anything. Clean the plastics properly. Remove old graphics and adhesive residue first. Wash the plastics and finish the preparation with isopropyl alcohol to remove oils, grease and contamination. Even brand new plastics should be cleaned because manufacturing residues can remain on the surface.
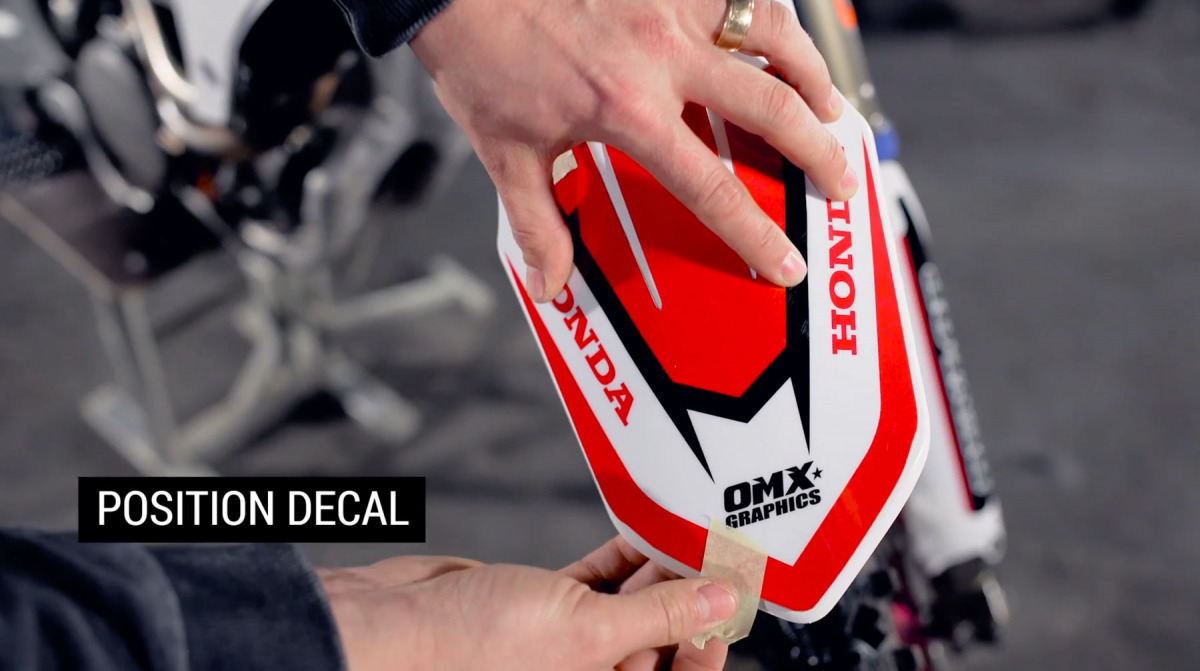
Before removing the backing paper, position the graphic over the plastic. Use bolt holes, corners and panel edges as reference points.
Then don’t make the classic mistake of removing the entire backing sheet.
Peel back only a small section and lightly position the graphic. Once you’re happy with the alignment, gradually remove more backing while pressing the material onto the plastic.
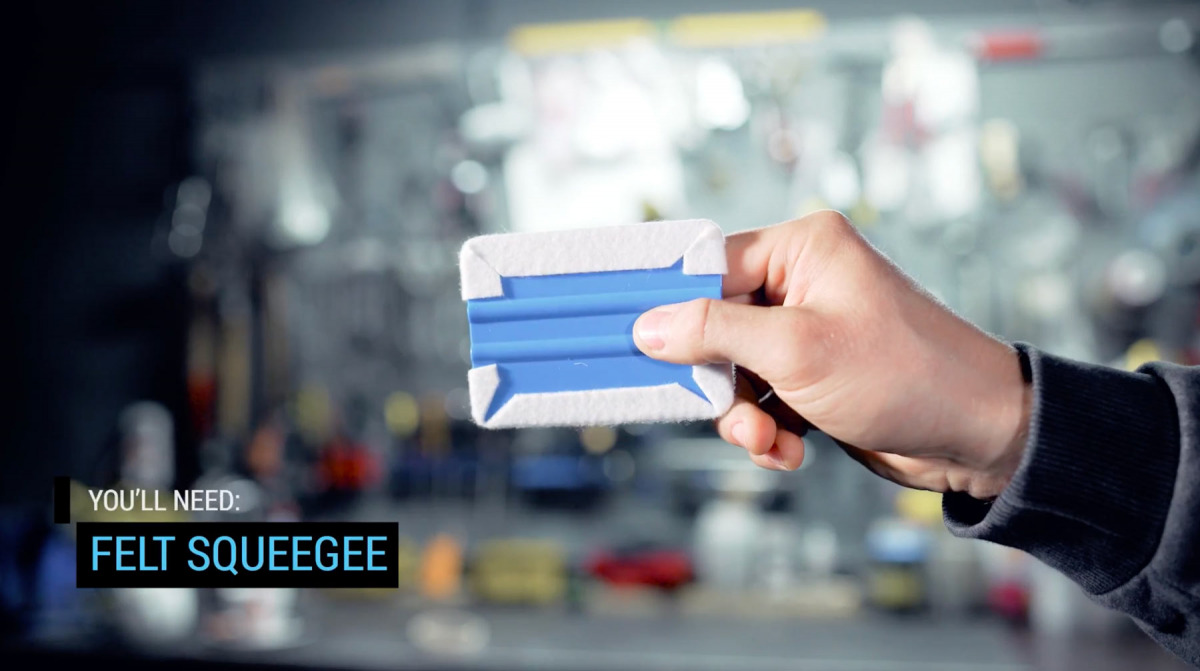
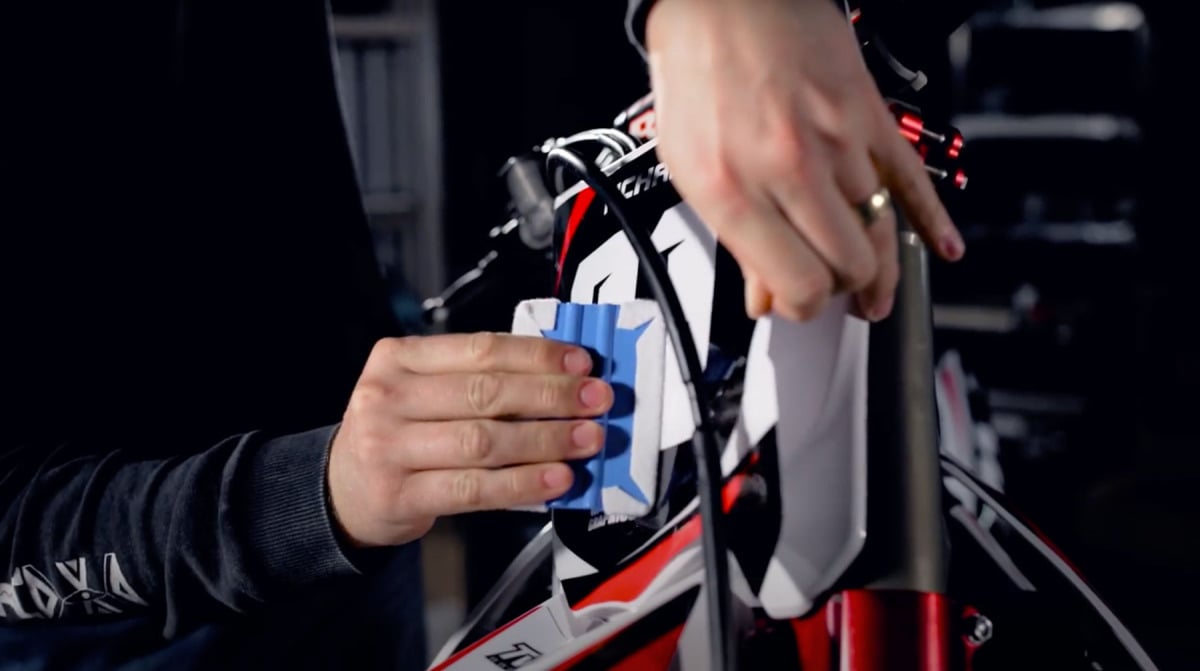
Work from the center toward the edges. This pushes air outward rather than trapping it underneath the vinyl. Use your fingers or a soft squeegee and take your time.
OMX Graphics kits use strong adhesive material with FLO Technology for bubble-free installation by Substance. FLO Technology uses microscopic channels in the adhesive layer that allow trapped air to escape while the graphic is being applied. That makes installation considerably easier, especially across larger pieces.
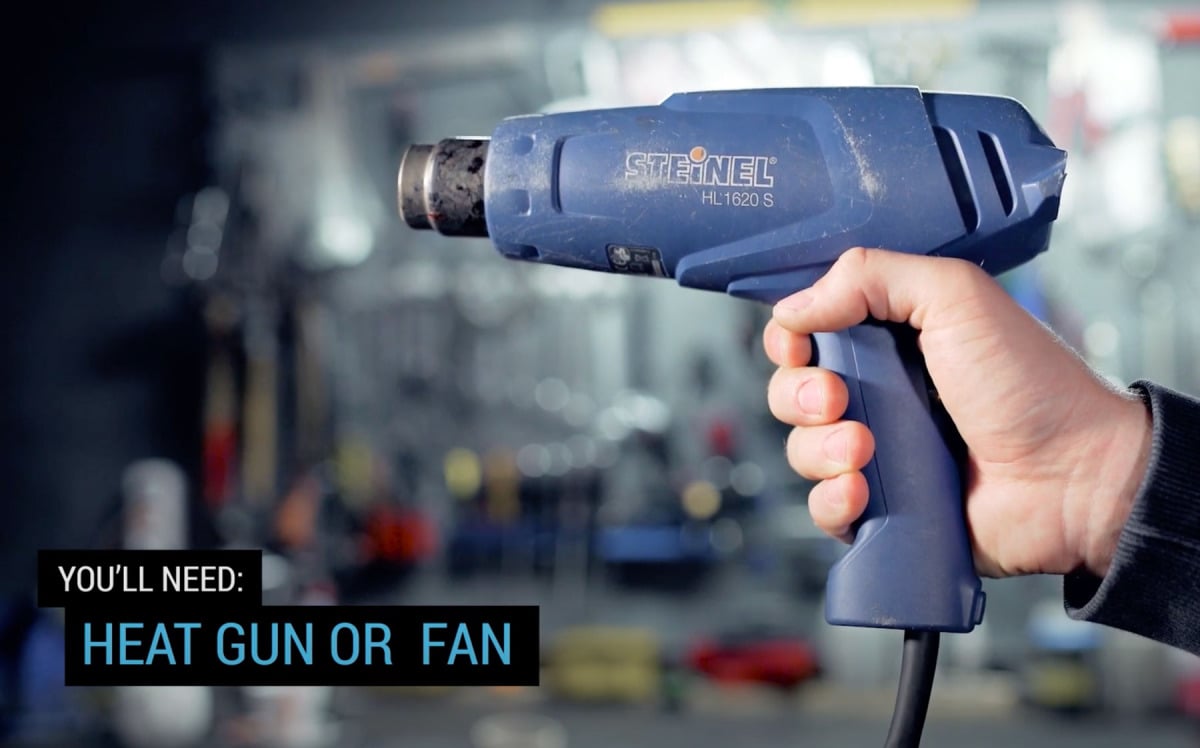
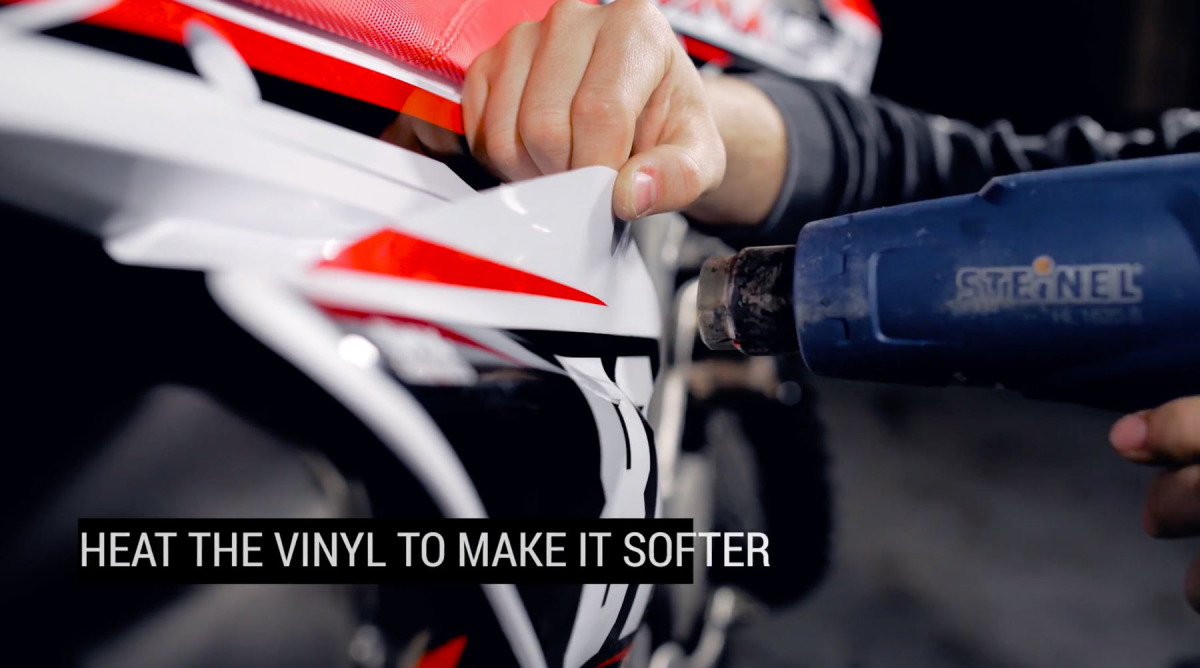
Heat can help around difficult curves and edges, but don’t cook the graphic with a heat gun. Gentle heat makes the material more flexible. Too much heat can stretch and distort it.
If you do find a stubborn bubble after installation, don’t panic. First try working the air toward the nearest edge. For a bubble that cannot be moved, gently warming the area and releasing the trapped air through a tiny pinhole can solve the problem.
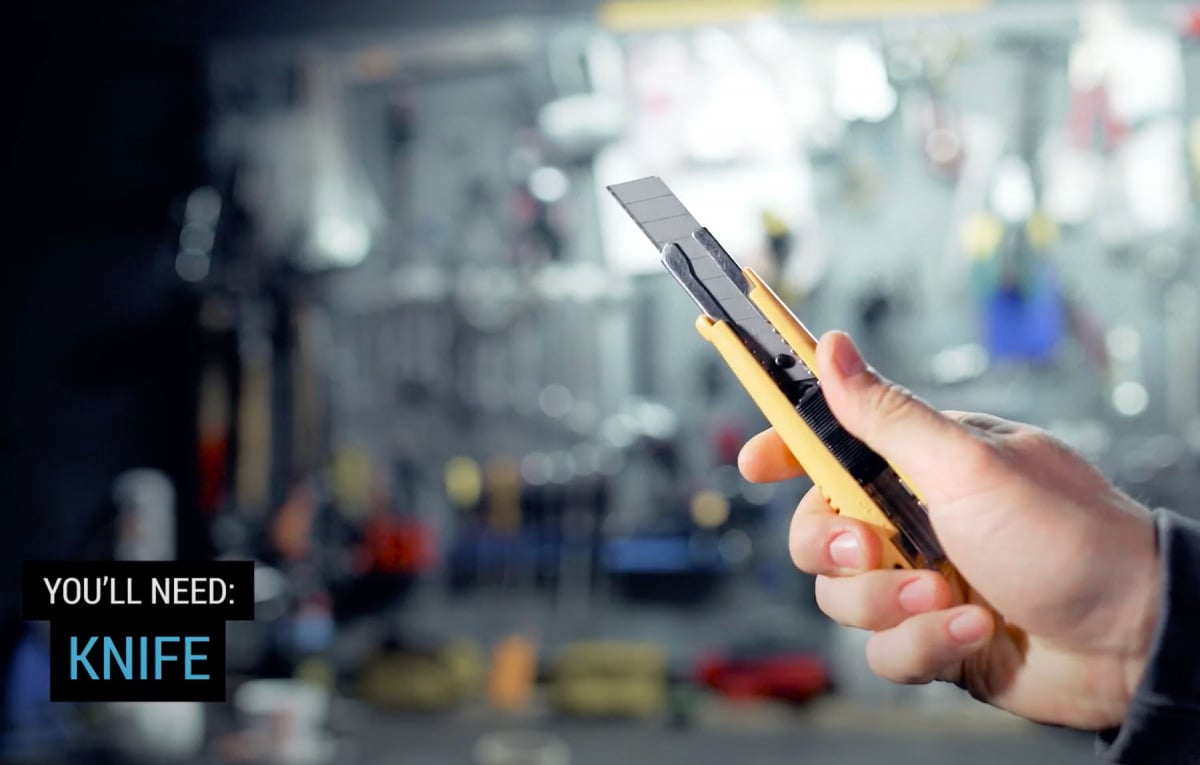
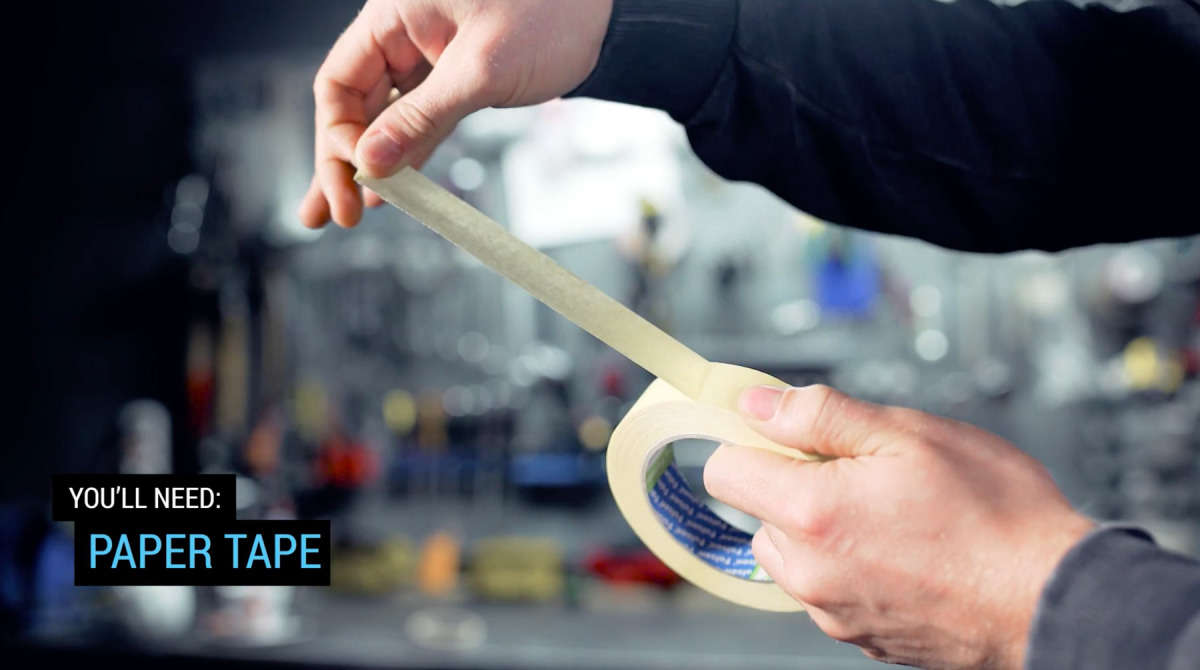
Here is a step by step guide – How to instal dirt bike graphics.
Good material still needs a good installation
A professional MX graphics kit is a combination of material, adhesive, print protection and correct installation. Start with motocross specific material, prepare the plastics properly and don’t rush the installation. Those extra few minutes can make the difference between graphics that begin lifting after a few rides and a kit that stays on the bike through months of riding, washing, mud and abuse.
At OMX Graphics, our kits use 21MIL total thickness pro material with strong adhesive and FLO Technology for bubble free installation – because MX graphics aren’t made just to look good when the bike is sitting in the garage.
They’re made to be ridden.