-
Sale! Sale!
-
Sale! Sale!
-
Sale! Sale!
-
Sale! Sale!
-
Sale! Sale!
-
Sale! Sale!
-
Sale! Sale!
-
Sale! Sale!
-
Sale! Sale!
-
Sale! Sale!
-
Sale! Sale!
-
Sale! Sale!
-
Sale! Sale!
-
Sale! Sale!
-
Sale! Sale!
-
Sale! Sale!
-
Sale! Sale!
-
Sale! Sale!
-
Sale! Sale!
-
Sale! Sale!
-
Sale! Sale!
-
Sale! Sale!
-
Sale! Sale!
-
Sale! Sale!
-
Sale! Sale!
-
Sale! Sale!
-
Sale! Sale!
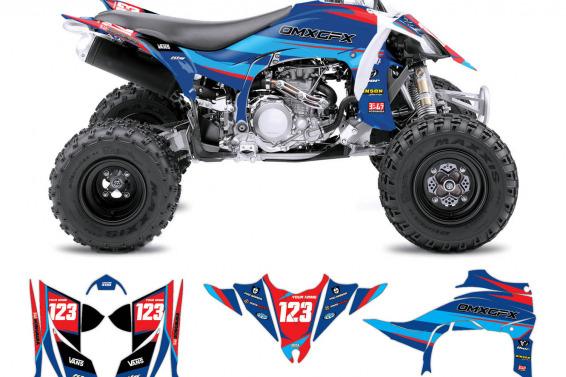
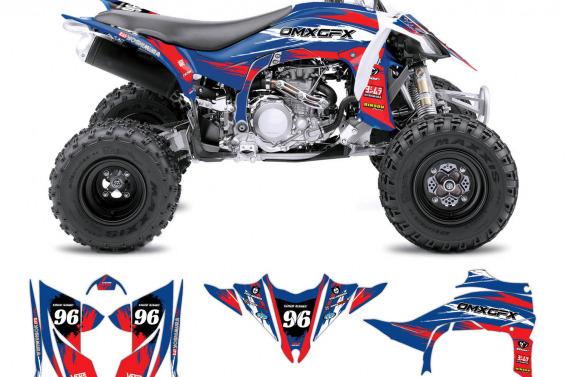
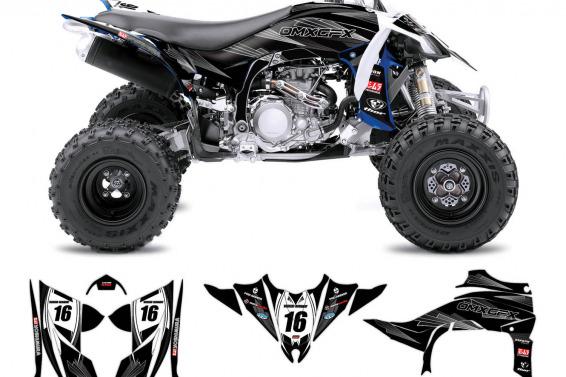
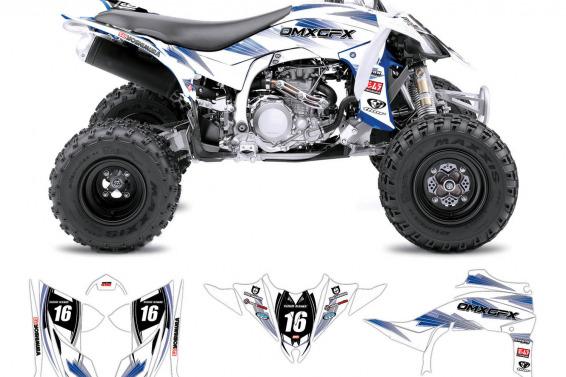
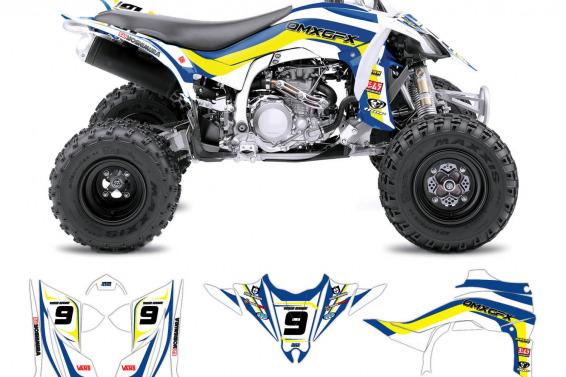
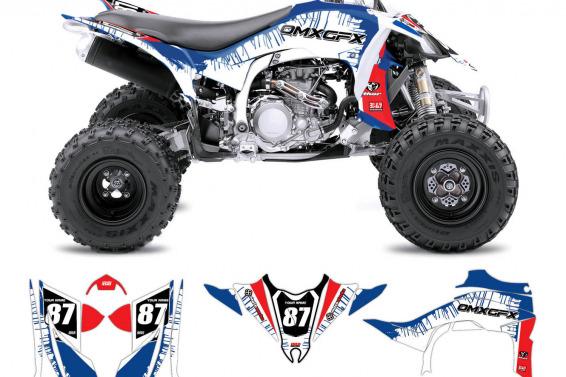
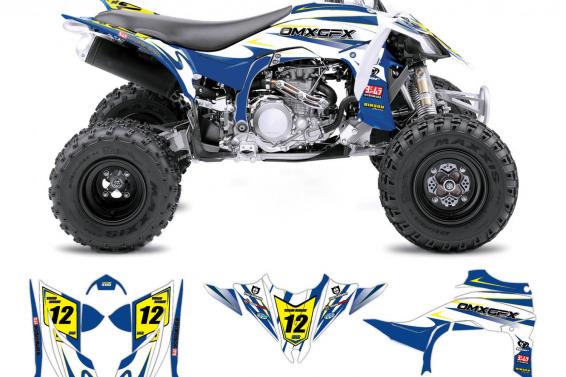
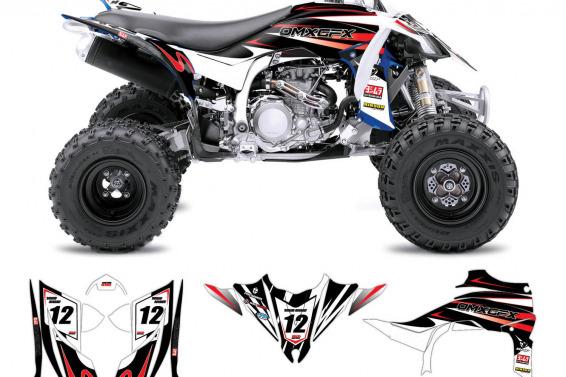
YAMAHA ATV GRAPHICS
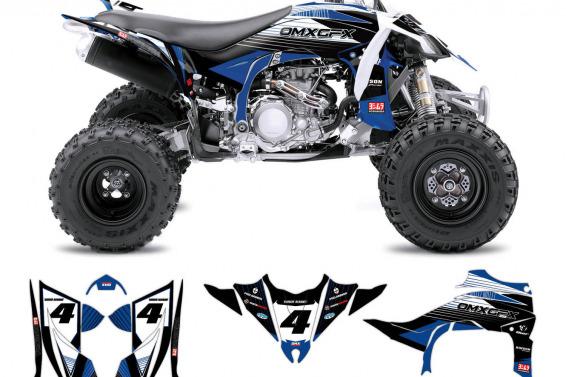
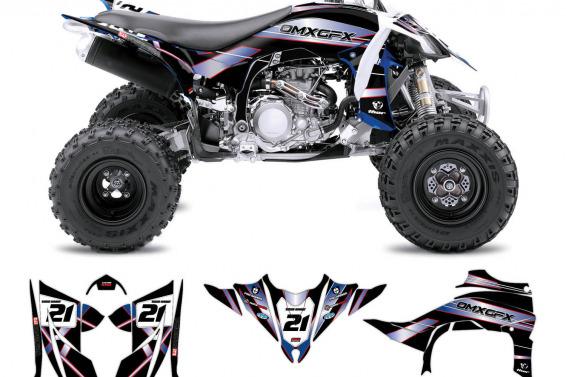
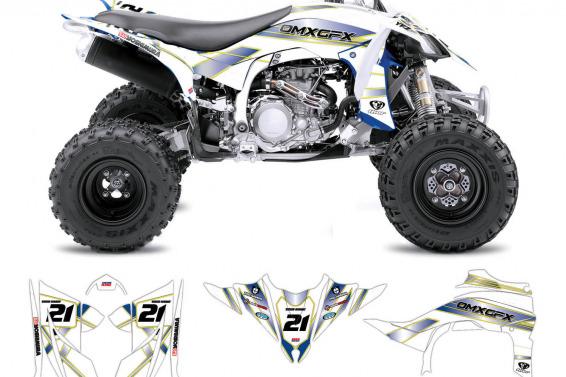
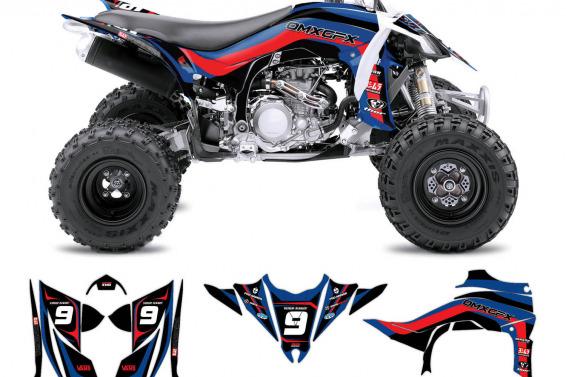
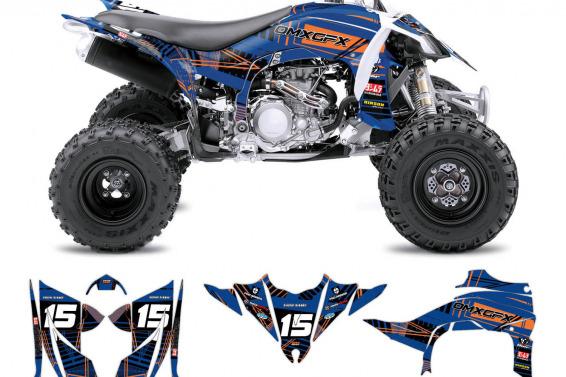
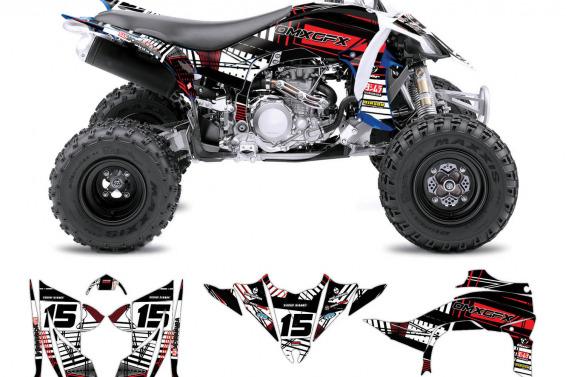
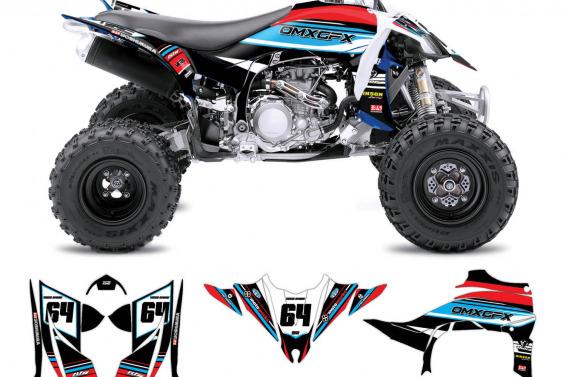
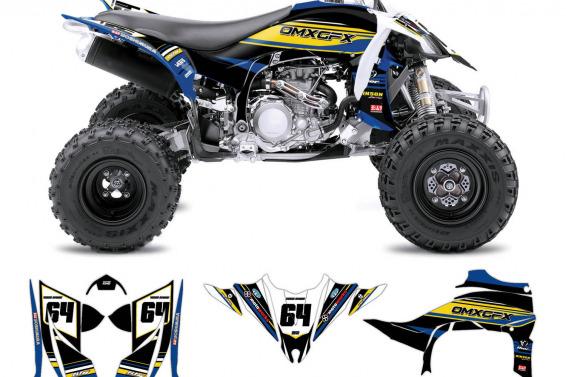
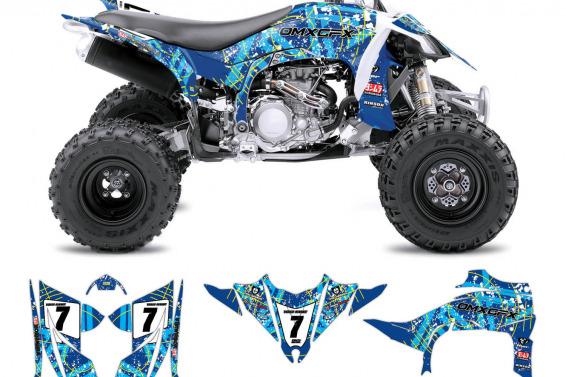
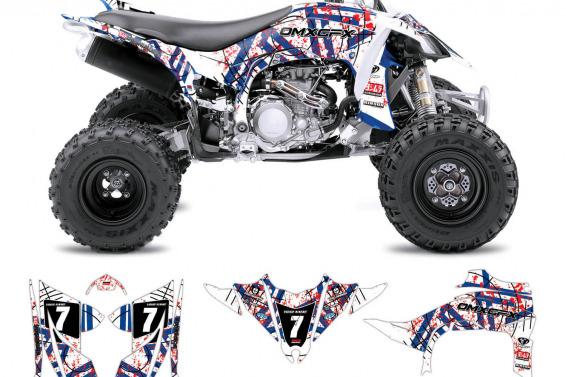
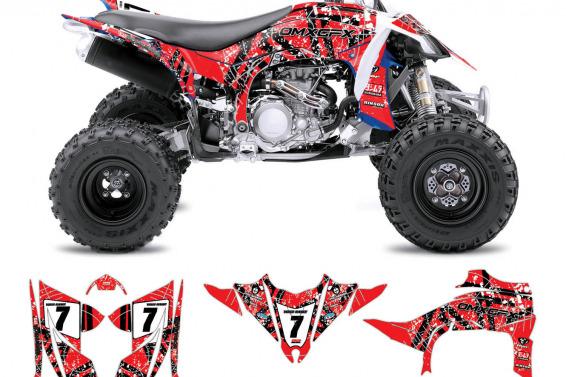
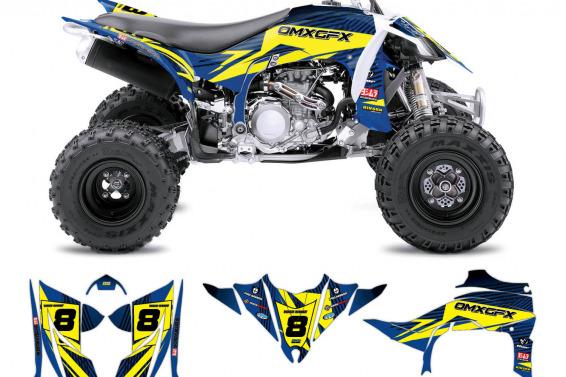
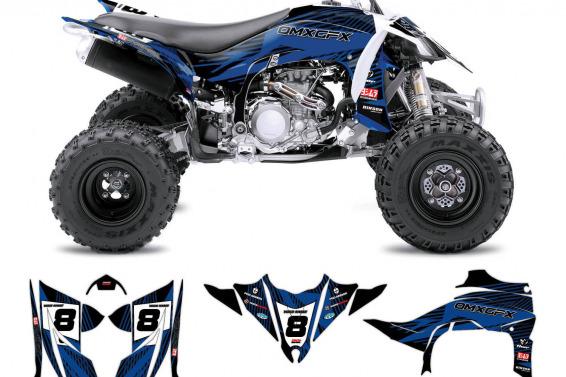
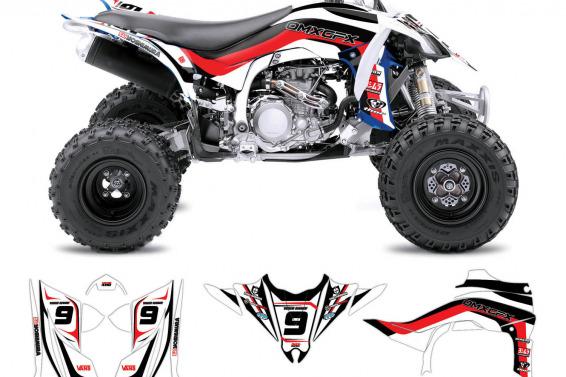
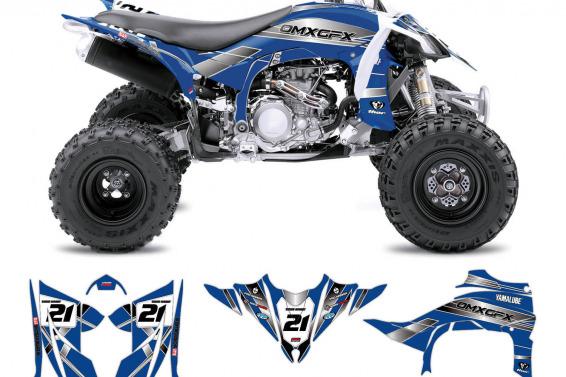
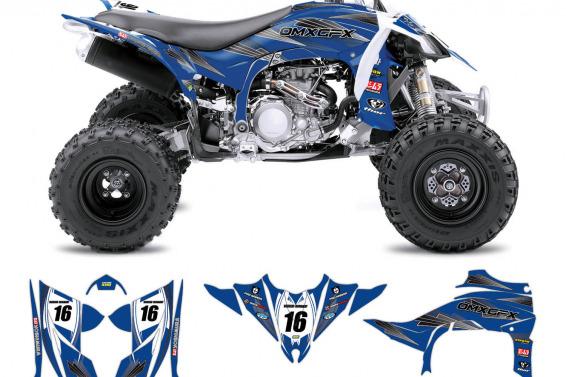
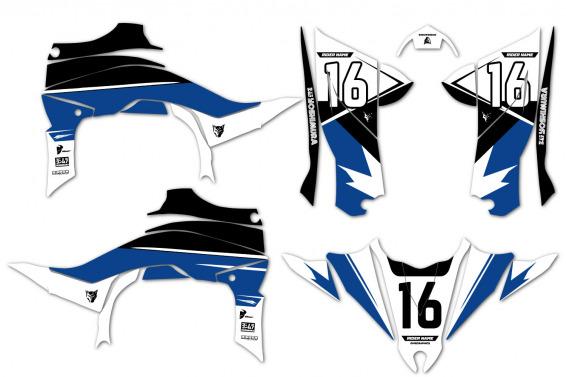
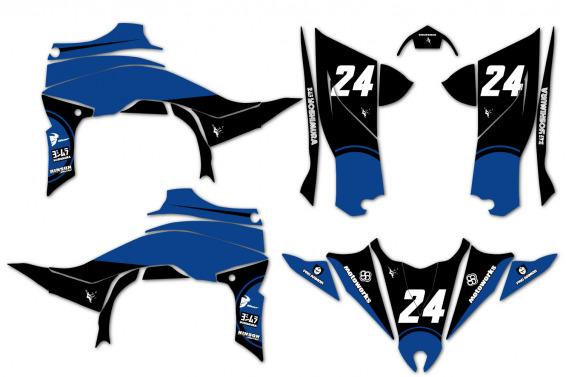
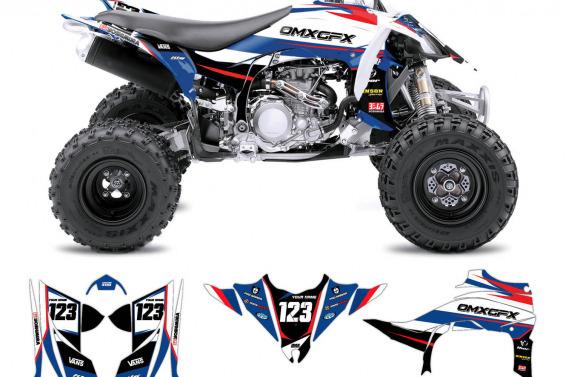
Go on a new off-road adventure with high quality atv graphics.
Built for performance and durability, Yamaha ATVs can take a beating on the trail and still keep going. If you’re looking for an unstoppable machine to blast through off-road trails, this might be one of the top choices. Plus – now you can ride in comfort and look smashingly cool with attractive and affordable high quality Yamaha ATV graphics kits proudly crafted by OMX Graphics.
MoreLess
OMX Graphics provides the following Yamaha ATV Graphics:
Yamaha YFZ 450R Graphics, Yamaha YFZ 450 Graphics, Yamaha YFZ 450 Maier Graphics, Yamaha YFZ 450X Graphics, Yamaha Raptor 700 Graphics, Yamaha Raptor 660 Graphics, Yamaha Raptor 350 Graphics, Yamaha Raptor 250 Graphics, Yamaha Raptor 125 Graphics, Yamaha Raptor 90 Graphics, Yamaha Raptor 50 Graphics, Yamaha Banshee 350 Graphics, Yamaha Warrior 350 Graphics, Yamaha Wolverine 450 Graphics, Yamaha Wolverine 350 Graphics, Yamaha Kodiak 450 Graphics, Yamaha Grizzly 700 Graphics, Yamaha Grizzly 550 Graphics.
At OMX Graphics you will find a wide selection of great looking graphic kits and decals for your Yamaha ATV Quads. Our material is the market leader in motocross technology, trusted by the world’s top professional and amateur motocross riders. “FLO Technology” will allow you a bubble-free application of your Yamaha ATV graphics.
At OMX Graphics we have created a wide range of pre-designed Yamaha ATV Graphics Kits for your convenience. Each kit can be customised with your name, number and logos as specified during the order process totally FREE of charge.
Be ready to wrap your quad in the toughest, coolest looking, and most durable graphic kit in the world!
Why OMX Graphics is the Right Choice?
A quad graphics kit from OMX will cover as much or as little of your 4-wheeler as you like. That includes the hood, the rear wheel mud plugs, the grab bar, rear fender and more including custom pinstripes and even helmet decals. These state-of-the-art, tough as nails graphics will transform your Yamaha ATV from an oversight into the leader of the pack. If yours is an older quad the right set of ATV decals can bring it back to life.
What Makes OMX Quad Graphics Stand Out?
OMX makes the highest quality ATV sticker kits for Honda, Can Am, Kawasaki, Suzuki and Yamaha. Each and every pre-made decal or fully custom atv graphic is:
- Designed and printed in accordance with our unwavering quality control standards;
- Printed using only the best, most effective UV resistant inks on the market today;
- Created by our highly trained technicians using state-of-the-art digital printers;
- Cut to exacting tolerances to ensure a proper fit using Summa-F series cutter – the most versatile flatbed cutting system ever;
- Laminated with a premium clear over-laminate specifically engineered for motocross and ATV’s.
The Right Way to Install Yamaha ATV Graphics
Installing custom Yamaha ATV graphics on a new or not-so-new all-terrain vehicle does require patience, a steady hand and a good idea of the right technique.
-
Prepare the surface
If your ATV is brand new, this is probably not going to be an issue. In that case just wipe down the surfaces with a damp cloth and let it dry thoroughly before proceeding. If the surface is old and a bit worn wash it thoroughly, remove the remnants of any old decals and if necessary sand the surfaces that were covered by older quad decals very lightly with 400 or higher wet sandpaper (don’t continue sanding into areas that were never covered by older graphics). Once all the sanding is done, wipe the area down with a damp cloth to remove any sanding dust, let things dry out and then proceed to the next step.
Lay out the graphics
Take every piece of your custom off road graphics kit and lay them all out on the floor next to the ATV. This will give you a good idea about what goes where and how well they are likely to actually fit. Then take each piece and lay it over the corresponding area on the ATV where it belongs and secure it with a small piece of tape.Start with the easy ones
If you are sure the plastics are all clean and smooth and ready to receive the new graphics start with the easiest pieces. Those would be the large flat areas like the front right and front left fenders on your custom four wheeler. Start at one end and gently lay the plastic down from your left to right, taking care to back out temporarily if you feel the graphic going in the wrong direction. Once the graphic is in place use a squeegee to push out any air pockets or bubbles and keep working the surface until it is smooth.
Finish with the difficult ones
Once the large flat areas are in place and you have a bit of confidence that you’ll actually be able to do this, move on to the large, but trickier flat areas along the side of the Yamaha that may have turns or unusual contours in them. Take as much time as you need, progressing from the easier pieces to the more complex. You may need to use a heat gun / hair dryer to smooth out some sections and be careful: even a squeegee can scratch the surface of new graphics. So never push too hard.
The gas tank can seem like a temptingly easy piece to install but in fact it must be handled with the utmost care. That’s because fumes from the gas can seep into the quads graphics and corrupt them. The best way to handle this is to empty all the gas from the tank and then let it sit with the cap off for a few days to thoroughly air out. Then wash the surface of the tank with a degreasing soap. Rinse it thoroughly and let everything dry completely. Your tank should now be ready to accept the new decals.
If you were careful to prepare the surfaces well and then take the time to install your new custom Yamaha decals methodically chances are your ATV is going to look amazing when you’re done.
Custom Yamaha ATV graphics by OMX will transform your quad into a showstopper. Just remember – proper installation requires proper preparation.
Please find out How To Install Yamaha ATV Graphics here
Shopping Cart

